Building a Shooting House: The Ultimate Guide
Table of Contents
Introduction
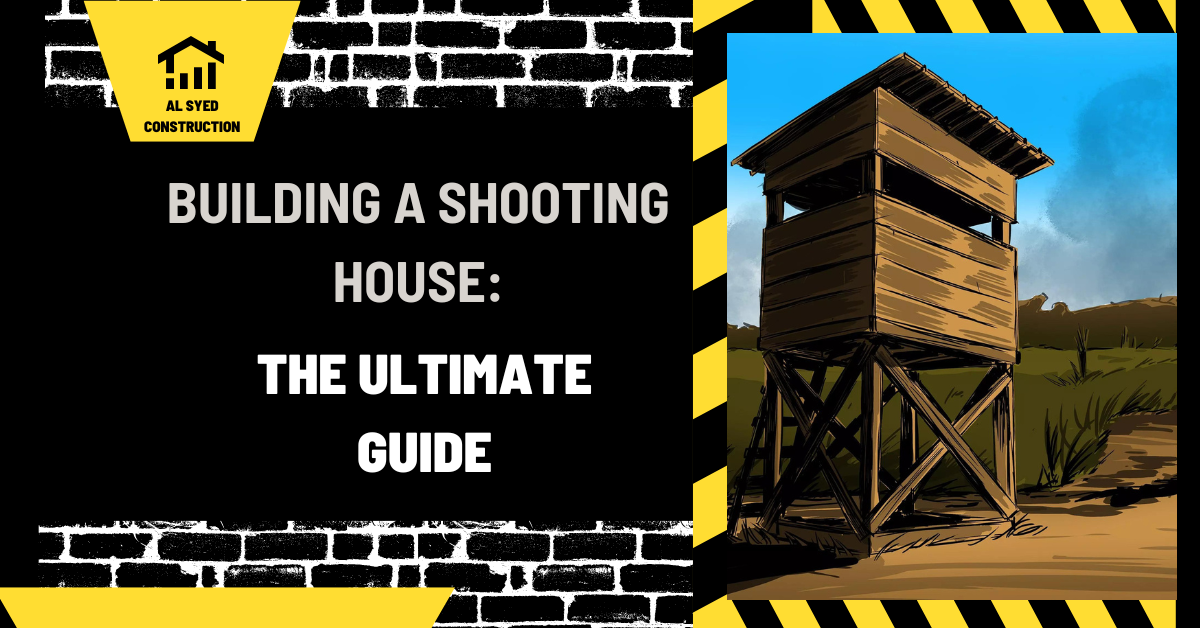
In the realm of outdoor sports and hunting, having a shooting house can significantly enhance your hunting experience. A shooting house provides stability, protection from the elements, and a clear vantage point, making it easier to spot game and take accurate shots. In this guide, we’ll walk you through the process of building a shooting house step by step.
Planning Your Shooting House
Before you start building, it’s crucial to have a clear plan. Determine the size of the shooting house based on the number of people it will accommodate and the space available. Consider the direction of prevailing winds, the angle of the sun, and the proximity to game trails or feeding areas when choosing the location.
Materials and Tools
To build a sturdy shooting house, you’ll need the following materials and tools:
Materials
- Pressure-treated lumber for the base and frame
- Exterior-grade plywood for the walls and roof
- Insulation (optional)
- Windows and screens
- Roofing material (metal or shingles)
- Exterior paint or stain
Tools
- Circular saw
- Hammer or nail gun
- Drill with screwdriver bits
- Level
- Tape measure
- Safety gear (gloves, goggles)
Building the Base
Start by building a sturdy base for your shooting house. Use pressure-treated lumber to construct a frame that is level and square. Anchor the base to the ground using concrete footers or anchors to ensure stability.
Framing the Walls
Once the base is in place, you can start framing the walls. Use pressure-treated lumber for the studs and top plates. Space the studs evenly, leaving openings for windows and doors. Install headers above the openings to support the roof.
Adding Windows and Doors
Windows and doors are essential for visibility and access. Install windows that can be opened for ventilation and closed for protection from the elements. Use durable, weather-resistant materials for the windows and doors.
Roofing
The roof should be pitched to shed water and snow. Use exterior-grade plywood for the roof sheathing and cover it with metal roofing or shingles. Install drip edges and flashing to prevent water infiltration.
Finishing Touches
Once the structure is complete, you can add finishing touches to make your shooting house comfortable and functional. Insulate the walls and roof to keep the interior warm in cold weather. Paint or stain the exterior to protect it from the elements and blend in with the surroundings.
Conclusion
Building a shooting house is a rewarding project that can enhance your hunting experience. By following these steps and using quality materials, you can create a durable and comfortable shooting house that will serve you well for years to come.


