Can You Put Peel and Stick Tile Over Wood Floor? An In-Depth Guide
Peel and stick tile offers a convenient and cost-effective solution for updating your flooring. Its simplicity appeals to DIY enthusiasts, but one common question arises: Can you put peel and stick tile over wood floor? In this comprehensive guide, we will explore the feasibility, preparation, and installation of peel and stick tiles over a wood floor, ensuring a successful and long-lasting result.
Table of Contents
Understanding Peel and Stick Tile
1. What is Peel and Stick Tile?
Peel and stick tiles are a type of self-adhesive flooring that simplifies the installation process. They come with a pre-applied adhesive backing that you simply peel off and stick onto a clean, smooth surface. This type of tile is available in various designs, including vinyl, laminate, and faux stone.
2. Advantages of Peel and Stick Tile
Easy Installation
One of the main benefits of peel and stick tiles is their ease of installation. They require no mortar, grout, or special tools, making them an ideal choice for DIY projects.
Cost-Effective
Compared to traditional tiling methods, peel and stick tiles are generally more affordable. They offer a budget-friendly way to refresh the look of your flooring.
Versatility
Peel and stick tiles come in a variety of styles and colors, allowing you to achieve a customized look without the need for professional assistance.
Preparing Your Wood Floor for Peel and Stick Tile
1. Assessing the Condition of the Wood Floor
Inspect for Damage
Before installing peel and stick tiles, inspect the wood floor for any damage such as scratches, dents, or rot. Any imperfections should be repaired to ensure a smooth and stable base.
Check for Unevenness
A level surface is crucial for proper adhesion. Use a level to check for any high or low spots on the wood floor. If the surface is uneven, you may need to sand or fill in gaps before proceeding.
2. Cleaning the Wood Floor
Remove Dirt and Debris
Thoroughly clean the wood floor to remove dust, dirt, and debris. Use a vacuum or broom followed by a damp mop to ensure the surface is completely clean.
Degrease if Necessary
If there are any grease or oil stains on the wood floor, use a degreasing cleaner to remove them. Allow the floor to dry completely before installing the tiles.
3. Preparing the Surface
Sand the Wood Floor
Lightly sand the wood floor to create a rougher texture that helps the adhesive stick better. This step is particularly important if the wood floor has a glossy finish.
Fill Gaps and Cracks
Use a wood filler to fill any gaps or cracks in the floor. Smooth out the filler with a putty knife and allow it to dry completely before sanding the surface smooth.
Installing Peel and Stick Tile Over Wood Floor
1. Plan Your Layout
Determine the Starting Point
Decide where you will start laying the tiles. It’s often best to begin in the center of the room or along a straight wall to ensure a balanced look.
Dry Lay the Tiles
Before peeling off the backing, lay out the tiles in the desired pattern to visualize the final result and make any necessary adjustments.
2. Begin Installation
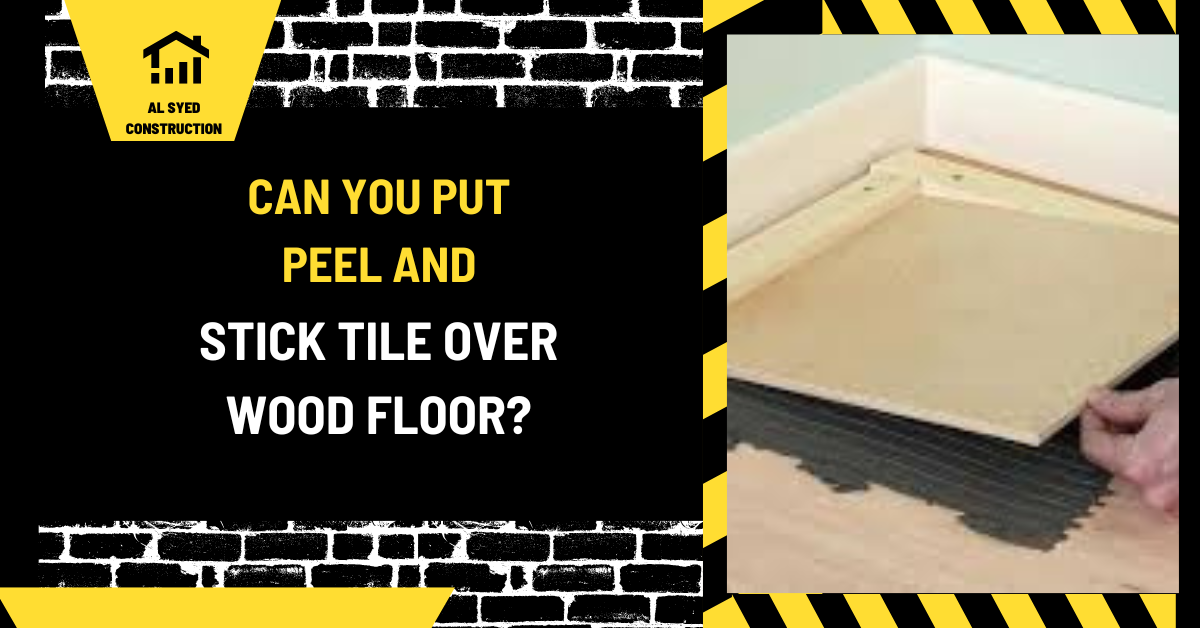
Peel and Stick
Starting from your chosen starting point, peel the backing off the first tile and carefully stick it to the wood floor. Press down firmly to ensure a strong bond.
Use a Roller
After sticking each tile, use a floor roller or a rolling pin to press down on the tiles and eliminate any air bubbles. This helps ensure a secure adhesion.
Align and Repeat
Continue laying the tiles, aligning them carefully with the previous ones. Use spacers if necessary to maintain consistent gaps between tiles.
3. Cutting Tiles
Measure and Cut
For tiles that need to be trimmed to fit around edges or obstacles, measure the space carefully and cut the tiles with a utility knife or a tile cutter.
Apply Adhesive if Needed
While most peel and stick tiles have sufficient adhesive backing, some situations may require additional adhesive. Apply a thin layer of adhesive to the wood floor if recommended by the tile manufacturer.
Finishing Touches
1. Sealing the Edges
Apply Caulk or Sealant
To prevent water or dirt from getting underneath the tiles, apply caulk or sealant along the edges where the tiles meet walls or other flooring types.
2. Cleaning and Maintenance
Clean the Floor
Once the installation is complete, clean the new floor with a damp mop. Avoid using excessive water, as it can affect the adhesive.
Regular Maintenance
Implement a regular cleaning routine to keep the peel and stick tiles looking their best. Use a mild cleaner and avoid abrasive materials that could damage the surface.
Considerations and Tips
1. Adhesion and Longevity
Understand the Limitations
Peel and stick tiles are designed for easy application and removal, but they may not be as durable as traditional tile installations. They are best suited for low-traffic areas or temporary solutions.
2. Temperature and Humidity
Monitor Environmental Conditions
Ensure that the installation environment is within the recommended temperature and humidity ranges specified by the tile manufacturer. Extreme conditions can affect the adhesive’s performance.
3. Professional Consultation
Seek Expert Advice
If you have concerns about the suitability of peel and stick tiles for your specific wood floor condition, consult a flooring professional for personalized advice.
Conclusion
Peel and stick tiles offer a practical and stylish option for updating your flooring, even over wood floors. By following the preparation and installation steps outlined in this guide, you can achieve a successful and aesthetically pleasing result.


