Constructing a Tunnel from House to Garage: A Comprehensive Guide
In this guide, we’ll walk you through the detailed steps involved in building a tunnel from your house to your garage. Constructing such a tunnel can be a challenging yet rewarding project, offering convenience and protection from the elements. Here’s how you can get started:
Table of Contents
Planning and Preparation
Before beginning any construction, it’s essential to carefully plan out the tunnel’s design and layout. Consider the following factors:
- Location: Determine the best location for your tunnel, taking into account the distance between your house and garage, existing structures, and any obstacles in the way.
- Permits: Check with your local building authority to see if you need any permits or approvals for the construction of the tunnel.
- Safety: Ensure that the tunnel will be structurally sound and safe for use. Consider consulting with a structural engineer for advice.
Excavation and Foundation
Once you’ve completed the planning phase, you can begin the excavation process:
- Digging: Excavate the ground between your house and garage to create the tunnel’s pathway. Use caution to avoid damaging any existing utilities or structures.
- Foundation: Construct a strong foundation for the tunnel using concrete or other suitable materials. This will provide stability and support for the structure.
Construction of the Tunnel
With the foundation in place, you can now focus on constructing the actual tunnel:
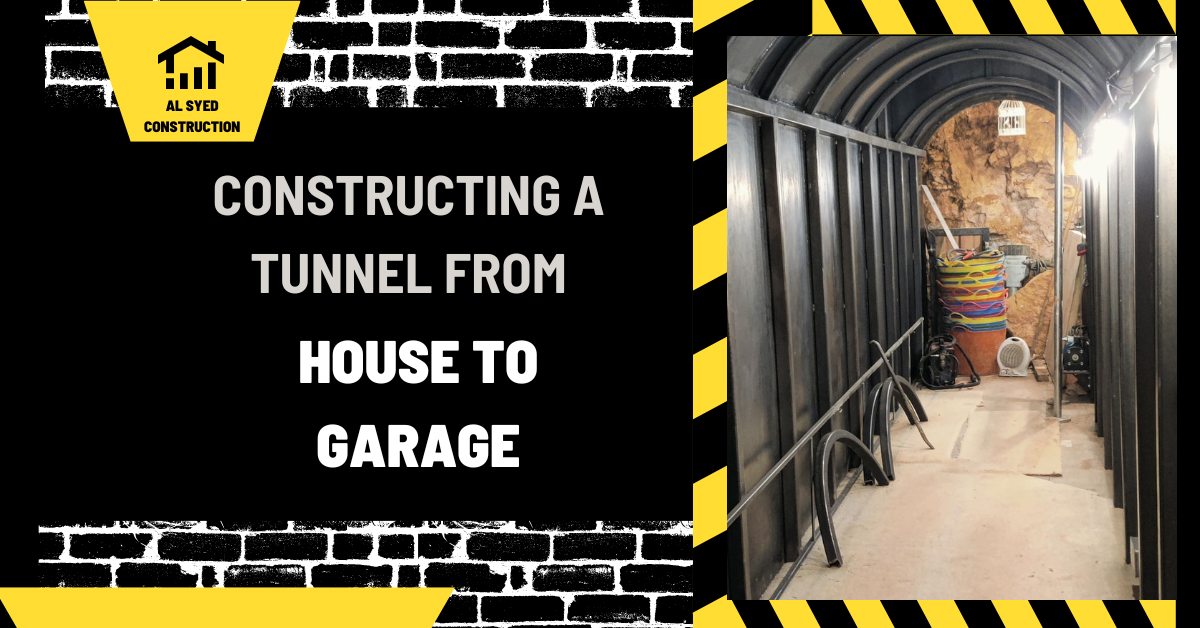
- Walls: Build the walls of the tunnel using durable materials such as concrete blocks or bricks. Ensure that the walls are thick enough to withstand the pressure of the surrounding soil.
- Roof: Construct a sturdy roof over the tunnel to protect it from the elements. Consider using reinforced concrete or metal roofing for added durability.
- Ventilation: Install proper ventilation systems in the tunnel to ensure adequate airflow. This will help prevent the buildup of harmful gases and maintain a comfortable environment inside the tunnel.
- Lighting: Install lighting fixtures inside the tunnel to provide illumination. Consider using energy-efficient LED lights for long-lasting and cost-effective lighting.
Finishing Touches
Once the tunnel is constructed, you can add the finishing touches to complete the project:
- Flooring: Install a suitable flooring material inside the tunnel, such as concrete, tiles, or epoxy coating.
- Access: Create access points at both ends of the tunnel, such as doors or staircases, to allow for easy entry and exit.
- Safety Features: Install safety features such as handrails, emergency exits, and fire extinguishers to ensure the tunnel is safe to use.
Conclusion
Building a tunnel from your house to your garage can be a challenging yet rewarding project. By following the steps outlined in this guide, you can construct a tunnel that is safe, durable, and convenient to use. If you have any questions or need further assistance, feel free to contact us. Happy tunneling!


