How to Construct Floating Shelves: A Step-by-Step Guide
Floating shelves are a fantastic way to add both style and functionality to your home. They appear to “float” on the wall with no visible supports, offering a minimalist look that can showcase your favorite decor, books, and other items. In this comprehensive guide, we’ll walk you through the process of constructing your own floating shelves, from planning to installation, ensuring you achieve professional results even if you’re a DIY beginner.
Materials and Tools You’ll Need
Before you get started, gather all the necessary materials and tools. Here’s a handy checklist:
Materials:
- Wood planks (choose your desired type and size)
- Wood screws
- Wall anchors (if mounting on drywall)
- Wood glue
- Sandpaper (medium and fine grit)
- Wood stain or paint (optional)
- Clear coat finish (optional)
Tools:
- Measuring tape
- Level
- Stud finder
- Drill and drill bits
- Screwdriver
- Saw (circular saw or handsaw)
- Clamps
- Paintbrushes or staining cloths (if staining or painting)
- Pencil
Step 1: Planning Your Shelves
The first step in constructing floating shelves is to plan their placement and dimensions. Consider the following:
- Location: Decide where you want to install the shelves. Measure the space to ensure your shelves will fit and are level.
- Size and Number: Determine the length, depth, and thickness of your shelves. Standard depths range from 8 to 12 inches, but this can vary based on what you plan to place on the shelves.
- Stud Placement: Use a stud finder to locate the wall studs in the area where you’ll be mounting the shelves. Mark these locations with a pencil, as securing the shelves to studs will provide the most support.
Step 2: Cutting the Wood
Once you have your plan, it’s time to cut the wood planks to your desired length.
- Measure and Mark: Measure the length of the shelf on the wood plank and mark it with a pencil.
- Cut the Wood: Use a saw to cut the plank along the marked line. If you’re making multiple shelves, repeat this process for each one.
Step 3: Sanding and Finishing
To ensure your shelves look polished and professional, take the time to sand and finish them.
- Sand the Wood: Use medium-grit sandpaper to smooth any rough edges and surfaces. Follow up with fine-grit sandpaper for a smooth finish.
- Stain or Paint: If you want to stain or paint your shelves, now is the time. Apply the wood stain or paint in even strokes, following the grain of the wood. Allow it to dry according to the manufacturer’s instructions.
- Apply a Clear Coat: For added protection and a polished look, apply a clear coat finish. This step is optional but recommended for longevity.
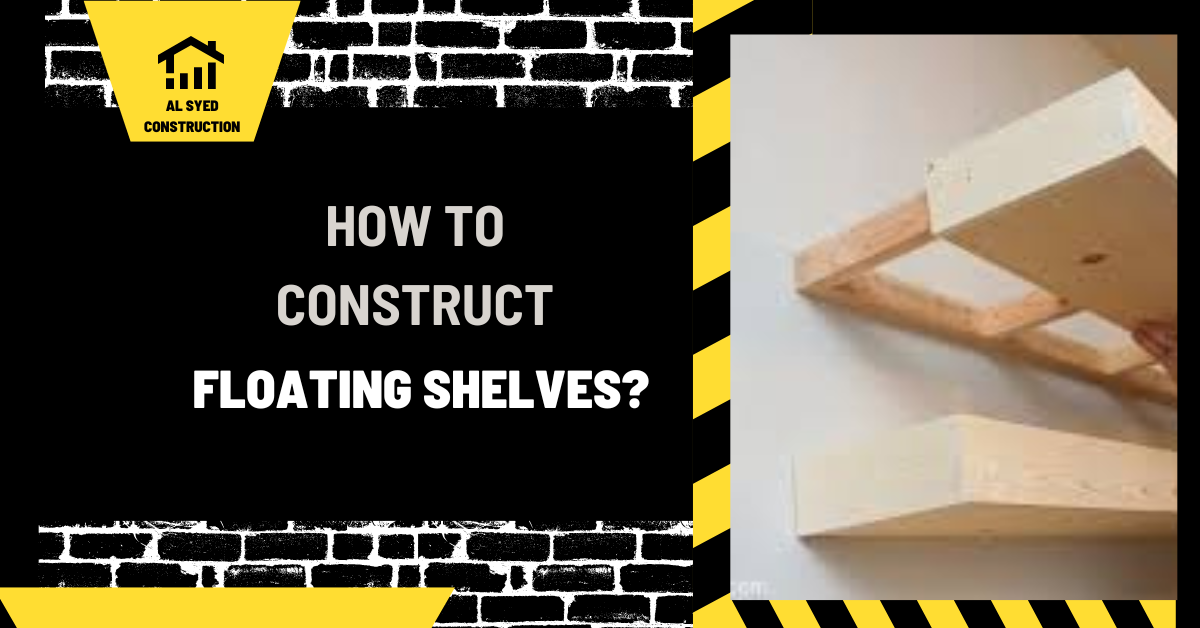
Step 4: Constructing the Support Brackets
The key to floating shelves is the hidden support structure. You can create these brackets using additional wood.
- Cut Support Pieces: Cut wood pieces for the support bracket. You’ll need a back piece (the same length as your shelf) and several smaller pieces (the depth of your shelf minus the thickness of the back piece).
- Assemble the Bracket: Attach the smaller pieces to the back piece using wood glue and screws. Space them evenly, as these will be the internal supports for the shelf.
Step 5: Installing the Bracket
With your support bracket ready, it’s time to mount it to the wall.
- Position the Bracket: Hold the bracket against the wall where you’ve marked the stud locations. Ensure it’s level.
- Drill Pilot Holes: Drill pilot holes through the bracket and into the studs. This will make it easier to screw the bracket into place.
- Secure the Bracket: Use wood screws to attach the bracket to the wall. If you’re not able to hit a stud, use wall anchors for additional support.
Step 6: Mounting the Shelf
Now that your support bracket is securely attached to the wall, you can mount the shelf.
- Slide the Shelf Over the Bracket: Carefully slide the shelf over the support bracket, ensuring it fits snugly.
- Secure the Shelf: Use wood screws to attach the shelf to the bracket from the top. This will keep the shelf in place and provide additional stability.
Step 7: Final Touches
Your floating shelves are now installed, but a few final touches can enhance their appearance and functionality.
- Fill Screw Holes: If any screw holes are visible, fill them with wood filler and sand smooth once dry.
- Touch Up Paint or Stain: Touch up any areas where the paint or stain may have been scratched during installation.
- Decorate: Finally, decorate your new floating shelves with your favorite items. Whether it’s books, plants, or decorative pieces, your shelves are ready to be showcased.
Tips for Success
- Double-Check Measurements: Accuracy is key when installing floating shelves. Double-check all measurements before cutting and drilling.
- Use Quality Materials: Invest in good quality wood and hardware to ensure your shelves are sturdy and long-lasting.
- Take Your Time: Rushing through the process can lead to mistakes. Take your time to ensure each step is done correctly.
Conclusion
Constructing floating shelves is a rewarding DIY project that can enhance any room in your home. By following this step-by-step guide, you can create beautiful, functional shelves that appear to float effortlessly on your wall. From planning and cutting to installation and finishing touches, each step is crucial for achieving professional results. So gather your materials, roll up your sleeves, and get ready to transform your space with custom floating shelves.


