
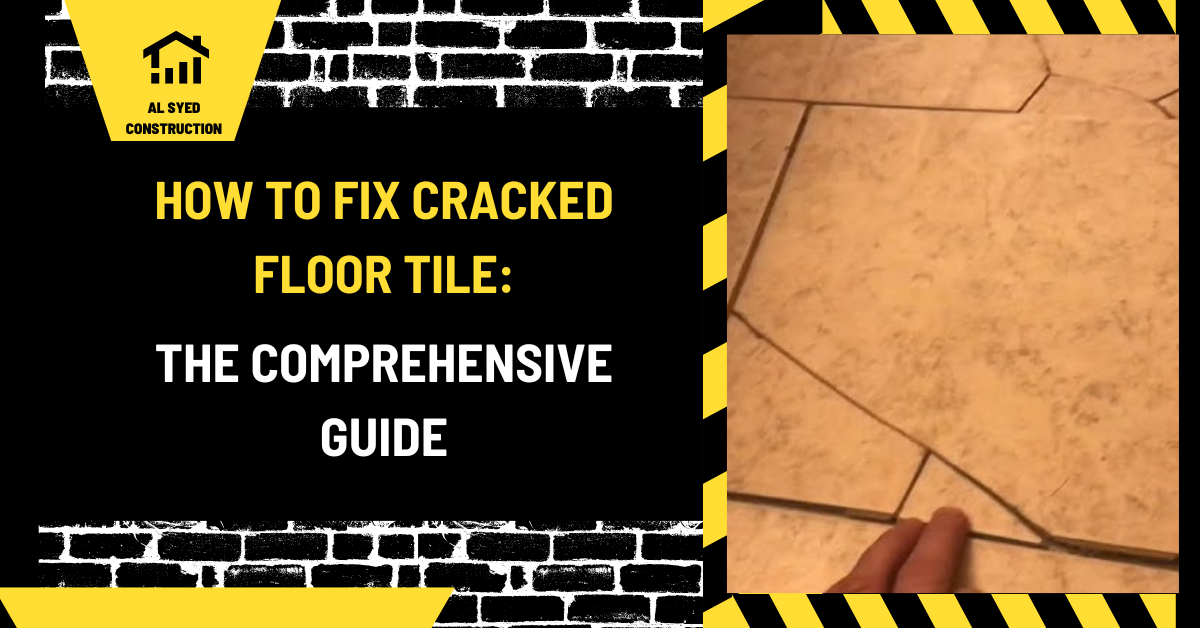
How to Fix Cracked Floor Tile: Complete Guide
A cracked floor tile can be a small cosmetic problem or a sign that something beneath the floor is moving. The right repair depends on the crack pattern, the tile material, the condition of nearby grout, and whether the floor is above a concrete slab or a wood subfloor. Replacing one tile is often manageable, but covering a crack with grout or adhesive rarely solves the underlying cause. This guide explains how to inspect the damage, decide whether a spot repair is suitable, remove a broken tile without damaging its neighbors, install a replacement, and reduce the chance of another crack.
Start by identifying why the tile cracked
Before buying a replacement, look at the shape and location of the crack. A single chipped corner near a dropped object may be impact damage. A hairline crack that crosses a tile may also follow a concentrated load, such as a heavy furniture leg or a point where a floor is not fully supported. Several cracked tiles in a straight line, repeated cracks in the same area, or grout that opens and closes can point to movement in the substrate or an inadequately detailed joint. Water staining, a soft or springy wood floor, or a crack that returns after an earlier repair needs a broader investigation.
Check nearby tiles by tapping gently with a plastic handle and listening for a hollow change in sound. A hollow sound alone does not prove a failure, but a group of hollow tiles, movement underfoot, loose grout, or visible deflection suggests that the bond or base may be compromised. Do not pry at a sound tile simply to test it. Note whether the crack goes through the tile only or continues through grout joints, and photograph the area before work begins. In a shower or other wet area, treat a crack as a possible break in the surface system and inspect for moisture concerns before cosmetic repair.
When a one-tile repair is reasonable
A spot replacement is most appropriate when the damage is isolated, surrounding tiles are stable, and the substrate is firm and dry. You need a matching tile of the same size and thickness, compatible tile-setting material, grout that suits the joint, a grout saw or oscillating tool with a grout blade, a small chisel, a hammer, a scraper, a notched trowel sized for the tile, spacers, sponge, and suitable eye and dust protection. Follow the product labels for ventilation, mixing, cure time, and any limitations on the tile or substrate.
Stop and seek an experienced flooring or tile professional when the floor flexes, several tiles are cracked, cracks cross multiple rooms, water intrusion is suspected, the assembly includes a waterproofing membrane that could be punctured, or the tile may contain hazardous material in older construction. A recurring crack is especially important: replacing the surface piece without stabilizing the base usually repeats the problem. If the tile sits over radiant heat, electrical heating, or embedded plumbing, locate the system before any cutting or chiseling.
Prepare the room and protect adjacent finishes
Remove movable furniture and rugs. Protect cabinets, door trim, and nearby fixtures with a drop cloth or rigid shield. Close doors to limit dust travel, and use a vacuum with suitable filtration when cutting or scraping creates dust. Wear safety glasses, gloves, and hearing protection as needed. Tile fragments can be sharp, and powered tools can throw chips. If the room is occupied, keep children and pets outside the work area until fragments and dust have been removed.
First scrape out the grout around the damaged tile. Work slowly and keep the blade centered in the joint so it does not cut the neighboring tile edge. Remove grout down to the setting bed or to the depth needed to separate the piece. Do not use a wide chisel as a lever against the adjacent tile. If the grout is hard, make several light passes rather than forcing the tool. Vacuum the joint frequently so the depth and tile edges remain visible.
Remove the cracked tile in controlled pieces
Once the perimeter is clear, place masking tape over the tile to help control small fragments. If the tile is already fractured, make a small opening near its center using a hand tool or a controlled drill setting. Keep the tool shallow and angled toward the center of the damaged piece, away from the edges. Break the tile into manageable sections and lift pieces inward. The goal is to reduce force on the surrounding tiles, not to smash the entire tile at once.
After the pieces are removed, scrape the old mortar from the exposed area. Keep the scraper nearly flat and avoid digging into the subfloor, uncoupling layer, or waterproofing. A thin layer of bonded residue may be safer than aggressive grinding when a membrane lies beneath. Remove loose material, vacuum the cavity, and inspect what is visible. If the substrate is cracked, damp, soft, discolored, or loose, pause. Repairing that condition requires a system-compatible method; a new tile does not bridge a failed base reliably.
Check the replacement and the setting bed
Dry-fit the replacement tile before mixing any product. Confirm that its finished face aligns with surrounding tiles and that the grout joints are even. Some replacement tiles vary slightly in size, so spacers alone may not correct a poor fit. If the tile is thicker or thinner than the original, the surface may become a trip edge or leave a recess. Choose a compatible replacement rather than trying to compensate with an excessively thick or thin layer of mortar.
Select setting material for the tile and substrate, following the manufacturer’s system guidance. Mix only the amount that can be placed within the stated working time. Spread material with the correct trowel, comb ridges in one direction, and press the tile into the bed with a slight sliding motion. For larger format tiles or demanding locations, the installer may need to back-butter the tile and verify coverage by lifting it during installation. Avoid filling the joint completely with mortar; grout needs a clean, consistent space.
Set, align, grout, and clean
Place the tile carefully and align its edges with the surrounding field. Use spacers or another suitable leveling method without forcing neighboring tile upward. Check the surface with a straightedge and remove setting material from the grout joints while it is still workable. Clean the face with the method recommended for the product. Let the tile set for the required time before grouting or foot traffic; a fast-setting product can have different instructions from a standard mortar.
Choose grout compatible with the joint width and the installation. Mix and apply it according to the label, pressing it diagonally across the joints to fill them fully. Remove excess with a well-wrung sponge and use clean water frequently to limit haze. Do not flood the floor. After the grout firms, polish any remaining film with the recommended dry cloth or cleaner. Movement joints at perimeters and changes of plane should remain flexible and should not be filled with rigid grout where the tile system calls for sealant.
How to handle a hairline crack that is not a loose tile
Some homeowners consider filling a narrow crack with a color-matched repair compound. Such products can improve appearance on a stable, dry, noncritical surface, but they do not restore the tile’s original strength or waterproofing. A patch may remain visible under certain lighting and can fail if the crack continues to move. Do not use a surface filler as a substitute for replacing a tile in a wet-area floor or in a location where the crack creates a sharp edge. If you need to match a replacement quantity or estimate extra material, the site’s tile calculator can help with planning, but it does not diagnose the cause of the crack.
Prevent the crack from returning
Prevention starts beneath the tile. A wood subfloor must be sufficiently stiff, securely fastened, and prepared with an approved tile assembly; a concrete substrate must be sound and free from movement that exceeds the system’s capacity. Installers should use the mortar and trowel method appropriate to tile dimensions and check bond coverage. Large fields need movement accommodation at the locations and intervals required by the selected installation standard and product system. Perimeter gaps should not be bridged by hard grout, cabinetry, or other fixed materials where the design calls for movement space.
In use, avoid point loading tile with narrow metal feet unless protective pads spread the load. Lift heavy appliances rather than dragging them across the floor. Maintain plumbing and sealant at wet-area transitions, and investigate leaks promptly. These steps cannot prevent every impact crack, but they reduce predictable stresses and help reveal a substrate problem before it affects a larger area.
Common repair mistakes
- Grouting over the crack without checking whether the tile moves.
- Breaking the tile from its edge and chipping an adjacent tile.
- Grinding deeply without knowing whether a membrane or service line is below.
- Using extra mortar to correct a mismatched tile thickness.
- Walking on the replacement before the setting material has cured.
- Filling a required movement joint with rigid grout.
- Assuming one cracked tile is isolated when the floor flexes or several tiles are affected.
Frequently asked questions
Can I repair a cracked tile without replacing it?
A stable hairline crack can sometimes be made less visible with a suitable repair product, but the repair is cosmetic and may not restore strength. Replace a loose tile, a tile with a sharp broken edge, or one in a wet-area floor when the surface system may be compromised.
Why did only one tile crack?
A dropped object, point load, isolated void beneath the tile, or a local substrate defect can damage one tile. A pattern of cracks or repeat failure should prompt a check for movement and insufficient support.
Can I reuse the broken tile?
Usually not. A fractured piece may not fit tightly, and its edges can continue to break. Use a matching replacement from the same batch if available, or select a compatible tile with the same dimensions and thickness.
How long before I can walk on the repaired floor?
Follow the setting material and grout instructions. Cure time varies with the product, temperature, humidity, tile, and substrate. Keep traffic off until the manufacturer’s stated period has passed.
Conclusion
Fixing a cracked floor tile successfully means addressing both the visible damage and the support beneath it. Inspect the pattern, rule out moisture or movement, remove the tile inward with controlled force, preserve any membrane, and install a compatible replacement with a suitable setting system. If the floor flexes, the crack repeats, or multiple tiles are affected, diagnose the assembly before doing a surface repair. A careful assessment is what turns a quick patch into a durable repair.




Leave a Reply
Want to join the discussion?Feel free to contribute!