Elevating Your Audio Experience: Installing Ceiling Speakers in New Construction
Incorporating ceiling speakers into new construction is an excellent way to achieve a seamless and immersive audio experience in your home or office. This article provides a step-by-step guide on how to install ceiling speakers in new construction, covering everything from planning and preparation to the final installation and testing, ensuring a smooth and successful integration of audio into your space.
Table of Contents
Planning and Preparation
Before diving into the installation, it’s crucial to plan and prepare adequately. Start by selecting the appropriate speakers for your space, considering factors such as room size, acoustics, and intended use. Determine the optimal placement for the speakers, ensuring even sound distribution and avoiding obstructions like joists or ductwork. Gather all necessary tools and materials, including a stud finder, drill, drywall saw, speaker cable, and the speakers themselves.
Pre-Wiring and Speaker Placement
In new construction, the best time to install ceiling speakers is after the framing is complete but before the drywall is installed. Use the stud finder to locate and mark the positions of the ceiling joists. Outline the speaker cutouts based on the manufacturer’s template, ensuring they are evenly spaced and positioned correctly. Run the speaker cables from the audio source or amplifier to the speaker locations, securing them along the way and leaving enough slack at each end for connections.
Cutting the Speaker Holes and Installing Brackets
Once the drywall is in place, it’s time to cut the holes for the speakers. Use the drywall saw to carefully cut along the previously marked outlines. If your speakers come with mounting brackets, install them according to the manufacturer’s instructions, ensuring they are securely attached to the ceiling. If no brackets are provided, the speakers will typically be designed to clamp directly onto the drywall.
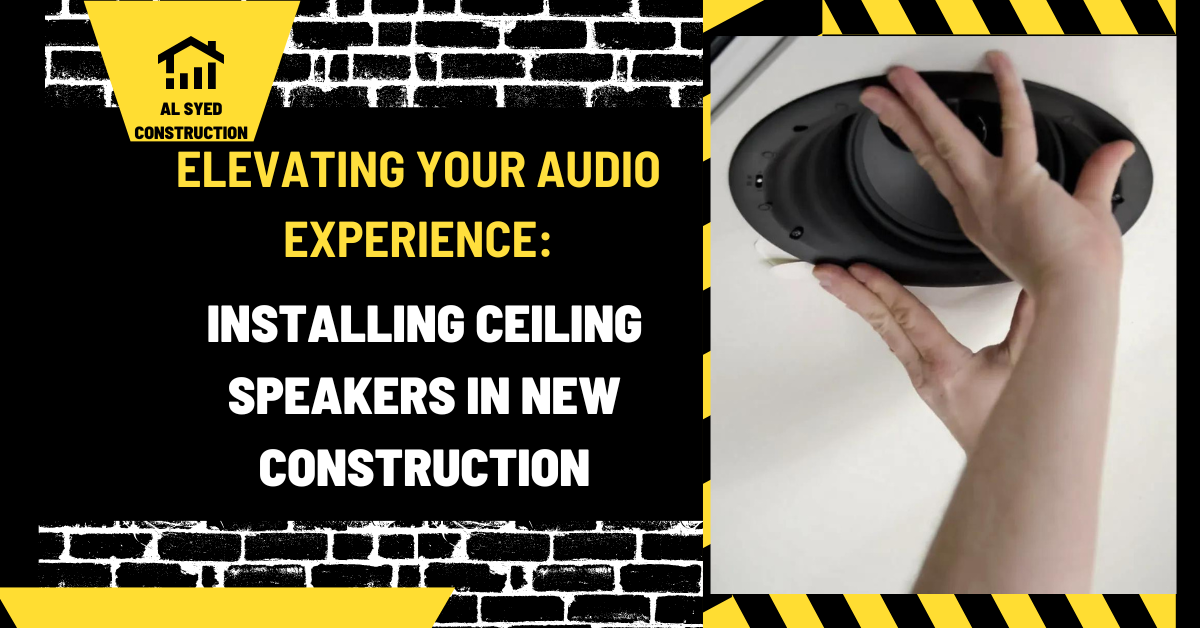
Connecting and Mounting the Speakers
Strip the ends of the speaker cables and connect them to the corresponding terminals on the back of the speakers, observing the correct polarity. Gently insert the speakers into the cutouts, ensuring the wires are neatly tucked away. Secure the speakers in place, using the built-in clamps or screws provided. The clamping mechanism should grip the drywall, holding the speaker securely.
Testing and Final Adjustments
Once all the speakers are installed, it’s time to test the system. Connect the speakers to the audio source or amplifier and play some music or audio to test the sound quality and volume levels. Adjust the speaker positions or settings if necessary to achieve the desired sound balance. Finally, enjoy your new ceiling speaker system, which should provide a discreet and immersive audio experience.
Conclusion
Installing ceiling speakers in new construction requires careful planning, precision, and attention to detail. By following these steps, you can ensure a successful installation that enhances your audio experience without compromising the aesthetics of your space. Whether for music, movies, or background ambiance, ceiling speakers offer a sleek and efficient solution for integrating sound into your new construction project.


