
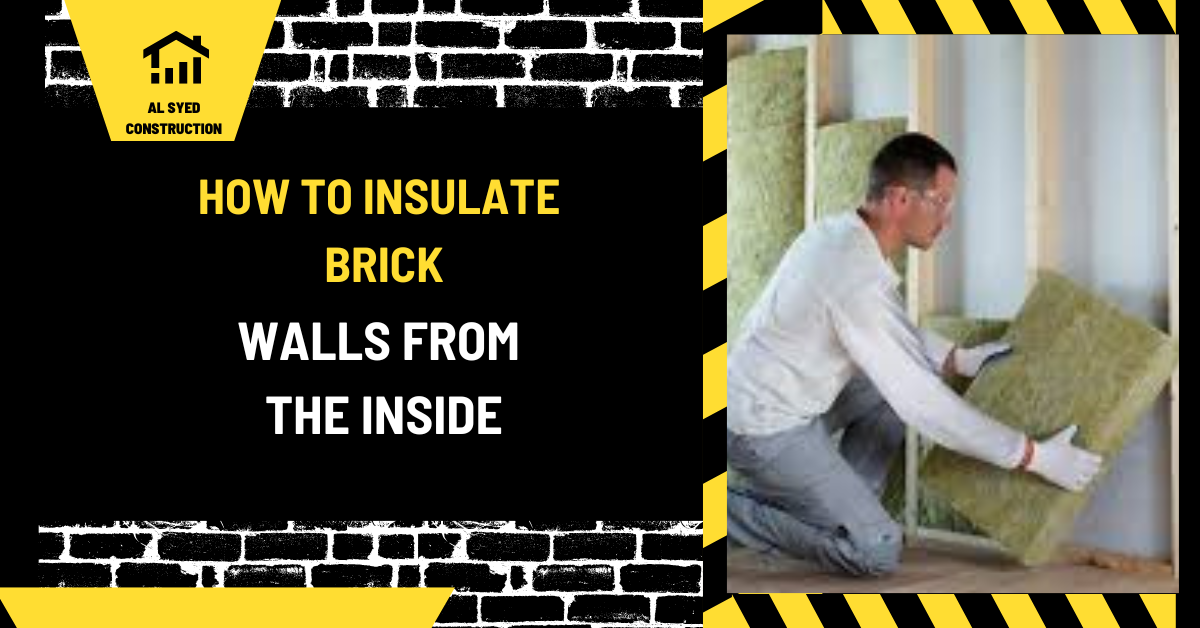
Insulate brick walls from inside: Guide
This guide covers insulate brick walls from inside and the material, design, and installation checks that shape a durable masonry project.
Insulating brick walls from the inside is a crucial process for improving energy efficiency, enhancing comfort, and reducing heating costs in your home. Whether you are dealing with an old property or modern construction, this detailed guide will walk you through every step of the process, ensuring that your insulation project is both effective and long-lasting.
Why Insulate Brick Walls from the Inside?
Insulating brick walls from the inside can significantly enhance your home’s thermal performance. Unlike external insulation, which might alter the external appearance of your building, internal insulation preserves the exterior while improving the interior climate. This method is particularly useful in retrofitting old buildings where external insulation may not be feasible.
Benefits of Internal Insulation
- Enhanced Thermal Comfort: Improved insulation keeps indoor temperatures stable, providing a more comfortable living environment.
- Energy Efficiency: Reduces heat loss through walls, leading to lower energy bills.
- Cost-Effective: Often more affordable than external insulation options.
- Preservation of Exterior Appearance: Maintains the original look of the building’s exterior.
Preparing for Insulation
1. Assessing the Condition of Your Brick Walls
Before starting the insulation process, conduct a thorough assessment of your brick walls:
- Check for Dampness: Inspect for any signs of moisture or damp issues, as these need to be addressed before insulation.
- Evaluate Structural Integrity: Ensure that the walls are structurally sound and free of significant cracks or damage.
- Clean the Surface: Remove any dust, debris, or old paint to ensure proper adhesion of insulation materials.
2. Selecting the Right Insulation Materials
Choose insulation materials that are suitable for internal brick wall applications:
- Foam Board Insulation: Provides high thermal resistance and is easy to cut and install.
- Mineral Wool: Offers excellent fire resistance and soundproofing qualities.
- Expanded Polystyrene (EPS): Lightweight and effective in reducing thermal bridging.
- Polyisocyanurate (PIR): High-performance insulation with a high R-value.
Steps to Insulate Brick Walls from the Inside
1. Measure and Plan
- Measure Wall Dimensions: Accurately measure the dimensions of the walls to determine the amount of insulation material required.
- Plan for Vapor Barriers: Decide on the use of vapor barriers to prevent moisture accumulation within the insulation layer.
2. Install a Vapor Barrier
A vapor barrier helps prevent moisture from penetrating the insulation and causing damage:
- Select a Vapor Barrier: Use polyethylene sheeting or a similar material.
- Apply the Barrier: Install the vapor barrier against the brick wall, ensuring it covers the entire surface. Overlap seams and secure with tape.
3. Install Insulation Boards
- Cut Insulation to Size: Cut insulation boards to fit the dimensions of your walls. Ensure a snug fit to avoid gaps.
- Adhere Insulation Boards: Apply adhesive to the back of the insulation boards and press them firmly against the wall. For added security, you can also use mechanical fasteners.
- Seal Gaps: Use expanding foam or caulk to fill any gaps between insulation boards.
4. Install a Furring Strip
- Attach Furring Strips: Install vertical furring strips over the insulation boards. These strips provide a framework for attaching drywall or other wall finishes.
- Secure with Screws: Use screws to fasten the furring strips to the wall. Ensure they are level and spaced evenly.
5. Apply Drywall or Paneling
- Cut Drywall or Panels: Cut drywall or wall panels to fit the wall dimensions.
- Attach to Furring Strips: Screw the drywall or panels into the furring strips. Ensure that the panels are flush with the surrounding wall.
- Finish and Paint: Tape, mud, and sand the drywall seams. Apply primer and paint to complete the finish.
Post-Installation Considerations
1. Inspect the Installation
- Check for Gaps: Ensure there are no gaps or areas where insulation might be missing.
- Verify Adhesion: Confirm that insulation boards and drywall are securely attached.
2. Maintain Proper Ventilation
- Ensure Ventilation: Proper ventilation is crucial to prevent moisture buildup. Use exhaust fans or open windows as needed.
- Monitor Humidity Levels: Keep indoor humidity levels in check to avoid condensation issues.
3. Regular Maintenance
- Inspect Periodically: Regularly check the insulation and walls for signs of wear or damage.
- Address Issues Promptly: Repair any issues with insulation or moisture damage immediately to maintain effectiveness.
Assess the masonry wall before choosing insulation
Interior insulation can improve comfort and reduce heat flow through a solid brick wall, but it changes how the wall warms and dries. In cold or wet climates, the brick may stay colder after insulation is added, increasing the chance of moisture accumulation or freeze-thaw damage. The outcome depends on brick type, mortar, rain exposure, interior humidity, air leakage, and the layers placed against the wall. A generic insulation recipe cannot account for those conditions.
Inspect the exterior for failed pointing, open joints, leaking gutters, missing flashing, cracks, and splashback. Correct bulk-water sources before covering the interior. Check the wall for embedded wood beams or joist ends, because a new thermal and air barrier can change their drying potential. If the building is historic or has repeated dampness, ask a building-science or masonry-preservation professional to assess it.
Design for moisture and drying
Compare insulation approaches as complete assemblies. Rigid boards, mineral wool with a framed lining, and other systems create different air, vapor, and drying conditions. A vapor retarder that works in one climate can trap moisture in another. The right vapor control depends on climate, wall materials, indoor humidity, rain exposure, and local code. Avoid adding an impermeable layer simply because it is common in a different wall type.
Air sealing is important because warm, humid indoor air leaking to a cold masonry surface can cause condensation. Seal penetrations and transitions without blocking the wall’s intended drying path. Coordinate window returns, floor edges, electrical boxes, baseboards, and roof transitions so insulation is continuous. If the plan includes a new interior finish, allow the wall to dry and monitor it after construction according to the design professional’s guidance.
Installation and long-term checks
Follow the approved assembly details and product instructions. Keep insulation in continuous contact where required and avoid hidden voids that can permit air circulation. Protect the masonry from construction rain and manage indoor humidity during the first heating season. Do not conceal active water leakage or mold behind a new wall lining.
After the retrofit, watch for recurring odors, stained finishes, soft framing, salt deposits, or unusual cold patches. These signs warrant investigation of the moisture source rather than a surface coating. Interior insulation can work well when the wall is dry, rain control is effective, and the assembly is suited to the climate; its design should be based on the existing masonry and the building’s complete moisture behavior.
Assess the Wall Before Adding Interior Insulation
Interior insulation changes how an exterior masonry wall manages heat and moisture. Before choosing a product, identify whether the brick is solid masonry, a veneer over a framed backup, or part of a cavity wall. Inspect for leaks, failed flashing, cracked joints, rising damp, blocked weeps, and recurring condensation. Insulation cannot repair a wet wall; it can make the masonry colder in winter and reduce its ability to dry inward. Ask a building-science professional to assess the assembly where the climate is cold, the wall is historic, rain exposure is high, or moisture damage is already present.
Find the water source and fix it first. Repair roof and parapet details, repoint joints with compatible mortar, restore window flashing and sealant, clear drainage paths, and correct grade or downspout problems. If the wall contains a drained cavity behind brick veneer, preserve that path; do not fill it with an interior material or block the weeps. Record the existing wall layers and any painted or coated surfaces because low-permeance finishes affect drying.
Choose an Assembly, Not Just a Product
Common interior approaches include insulated stud walls, rigid boards, and specially designed capillary-active systems. Each has different requirements for air control, vapor control, fire protection, moisture tolerance, and attachment. A framed assembly can create a service cavity, but gaps at the perimeter may allow indoor air to reach cold masonry and condense. Rigid boards may reduce air leakage when joints are sealed as designed, yet interfaces at floors, ceilings, windows, and partitions need careful continuity. Capillary-active systems have their own substrate and finish restrictions. Follow a tested design and current manufacturer instructions rather than combining layers from unrelated systems.
Decide how the insulation connects at window jambs, floor edges, ceiling lines, interior partitions, and electrical boxes. These junctions can form thermal bridges and air leaks. Maintain the required fire blocking and do not cover electrical devices in a way that violates electrical requirements. If plumbing is located in the exterior wall, freezing risk and service access must be considered. Verify that the selected vapor-control strategy suits both the climate and the existing wall; a generic polyethylene layer is not appropriate for every masonry assembly.
Installation and Quality Checks
Prepare a clean, dry, sound interior surface after moisture defects are corrected. Attach framing or boards using the system’s specified fasteners and spacing. Seal or tape joints only with compatible materials. Fit insulation continuously without compressing it or leaving large gaps. At penetrations, seal the air-control layer while preserving access for inspection and repair. Install the interior finish with the specified fire rating and maintain clearances around heat-producing equipment.
Before closing the assembly, photograph concealed work and inspect edges, corners, board seams, electrical penetrations, and transitions. Keep indoor humidity at a managed level through ventilation and source control, especially after construction or during humid weather. Monitor for musty odor, staining, peeling paint, and cold damp patches. If they appear, investigate air leakage and water entry instead of simply adding another coating. A successful retrofit balances energy savings with safe drying potential and protects both the occupants and the masonry.
Related masonry reading: Brick Wainscot: Base Details and Moisture Control and Exterior Masonry: Wall Systems and Weather Control.
Conclusion
Insulating brick walls from the inside is an effective way to improve your home’s energy efficiency and comfort. By following this comprehensive guide, you can achieve a well-insulated interior that helps to reduce energy costs and enhance overall living conditions.

Leave a Reply
Want to join the discussion?Feel free to contribute!