
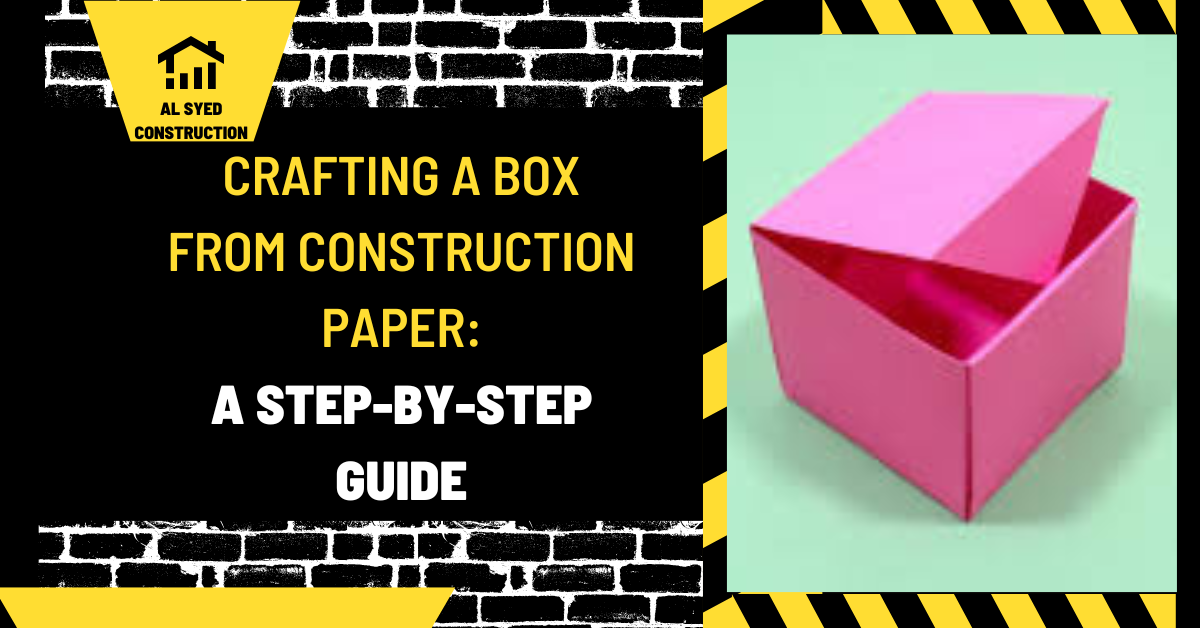
How to Make a Box from Construction Paper
Introduction
Creating a box out of construction paper is a fun and easy project that can be accomplished with minimal materials and tools. Whether you’re looking to make a gift box, a storage container, or a decorative piece, this guide will walk you through the process of crafting a simple yet sturdy box from construction paper.
Materials and Tools Needed
- Construction paper (at least two sheets of your desired color)
- Ruler
- Pencil
- Scissors
- Glue or double-sided tape
- Optional: Decorative elements (stickers, markers, ribbons)
Step-by-Step Instructions
Step 1: Measure and Cut the Paper
- Base and Lid: Using a ruler and pencil, measure and mark two squares on the construction paper. For a standard-sized box, 6×6 inches is a good size. Cut out the squares with scissors.
- Walls: For the walls, cut four strips of paper. The length should be the same as the sides of your squares, and the height can vary depending on how deep you want your box to be. For a 6×6 inch square, strips that are 6×2 inches work well.
Step 2: Fold and Crease the Walls
- Folding: Take each strip and fold about half an inch of one long side. This will be the part that gets attached to the base and lid.
- Creasing: Use the ruler to firmly crease the fold to ensure it stays in place.
Step 3: Attach the Walls to the Base
- Gluing: Apply glue or double-sided tape to the folded edge of each strip.
- Attaching: Carefully attach each strip to the edges of one of the squares, ensuring the corners align neatly. This forms the walls of your box.
Step 4: Assemble the Lid
- Repeat: Follow the same process to attach the remaining strips to the other square. This will be the lid of your box.
Step 5: Finishing Touches
- Decorate: If desired, decorate your box with stickers, markers, or ribbons to add a personal touch.
- Let Dry: Allow the glue to dry completely before using the box to store items or as a gift box.
Measure the box and choose the fold style
A construction-paper box is a light-duty craft container for small, dry objects. It is not a shipping carton and should not be expected to carry heavy or fragile items. Before cutting, decide whether you want an open tray, a lid, or a lidded box. Measure the inside space you need, then add enough paper for the base, side walls, folds, and tabs. A single sheet makes a small box; larger boxes may need a stronger sheet or separate lid.
For a basic tray, mark a square or rectangle in the center of the sheet. At each corner, mark a side-wall depth; cut one line from the sheet edge to the corner of the base on each side. Fold the side flaps upward and overlap the corner tabs. The deeper the side walls, the less base area remains on a fixed sheet. Make a small test model from scrap paper if the dimensions are important.
Simple tray method
- Draw the base. Use a ruler to mark the length and width of the bottom panel near the center of the paper.
- Mark the walls. Add the same wall depth on all four sides. Keep the corner areas large enough to form tabs.
- Cut the outline. Trim the outside shape, then make one straight cut along each corner tab line. Stop at the base corner so the tray remains connected.
- Score and fold. Lightly score the fold lines with a blunt tool, then fold each wall upward. Scoring helps make a clean crease without cutting through the sheet.
- Secure the corners. Overlap the tabs inside or outside the walls and attach them with paper-safe glue or tape.
- Square the tray. Use a table corner or ruler to check that adjacent sides meet close to a right angle while the adhesive sets.
Use child-safe scissors and supervise cutting, scoring, and adhesives. Keep fingers away from blades; an adult should handle craft knives and paper trimmers. Use glue sparingly because excess moisture can curl thin paper. If glue makes the corners buckle, hold the folds in place with paper clips or clothespins until dry, then remove them.
Make a separate lid
A lid needs a base slightly larger than the tray’s outside dimensions so it can fit over the walls. Measure the finished tray after assembly, then add a small clearance around each side. The exact allowance depends on paper thickness, folds, and how snugly you want the lid to sit. Make a test strip or shallow lid from scrap before cutting the final piece. If the lid is too tight, trim gradually; if it is loose, add a narrow folded band inside the lid.
To make the lid, repeat the tray method with shallower side walls. Keep the sides even so the lid does not twist. Decorate before assembly if coloring or collage would be difficult near the folds. Construction paper crayons are formulated for craft paper, but test the color on a scrap sheet and allow marker or paint to dry before folding.
Improve strength without overloading it
Stiffness improves when the base has a doubled layer or when the side flaps are folded and glued together. A narrow paper strip glued around the inside perimeter can reinforce the walls. However, repeated wet glue can soften the paper, and extra layers increase bulk at the corners. Keep the finished box light; for anything heavy, use a small cardboard carton or another material designed for the load.
If you need several matching boxes, save the first cut pattern as a template. Mark fold lines clearly, note which edges overlap, and check the first assembled sample before producing the rest. For paper-size choices, see the construction-paper size guide; for a related illustrated planning approach, compare the box-making guide. A measured template and small test build usually produce a cleaner result than trying to fold directly from an unmarked sheet.
Estimate the sheet size from the finished box
For a tray with base length L, base width W, and wall height H, the flat pattern needs roughly L + 2H in one direction and W + 2H in the other, plus corner tabs and trimming allowance. This is a starting estimate; the exact corner-cut pattern depends on how the tabs overlap. Make the pattern from scrap paper, assemble it, and adjust the tab widths before cutting a decorative sheet.
A lid needs a base slightly larger than the tray’s outside dimensions, with shallow sides to fit over it. Because paper thickness and adhesive can change the fit, do not rely on a theoretical clearance alone. Test the lid on the completed box and trim a little at a time. Keep the lid and base labeled if the paper colors or patterns differ.
Make the box repeatable
If you are making several boxes for a class or event, number the pattern pieces and mark fold lines with a light pencil. Assemble one sample and check the lid fit, then use it as a template for the rest. Keep wet glue away from the outside face to prevent smudges. After the first box dries, gently test the base with the intended lightweight contents; if it bows, add a paper reinforcement layer or reduce the load rather than assuming the box will hold more.
Plan the paper-box net before cutting
A box made from one sheet begins as a flat net: a base panel, four side panels, and narrow glue tabs. Sketch the base in the center of the sheet, then mark equal wall heights on each side. Add tabs outside two or more edges so there is a surface to attach the neighboring walls. Before cutting, fold the paper along every wall line and check that the tabs meet the inside of the adjacent panel without covering the opening.
For a small classroom box, light construction paper folds easily; for a box that needs to hold small items, use heavier paper or reinforce the base with a second layer. Adhesive tape is quick, while a glue stick leaves a neater seam if you allow it to dry fully. Avoid making the sides taller than the remaining sheet allows, and leave enough margin around the net for tabs. The sheet’s dimensions limit the maximum base and wall height, so check the chosen paper size before drawing; our construction-paper size guide explains the common dimensions. Test the net with scrap paper first if exact fit matters.
Conclusion
Making a box out of construction paper is a straightforward and enjoyable project that can be customized to suit various needs and occasions. With just a few basic materials and some creativity, you can create a functional and attractive box that is perfect for storage or gifting.
FAQs
- Can I make a larger or smaller box using this method?
- Yes, you can adjust the size of the box by changing the dimensions of the squares and strips. Just ensure that the length of the strips matches the sides of the squares.
- How can I make my box more durable?
- To make your box more durable, you can use thicker construction paper or reinforce the corners and edges with additional glue or tape.
- Can I use different colors of construction paper for the base and walls?
- Absolutely! Mixing and matching colors can add a fun and unique touch to your box.
- How can I make a box with a lid that closes securely?
- You can add a small flap to one edge of the lid and create a corresponding slot on the base for the flap to tuck into, ensuring the lid stays closed.
- Is it possible to make a box with a different shape, such as a rectangle or circle?
- Yes, you can create boxes of different shapes by adjusting the dimensions of the base and walls. For a rectangular box, use rectangular shapes for the base and lid, and adjust the lengths of the strips accordingly. For a circular box, you’ll need to use a compass to draw circles for the base and lid and create curved strips for the walls.
