
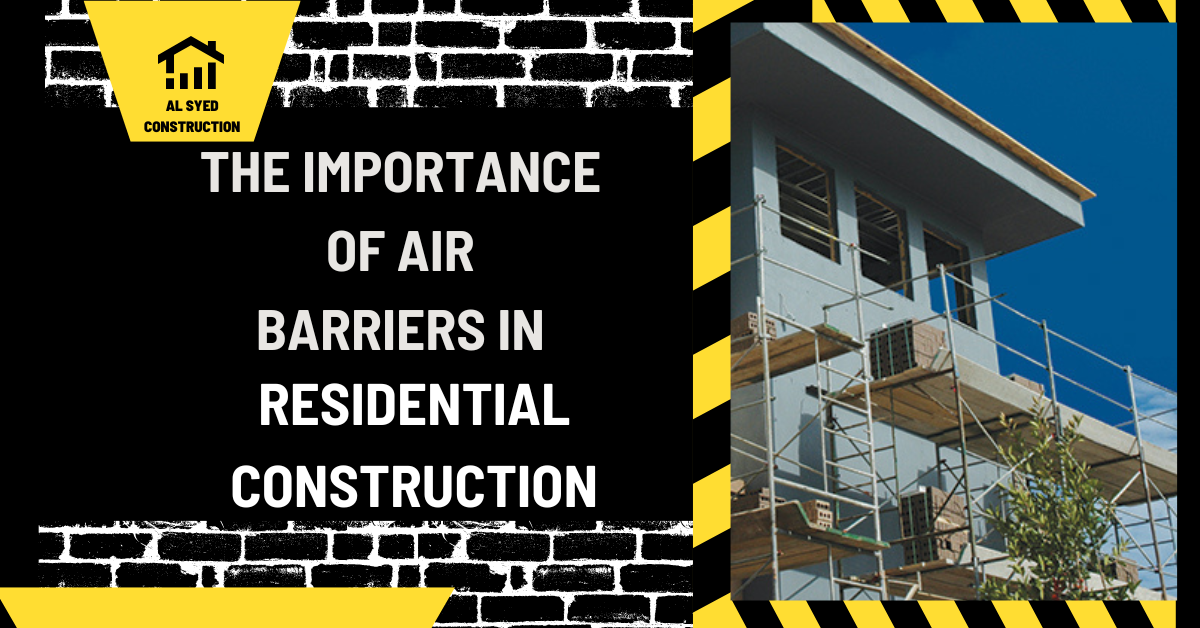
Air Barriers in Residential Construction
Construction teams encounter residential air barrier when designing new homes or retrofits with a continuous air-control layer across walls, roofs, floors, and openings. This guide explains the intended function, how the detail interacts with nearby materials, and what to review before the work is covered. The goal is to help owners, estimators, designers, and field crews use the term accurately, compare suitable approaches, and avoid treating a single product as a complete building system. Project conditions vary, so confirm final requirements with the approved drawings, local codes, and current manufacturer instructions.
Quick Answer
Residential air barriers reduce uncontrolled leakage only when continuous. Their connections at windows, floors, roofs, and service penetrations are critical. In a construction assembly, the right result depends on the exposure, the layers around the residential air barrier, workmanship at transitions, and inspection before close-in. Use the project drawings, adopted local requirements, and current product instructions to resolve details that vary by building and climate.
Understanding residential air barrier in Construction
residential air barrier refers to a continuous layer or system that resists airflow through the home's thermal enclosure. Its role is defined by where it sits in the assembly and the performance requirement it is expected to meet. Two products that share a name may have different dimensions, chemistry, installation limits, or tested uses, so the specification should identify the intended application rather than rely on a broad label.
The term importance of air barriers in residential construction is useful only when its intended job is clear. A product or detail may manage one type of heat, air, water, vapor, sound, or movement while leaving the other control layers to separate materials. For that reason, the specification should state what the residential air barrier must do, where it belongs, what it connects to, and how the finished work will be checked. This distinction prevents a crew from treating one layer as a substitute for every other part of the building enclosure.
Where You Encounter residential air barrier
The location of a residential air barrier is determined by the building assembly and the problem the design is trying to control. A useful review follows the control layer through corners, openings, floor lines, roof edges, and service penetrations instead of looking at a single product in isolation. Common project situations include:
- Exterior walls where rain, wind, and air leakage meet at cladding joints and openings. This location matters because the residential air barrier must work with the surrounding layers, access conditions, and exposure.
- Roof-to-wall, floor-line, and foundation transitions that need a continuous control-layer connection. The designer should show how the residential air barrier meets adjacent materials so that the assembly has a complete path rather than an isolated product.
- Remodeling work where existing sheathing, framing, and cladding must be inspected before adding layers. Treat this as part of the whole enclosure; the performance of the residential air barrier depends on the transition details around it.
- Penetrations for windows, doors, ducts, wiring, and equipment that interrupt the wall control layers. Coordinate the detail with trades that install framing, cladding, insulation, flashing, and services before the work is concealed.
To see how the same control layer relates to a neighboring detail, compare this discussion with air barrier in construction. The link is included because both topics belong to the same insulation, air, or moisture-control category.
Common Options and Their Trade-Offs
There is no universal product choice for every residential air barrier. Selection should start with the required function, exposure, substrate, expected movement, access for installation, and the ability to inspect or repair the work. The table summarizes project-level questions; it is not a substitute for the manufacturer’s data or the approved specification.
| Option or approach | When it may fit | Limit to review |
|---|---|---|
| Sheet or board layer | A stable plane with taped or sealed joints is required. | Joints, edges, fasteners, and transitions still need a complete detail. |
| Flexible membrane | The assembly needs a conformable layer over varied sheathing. | Compatibility, shingle laps, and exposure limits must be confirmed. |
| Fluid-applied layer | Complex geometry makes a continuous coating useful. | Substrate preparation, thickness, curing, and weather limits are critical. |
| Integrated panel or foam layer | The selected panel is designed to contribute to the control layer. | The design must still resolve seams, penetrations, fire protection, and drainage. |
Design and Selection Checks for residential air barrier
Before ordering materials, the design team should agree on the performance target and the boundary of the residential air barrier. In retrofit work, first confirm the existing layers and moisture conditions; in new construction, coordinate the detail before trades establish their own sequences. Review each point below with the drawings, submittals, and site conditions:
Define the performance target
Air leakage can increase drafts and energy use and can carry moisture into wall or roof cavities. Record this choice in the drawings and product submittals, then verify it against the intended role of the residential air barrier.
Check the substrate and exposure
The air-control plane should be drawn and coordinated as it passes from foundation to walls, ceilings, and roof. A good specification explains the required function, compatible substrates, transition details, and the inspection point before close-in.
Coordinate interfaces and transitions
Sheathing, drywall, membranes, foam, or a combination may form the barrier when installed as a continuous system. Resolve this item before procurement; a product that fits the name of the residential air barrier may still be wrong for the assembly.
Confirm product compatibility
Air sealing is not the same as reducing intentional ventilation; fresh-air needs must be planned separately. Check this condition at both design and field stages because changes in exposure or substrate can change the correct detail.
Plan inspection and maintenance
Blower-door testing can help identify leakage paths when included in the project's verification plan. Use the project documents and the manufacturer's current instructions to confirm this point instead of relying on a generic rule.
Construction Sequence and Coordination
A reliable residential air barrier detail is planned, installed, and inspected in sequence. The steps below give a practical coordination framework; adjust them to the actual assembly, approved submittals, weather limits, and the responsible manufacturer’s installation instructions.
- Review the drawings and existing conditions. Confirm the design intent and location of residential air barrier, including this project-specific requirement: Air leakage can increase drafts and energy use and can carry moisture into wall or roof cavities. Complete this step before the next layer hides the work, and keep the residential air barrier continuous at the relevant transition.
- Prepare and verify the substrate. Inspect the work area and substrate with this selection issue in mind: The air-control plane should be drawn and coordinated as it passes from foundation to walls, ceilings, and roof. Make this a planned hold point: the crew should be able to inspect the residential air barrier before cladding, backfill, tile, or finishes are installed.
- Install the primary material. Install the chosen system so that this detail remains true in the field: Sheathing, drywall, membranes, foam, or a combination may form the barrier when installed as a continuous system. Document the material, substrate condition, and connection detail so later trades do not puncture or cover an incomplete residential air barrier.
- Complete transitions and penetrations. Coordinate edges, penetrations, and adjacent trades around this condition: Air sealing is not the same as reducing intentional ventilation; fresh-air needs must be planned separately. Use compatible accessories and follow the specified cure or set time; rushing this stage can undo otherwise careful residential air barrier work.
- Inspect, document, and protect the work. Before close-in, verify the finished work against this performance point: Blower-door testing can help identify leakage paths when included in the project's verification plan. Coordinate penetrations and terminations now, because repairs after finishes are installed are slower and more disruptive.
Quality Control Before Work Is Covered
Inspection should verify the function of the residential air barrier, not just the presence of material. Set a hold point while the work is visible and define who signs it off. A short checklist also helps different crews apply the same standard across elevations and phases.
- Verify on site that Air leakage can increase drafts and energy use and can carry moisture into wall or roof cavities. Photograph the area and record the result before it is concealed; the residential air barrier is difficult to assess after close-in.
- Check the installed materials against the requirement that The air-control plane should be drawn and coordinated as it passes from foundation to walls, ceilings, and roof. Compare the installed condition with approved submittals and project details, then correct gaps while access is still available.
- Inspect transitions and concealed edges where Sheathing, drywall, membranes, foam, or a combination may form the barrier when installed as a continuous system. Check the transition, not just the open field area: failures often begin where the residential air barrier meets another material.
- Record the final condition and confirm that Blower-door testing can help identify leakage paths when included in the project's verification plan. Include a responsible trade and a clear acceptance criterion so the residential air barrier is verified consistently across the project.
Common Problems and How to Respond
When a residential air barrier appears to fail, identify the source and the route of the problem before choosing a repair. Moisture, air leakage, thermal discomfort, or movement can originate in a different layer from the one where the symptom becomes visible. Opening a small, representative area may be more useful than applying a broad surface patch.
- A material that is airtight in the field may leak at seams and transitions if unsealed. The visible symptom can be misleading, so trace the path back to the source before adding another layer over the residential air barrier.
- Air sealing without ventilation review can affect indoor air quality and pressure balance. Correct the cause and confirm compatible repair materials; a cosmetic patch may hide deterioration without restoring the residential air barrier.
- Electrical, plumbing, and HVAC work can puncture a completed barrier. Inspect nearby transitions and concealed cavities, since water, air, heat, or sound can bypass the residential air barrier at a weak connection.
- A vapor-control layer may not function as an air barrier when its joints remain open. Write down the location, weather or operating conditions, and repair so recurring residential air barrier problems can be diagnosed accurately.
Example: Reviewing a Typical Project Detail
On a project involving residential air barrier, the team begins with this condition: designing new homes or retrofits with a continuous air-control layer across walls, roofs, floors, and openings. Before approving the work, the reviewer confirms that Air leakage can increase drafts and energy use and can carry moisture into wall or roof cavities. The mock-up or field inspection then checks how the material connects to adjacent layers and whether sheathing, drywall, membranes, foam, or a combination may form the barrier when installed as a continuous system. The team also plans for this specific failure mode: a material that is airtight in the field may leak at seams and transitions if unsealed. After correcting or preventing that condition, the crew documents the product and detail before close-in. This makes the example useful as a coordination exercise, not a universal repair prescription.
In this type of review, the team marks the residential air barrier on the section drawing, follows it through each transition, and notes where a separate layer must take over. A site mock-up or sample installation can expose conflicts between trades before the full elevation or room is completed. The lesson is to verify a complete assembly rather than approving a product name without its edges, joints, and penetrations.
Frequently Asked Questions About residential air barrier
What should be resolved first for residential air barrier?
Start with the project's functional requirement. In particular, confirm that Air leakage can increase drafts and energy use and can carry moisture into wall or roof cavities. Then compare the selected product, substrate, exposure, and installation sequence with the approved documents.
What is a common mistake with residential air barrier?
A frequent error is overlooking the assembly-specific limitation that A material that is airtight in the field may leak at seams and transitions if unsealed. The team should review adjacent layers and product instructions before assuming one material can solve the whole condition.
How can the team check residential air barrier before close-in?
Create an inspection point that verifies Blower-door testing can help identify leakage paths when included in the project's verification plan. Record the product and transition details, and correct incomplete work while all relevant surfaces are still accessible.
Can one product solve every importance of air barriers in residential construction problem?
No. A product only performs the functions for which it is designed and tested. Review the full assembly, including drainage, air control, thermal performance, vapor movement, movement joints, and any required fire or acoustic layers. Ask the design professional to resolve overlapping functions rather than assuming the residential air barrier replaces adjacent systems.
What should be checked before the residential air barrier is concealed?
Confirm substrate condition, product identity, continuity, compatible accessories, laps or joint geometry, terminations, and every penetration shown on the approved details. Take photos and correct incomplete transitions while the work is accessible. The exact acceptance criteria should come from project documents and the current product instructions.
Related Guides
For related topics in this same category, see air barrier in construction; building pressure differences; exterior wall details; insulation and air sealing. These guides cover connected insulation, air-control, moisture-control, or estimating details.
Conclusion
A dependable residential air barrier starts with a defined function, a compatible assembly, continuous transitions, and an inspection plan. Confirm the source of heat, air, water, vapor, sound, or movement that the detail is meant to manage; then coordinate materials and workmanship before finishes conceal the result. When an existing building is involved, diagnose the condition first and document the repair. Use current project requirements rather than a one-size-fits-all rule.




Leave a Reply
Want to join the discussion?Feel free to contribute!