
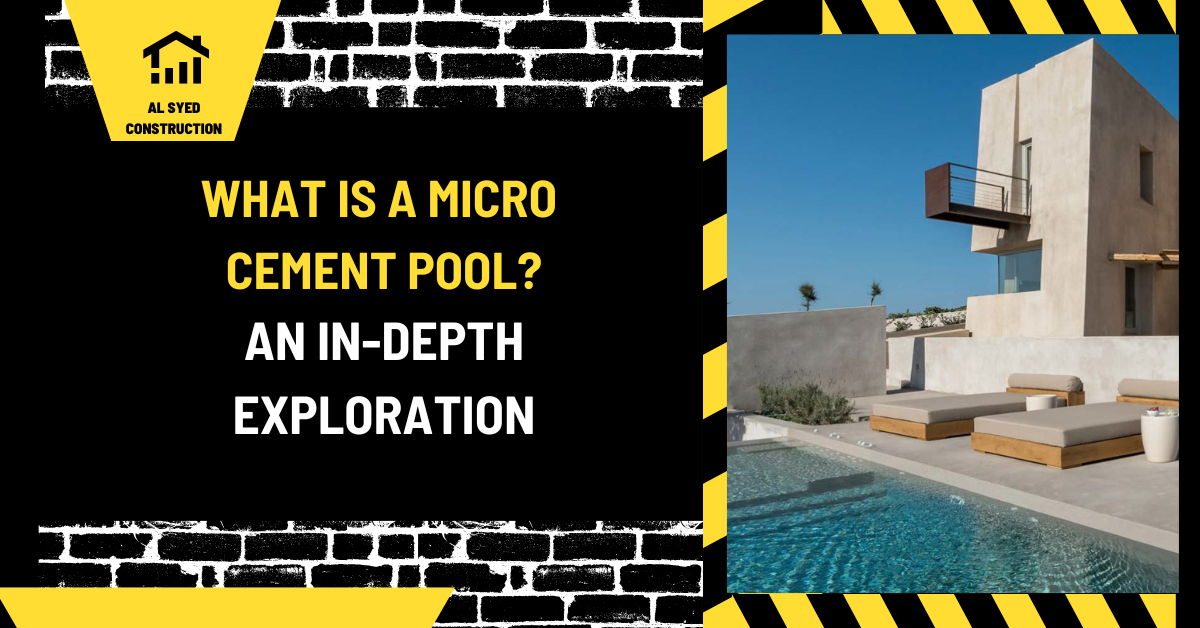
Microcement Pool Finishes: System and Installation Guide
Microcement can create a continuous, modern-looking finish on a pool, but a product called “microcement” is not automatically a pool lining or a waterproof shell. The success of the work depends on the complete system: substrate condition, crack treatment, waterproofing, primer, reinforcing layers, finish coats, sealers, water chemistry, and the product maker’s maintenance instructions. Applying a decorative coating over an unsuitable base can hide a problem temporarily without correcting it. This guide explains how to evaluate a microcement pool finish, plan the work, and ask the right questions before committing to a renovation.
What microcement is and what it is not
Microcement is a thin, cement-based decorative coating system that may include polymers, pigments, and protective sealers. Manufacturers formulate systems differently, so the label alone does not describe its performance. A product sold for interior walls, countertops, or floors may not be suitable for continuous immersion, pool chemicals, freeze-thaw exposure, or submerged application. A pool-rated system may require multiple specified components and a trained applicator.
Do not confuse the finish layer with the pool’s structural shell or primary waterproofing. A cementitious finish can contribute to the surface appearance and may form part of a tested assembly, but it does not repair structural movement or automatically make a leaking shell watertight. Before selecting a product, obtain the manufacturer’s technical data sheet, installation guide, warranty, and written confirmation that the system is approved for the exact pool environment: submerged or waterline application, substrate type, fresh or saltwater, and local climate.
Ask whether the system is intended for a new pool, a renovation over sound existing concrete, a tiled pool, or a liner conversion. The preparation and compatibility differ. If a supplier cannot identify the approved substrate and full layer sequence, keep looking. The term “microcement” covers a range of products, and a successful sample board does not prove the installed system is suitable under permanent water exposure.
Inspect the pool before specifying the finish
Start with the existing shell and finish. Map cracks, hollow areas, delamination, efflorescence, rust staining, leaks, failed joints, prior patches, and changes around fittings, lights, drains, and skimmers. Record when symptoms occur and whether cracks are stable or moving. A pool professional should determine whether defects are cosmetic, moisture-related, structural, or caused by plumbing. Do not cover a movement crack or leak with a thin decorative layer and expect it to disappear permanently.
Identify the substrate material and old coating system. A concrete shell, cement plaster, tile, fiberglass, and painted surface each have different adhesion and preparation needs. Confirm whether the existing layer must be removed, mechanically profiled, or repaired. Test adhesion and moisture according to the product instructions. Avoid acid washing, grinding, or blasting without qualified oversight; those processes can damage the shell, expose reinforcement, create hazardous dust, or weaken an adjacent finish.
Record the waterline, floor slopes, steps, benches, and fittings. Pool geometry can affect how the finish is applied and where water may pond during draining or curing. Measure the pool volume and note the circulation and sanitation system. If you need to drain the pool to access the surface, consult the pool emptying risk guide first; some shells should not be left empty without a site-specific review. A simpler partial reduction may be enough for some waterline work, as explained in the pool drainage guide.
Waterproofing and compatibility must be clear
Ask the installer to identify which layer provides waterproofing and how the system treats joints, penetrations, corners, drains, lights, and skimmers. The pool shell may provide the primary water containment, or the chosen renovation system may specify a separate waterproof membrane. The product documentation should state how these layers bond together and what preparation is needed. Do not assume that a sealer applied on top makes every microcement product waterproof for permanent immersion.
Compatibility matters across every layer. Primer, repair mortar, waterproofing membrane, mesh, microcement coats, pigment, and sealer must be approved as a system or confirmed by the manufacturers. Mixing brands can create adhesion or curing problems even when each component is reputable on its own. Ask for written product names and the sequence. If a contractor proposes substitutions, request written confirmation that the original system manufacturer accepts them.
Water chemistry and cleaning also affect service life. The manufacturer should state how long the surface must cure before filling, which water chemistry ranges are appropriate during startup, and which cleaners or brushes to avoid. A finish can be damaged by out-of-range chemistry, aggressive acid treatment, sharp tools, or incompatible sealers. Pool operators should follow the finish instructions and their sanitation equipment manual, especially for a salt system.
Questions to ask a microcement contractor
- Have you completed this manufacturer’s system in a permanently submerged pool, not only in a shower or interior room?
- What is the exact product system, substrate preparation, repair mortar, waterproofing layer, reinforcement, finish, and sealer?
- Does the system manufacturer approve it for this shell type, water temperature, sanitizer, salt level, and climate?
- How will you diagnose and repair cracks, leaks, hollow areas, and moving joints before coating?
- What moisture, temperature, and curing conditions must be met during each layer?
- How long will the pool be out of service, and what is the documented refill and startup procedure?
- What warranty applies to adhesion, water exposure, color, and workmanship, and what exclusions apply?
Ask for references, project photographs from multiple stages, and permission to contact prior pool clients. A photograph of a finished surface cannot show substrate preparation or waterproofing details. Request a written scope and a signed change procedure; this makes it clear who is responsible if the crew finds a previously hidden defect.
Plan the work sequence
- Confirm the system and site. Obtain product approvals, inspect the shell, check local rules, and agree on the drainage and refill plan.
- Protect the work area. Isolate electrical equipment where required, cover openings, manage dust, and control access to the empty pool.
- Prepare the substrate. Remove only the layers and contamination identified by the system instructions. Repair defects with compatible materials.
- Verify readiness. Check substrate soundness, moisture, temperature, and surface profile against the manufacturer’s requirements before applying primer.
- Apply the specified assembly. Follow product mixing ratios, wet-edge timing, reinforcement, coat thickness, and cure times. Do not add water or pigment beyond the written instructions.
- Inspect between layers. Check coverage, corners, penetrations, joints, texture, and pinholes before they are hidden by the next coat.
- Cure and seal. Maintain the stated temperature, ventilation, and protection. Keep dust, rain, and premature traffic away.
- Refill and restart. Follow the system’s cure time and water chemistry instructions; document the startup measurements and inspection.
Visual choices, texture, and maintenance
Color and texture should be selected using a cured sample made with the actual system and viewed wet and dry. Pigment can look different underwater, under pool lighting, and in direct sun. A highly polished surface may feel different underfoot than a textured one, while aggressive texture can be harder to clean. Discuss steps, benches, shallow areas, and entry points separately; users need to see depth changes and maintain footing. Color continuity is also affected by batch size, application sequence, substrate, and sealer.
Maintenance should be simple and compatible with the product. Obtain a written cleaning schedule and a list of permitted brushes and chemicals. Avoid aggressive scraping or unapproved acid washing. Monitor water balance using the pool system’s requirements and the finish manufacturer’s startup instructions. For saltwater pools, compare the salt-cell manual with the coating warranty; the products may set different operating conditions, and the finish manufacturer’s approval should be explicit.
Inspect the finish after refill and during the first weeks of operation. Record blisters, pinholes, color changes, soft spots, cracking, or delamination immediately. Take photographs with dates and notify the installer before attempting a patch. A repair made with a different product may complicate diagnosis or warranty coverage. Keep the pool volume and salt level records; the pool volume guide and salt testing guide can support routine records, but the manufacturer remains the authority on product-specific targets.
Budgeting the full microcement renovation
Compare bids that include the same scope. A complete estimate may include drainage, disposal, surface removal, substrate repairs, crack treatment, waterproofing, materials, labor, protection, curing time, refill, chemistry startup, equipment inspection, and contingency for concealed defects. A very low price may omit shell repairs or specify a system not rated for permanent pool immersion. Ask what happens if the contractor discovers an unstable base after the pool is drained.
Request line items for surface area, preparation method, layer system, included repairs, exclusions, and warranty. Pool floor and wall area can be estimated from measured geometry, but actual material consumption depends on the system and surface profile. Do not use a generic “coverage per bag” figure without accounting for the manufacturer’s specified coats and loss. Plan for downtime and alternative pool access as part of the project cost, not only material price.
Frequently asked questions
Can microcement be applied directly to an existing pool?
Only if the complete system manufacturer approves the substrate and preparation. Existing tile, plaster, paint, and concrete may need different removal, profiling, repair, or waterproofing steps.
Does microcement waterproof a pool by itself?
Do not assume so. Confirm in the product documentation which layer provides water containment and how joints and penetrations are treated. A decorative finish is not automatically a structural repair or waterproof membrane.
Can a microcement pool be saltwater?
That depends on the exact system and its written approval for the pool’s salinity and sanitation method. Confirm compatibility with both the finish manufacturer and the salt-cell manufacturer.
A durable microcement pool finish depends on verified system compatibility, a sound substrate, controlled preparation, and correct curing. Choose a contractor who can document every layer and obtain the manufacturer’s approval before draining, coating, or refilling the pool.

