How to Cut Floor Tiles: An Expert Guide
Cutting floor tiles accurately is essential for achieving a professional finish in any tiling project. Whether you’re installing ceramic, porcelain, or natural stone tiles, understanding the right techniques and tools will ensure that you get precise cuts and a smooth, seamless look. In this comprehensive guide, we will explore the best methods and tips for cutting floor tiles effectively.
Essential Tools for Cutting Floor Tiles
1. Tile Cutter
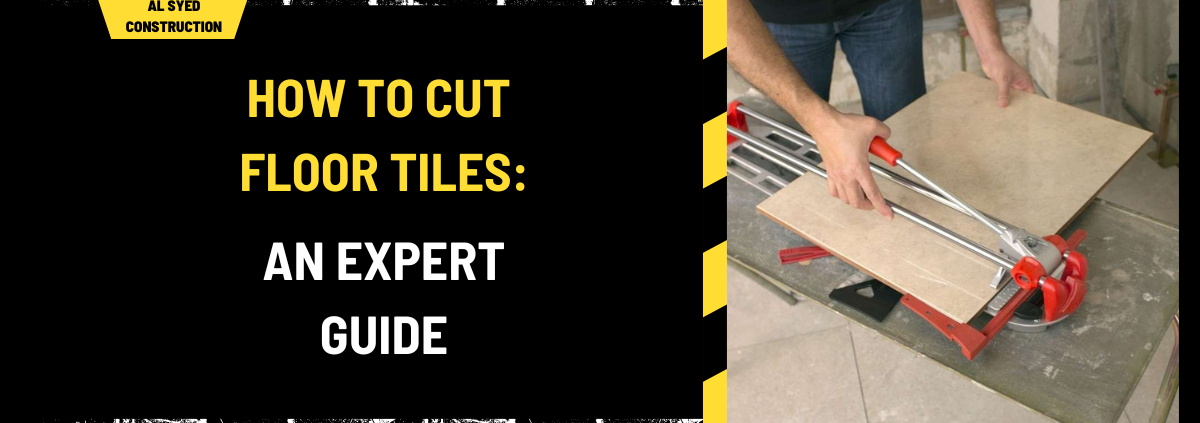
A manual tile cutter is ideal for straight cuts on ceramic and porcelain tiles. This tool uses a scoring wheel to scratch the surface of the tile and a lever to snap it along the scored line. It’s straightforward and perfect for DIY enthusiasts.
2. Wet Saw
For more challenging cuts, including those on larger tiles or harder materials like granite, a wet saw is essential. This tool features a diamond blade and a water reservoir that helps to cool the blade and reduce dust. It’s excellent for both straight and intricate cuts.
3. Tile Nippers
Tile nippers are hand tools used for small, detailed cuts and adjustments. They are perfect for trimming tile edges or cutting small sections that a tile cutter or wet saw can’t handle.
4. Angle Grinder
An angle grinder equipped with a diamond blade is useful for cutting tiles with irregular shapes or making small adjustments. It’s a versatile tool that works well for natural stone and porcelain tiles.
Preparing for Tile Cutting
1. Measure and Mark the Tile
Accurate measurement is critical for precise cuts. Use a tape measure to determine the size of the tile needed and mark the cutting line with a pencil or chalk. For straight cuts, a straightedge or ruler will help ensure that the line is perfectly aligned.
2. Score the Tile
For manual tile cutters, scoring the tile involves drawing a line across the tile surface with the scoring wheel. Apply even pressure and ensure that the score line is continuous. For wet saws, align the tile with the blade and follow the marked line carefully.
3. Cut the Tile
Using a Manual Tile Cutter
- Place the tile on the cutting surface of the tile cutter.
- Align the marked line with the scoring wheel.
- Apply firm pressure to score the tile.
- Use the lever to snap the tile along the scored line.
Using a Wet Saw
- Position the tile on the saw’s table.
- Align the marked line with the saw blade.
- Turn on the saw and gently push the tile through the blade.
- Guide the tile steadily to ensure a clean cut.
Using Tile Nippers
- Clamp the tile securely.
- Use the nippers to carefully trim along the marked line.
- Make small, controlled cuts to achieve the desired shape.
Using an Angle Grinder
- Secure the tile on a stable surface.
- Mark the cutting line on the tile.
- Use the angle grinder to carefully follow the marked line.
- Wear protective gear to shield yourself from dust and debris.
Cutting Different Types of Tiles
1. Ceramic Tiles
Ceramic tiles are relatively easy to cut with a manual tile cutter or a wet saw. Ensure that you score the tile properly and use a steady hand to avoid chipping.
2. Porcelain Tiles
Porcelain tiles are denser and harder than ceramic tiles, making them more challenging to cut. A wet saw with a diamond blade is recommended for precise cuts. Always ensure that the blade is sharp and the tile is well-supported.
3. Natural Stone Tiles
Natural stone tiles like marble or granite require special care due to their brittleness. Use a wet saw with a diamond blade and avoid sudden movements to prevent cracking.
4. Glass Tiles
Glass tiles are delicate and can easily crack if not handled properly. Use a glass tile cutter or a wet saw with a fine-toothed blade. Make sure to apply minimal pressure and cut slowly.
Finishing Touches
1. Smooth Edges
After cutting, some tiles may have rough or sharp edges. Use a tile file or a diamond sanding block to smooth these edges and ensure a clean finish.
2. Clean the Tile Surface
Remove any dust or debris from the tile surface before installation. Use a damp cloth or a vacuum to ensure the surface is clean and ready for grouting.
3. Test Fit
Before setting the tile with adhesive, place it in position to ensure it fits correctly. Make any necessary adjustments to the cut to achieve a perfect fit.
Safety Tips
- Wear Protective Gear: Always use safety goggles, gloves, and a dust mask to protect yourself from debris and dust.
- Ensure Proper Ventilation: When using power tools, ensure the area is well-ventilated to reduce exposure to dust and fumes.
- Handle Tools Carefully: Follow the manufacturer’s instructions for all tools and ensure they are in good working condition.
Conclusion
Cutting floor tiles accurately is key to achieving a professional and polished result. By using the right tools and techniques, you can ensure precise cuts and a seamless tile installation. Whether you’re a DIY enthusiast or a professional installer, following these detailed steps will help you master the art of tile cutting and enhance the overall quality of your tiling project.


