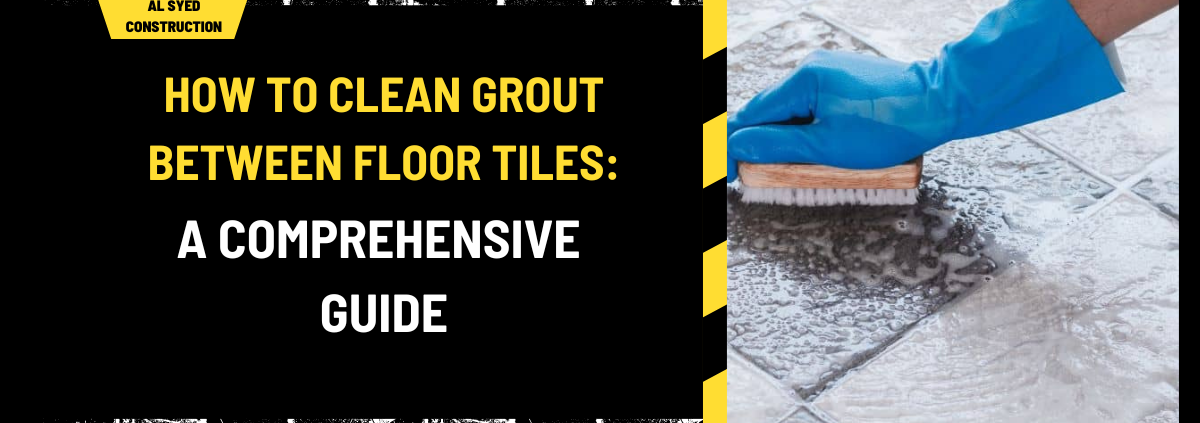
How to Clean Grout Between Floor Tiles: A Comprehensive Guide
Maintaining the cleanliness of grout lines between floor tiles is essential for preserving the overall appearance and longevity of your tiled surfaces. Over time, grout can accumulate dirt, stains, and mildew, which not only diminishes the aesthetic appeal but can also lead to more significant issues if left untreated. This detailed guide provides step-by-step instructions and expert tips on how to effectively clean grout between floor tiles.
Understanding Grout and Its Challenges
What Is Grout?
Grout is a cement-based substance used to fill the gaps between tiles, providing stability and preventing moisture infiltration. There are two main types of grout: sanded and unsanded. Sanded grout is used for wider joints and contains fine sand to strengthen the mixture, while unsanded grout is smoother and suitable for narrower joints.
Why Does Grout Get Dirty?
Grout is porous, meaning it can absorb moisture, dirt, and stains easily. The combination of this porosity and regular foot traffic can lead to discolored and grimy grout lines. Additionally, cleaning products and spills can leave residue that further contributes to grout discoloration.
Step-by-Step Guide to Cleaning Grout
1. Gather Your Cleaning Supplies
To effectively clean grout, you will need:
- Broom or Vacuum: For removing loose dirt and debris.
- Mop and Bucket: For washing the floor.
- Grout Cleaner: Either a commercial grout cleaner or a homemade solution (e.g., baking soda and vinegar).
- Scrub Brush: Preferably with stiff bristles or a grout brush.
- Old Toothbrush: For detailed cleaning in small or hard-to-reach areas.
- Microfiber Cloth or Sponge: For wiping down the grout lines and floor.
- Protective Gear: Gloves and safety goggles if using chemical cleaners.
2. Prepare the Area
Begin by removing any loose dirt and debris from the floor. Use a broom or vacuum to clean the surface thoroughly. This step ensures that you are not scrubbing dirt into the grout, which can cause additional staining.
3. Choose a Cleaning Solution
You can use various cleaning solutions depending on the type of grout and the level of grime:
- Homemade Cleaner: Mix equal parts of baking soda and water to create a paste. For a more potent solution, combine baking soda with white vinegar.
- Commercial Grout Cleaner: Available in stores, these products are specifically formulated to tackle tough grout stains.
4. Apply the Cleaner
- Homemade Paste: Apply the paste directly to the grout lines using a sponge or brush. Ensure the paste covers all the grout lines you intend to clean.
- Commercial Cleaner: Follow the manufacturer’s instructions, usually applying the cleaner and allowing it to sit for the recommended time.
5. Scrub the Grout
Use a scrub brush or old toothbrush to scrub the grout lines vigorously. Pay extra attention to stained or discolored areas. The scrubbing action helps to dislodge dirt and grime from the porous grout surface.
6. Rinse and Wipe
After scrubbing, rinse the area with clean water using a mop or sponge. It is crucial to remove all residues from the cleaner to prevent buildup and damage. Wipe the grout lines with a microfiber cloth to ensure they are completely clean and dry.
7. Dry the Floor
Allow the floor to air dry completely. If possible, use a fan to speed up the drying process. Ensuring the grout is dry prevents new grime from sticking to any remaining moisture.
Tips for Maintaining Clean Grout
1. Regular Cleaning
To prevent grout from becoming excessively dirty, implement a regular cleaning routine. Sweep or vacuum the floor frequently to remove dirt and debris before it has a chance to settle into the grout lines.
2. Seal the Grout
Applying a grout sealer can significantly reduce grout staining and make cleaning easier. Grout sealers create a protective barrier on the grout surface, preventing moisture and dirt from penetrating.
3. Address Spills Immediately
Clean up spills as soon as they occur to prevent staining. Use a damp cloth to blot spills rather than wiping, which can spread the liquid further into the grout lines.
4. Avoid Harsh Chemicals
When cleaning grout, avoid harsh chemicals that can damage both the grout and the tiles. Stick to mild cleaners and avoid acidic substances that can erode grout over time.
Common Problems and Solutions
1. Stubborn Stains
For particularly stubborn stains, consider using a commercial grout stain remover or a bleach solution (diluted with water). Always test the solution on a small, inconspicuous area first to ensure it does not damage the tile or grout.
2. Mildew and Mold
If you notice mildew or mold, use a mixture of baking soda and water or a specialized mold cleaner. Scrub the affected areas thoroughly and ensure proper ventilation to prevent future growth.
3. Discolored Grout
Over time, grout can become discolored due to age and usage. In such cases, re-grouting or using a grout colorant can help restore the grout’s original appearance.
Conclusion
Cleaning grout between floor tiles requires a combination of the right cleaning solutions, proper tools, and regular maintenance. By following this comprehensive guide, you can effectively remove dirt, stains, and grime, ensuring your tiled floors remain clean and visually appealing.


