How to Repair a Brick Wall: A Comprehensive Guide
Brick walls are renowned for their durability and classic appeal. However, like all structures, they are subject to wear and tear, which can lead to damage over time. Repairing a brick wall may seem daunting, but with the right approach and tools, it can be a manageable and rewarding task. This guide will walk you through the essential steps for effectively repairing a brick wall, ensuring both structural integrity and aesthetic appeal.
Table of Contents
Assessing the Damage
Before commencing any repair work, it is crucial to assess the extent of the damage to the brick wall. Common issues include:
- Cracks: These may appear due to settling foundations or weather conditions.
- Spalling: This occurs when the surface of the brick peels or flakes off.
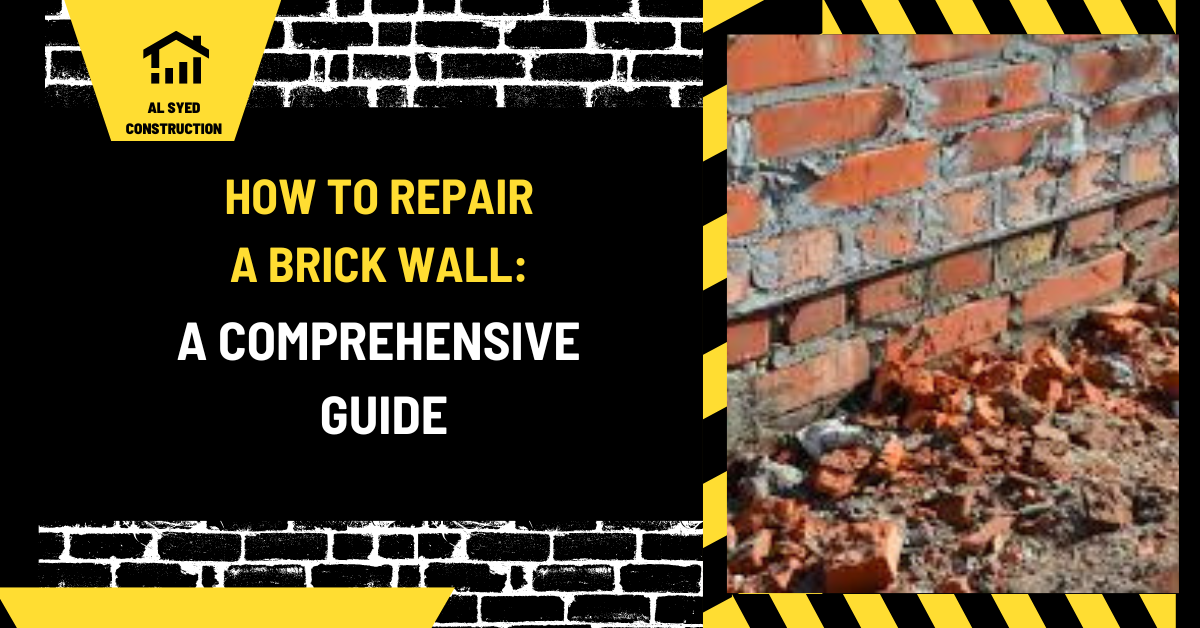
- Loose or Missing Bricks: Often caused by mortar deterioration or physical impact.
- Efflorescence: White, powdery deposits on the surface caused by salt.
By understanding the type and severity of the damage, you can determine the most appropriate repair methods.
Gathering Necessary Tools and Materials
To effectively repair a brick wall, ensure you have the following tools and materials:
- Safety Gear: Safety goggles, gloves, and a dust mask.
- Brick Trowel: For applying and smoothing mortar.
- Masonry Hammer: For removing damaged bricks and mortar.
- Pointing Trowel: For detailed mortar work.
- Mortar Mix: Choose a type compatible with your brick and existing mortar (e.g., type N or S).
- Replacement Bricks: If bricks are beyond repair.
- Wire Brush: For cleaning joints and removing debris.
- Chisel: For precise mortar removal.
- Bucket and Sponge: For mixing and cleaning.
Repairing Cracks in Brick Walls
Cracks in brick walls can be a sign of underlying issues, but they can often be repaired with the following steps:
- Clean the Crack: Use a wire brush to remove loose debris and old mortar from the crack.
- Prepare the Crack: Chisel out any loose material and ensure the crack is clean and free of dust.
- Apply Mortar: Mix the mortar according to the manufacturer’s instructions. Using a pointing trowel, fill the crack with mortar, ensuring it is packed tightly.
- Smooth the Surface: Use the trowel to smooth the surface of the mortar, blending it with the existing wall.
- Cure the Mortar: Allow the mortar to set and cure as per the manufacturer’s instructions. Keep it damp to prevent it from drying out too quickly.
Replacing Loose or Missing Bricks
Replacing loose or missing bricks requires careful handling to maintain the wall’s integrity:
- Remove the Damaged Brick: Use a masonry hammer and chisel to carefully remove the damaged brick. Be cautious not to damage adjacent bricks.
- Prepare the Area: Clean the cavity where the brick was removed. Ensure it is free from debris and old mortar.
- Insert the New Brick: Apply a layer of mortar to the cavity and place the new brick into position. Tap it gently into place using the masonry hammer.
- Fill Gaps: Fill any gaps around the new brick with mortar, ensuring it is well-packed and level with the surrounding bricks.
- Finish the Joint: Smooth the mortar with a trowel to match the existing mortar joints.
Addressing Spalling Bricks
Spalling can compromise both the appearance and the structural integrity of a brick wall. Here’s how to address it:
- Remove Spalled Bricks: Carefully chisel out the damaged bricks. Be sure to remove all loose fragments.
- Prepare the Surface: Clean the area thoroughly, removing all debris and old mortar.
- Replace the Bricks: Follow the same process as for replacing loose bricks. Ensure that the new bricks are properly aligned and secured.
- Seal the Wall: To prevent future spalling, apply a masonry sealer to the entire wall. This will help protect the bricks from moisture and weather damage.
Dealing with Efflorescence
Efflorescence is typically a sign of moisture issues. To remove and prevent it:
- Clean the Efflorescence: Use a wire brush to scrub the affected areas. For stubborn deposits, a solution of vinegar and water can be effective.
- Address Moisture Issues: Identify and fix the source of moisture that is causing the efflorescence. This may involve improving drainage or repairing gutters.
- Apply a Water-Repellent Sealer: Once the wall is clean and dry, apply a water-repellent sealer to prevent future efflorescence.
Preventative Maintenance
To ensure the longevity of your brick wall, consider these preventative maintenance tips:
- Regular Inspections: Periodically check your brick walls for signs of damage or wear.
- Cleaning: Clean the wall to remove dirt and debris that can cause deterioration.
- Sealing: Apply a masonry sealer to protect against moisture and weather damage.
Conclusion
Repairing a brick wall requires a methodical approach and attention to detail. By accurately assessing the damage, gathering the right tools, and following proper repair techniques, you can restore the structural integrity and appearance of your brick wall. Regular maintenance and timely repairs will ensure your wall remains durable and aesthetically pleasing for years to come.


