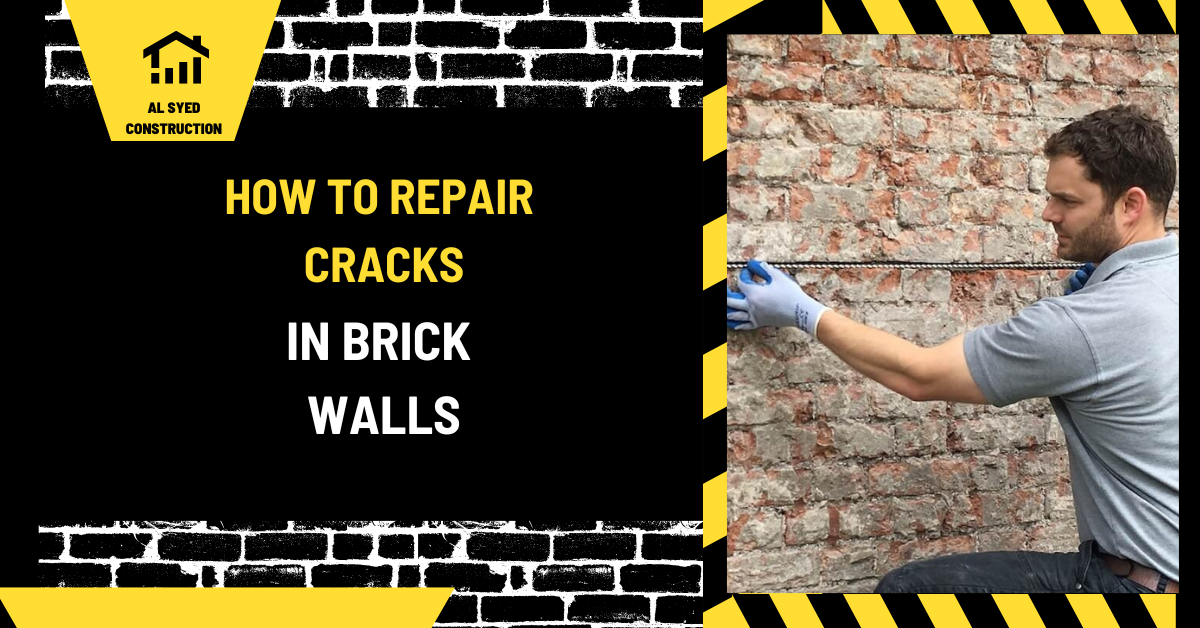
How to Repair Cracks in Brick Walls: An In-Depth Guide
Repairing cracks in brick walls is essential for maintaining the structural integrity and visual appeal of your property. Over time, brick walls may develop cracks due to various factors such as settling foundations, moisture intrusion, and temperature fluctuations. This comprehensive guide will walk you through the detailed process of effectively repairing these cracks, ensuring your brick walls remain sturdy and aesthetically pleasing.
Table of Contents
Understanding the Types of Cracks
1. Types of Cracks in Brick Walls
Cracks in brick walls can be categorized based on their appearance and underlying causes:
- Hairline Cracks: Typically less than 1/16 inch wide, these cracks are often cosmetic and may result from minor settling or thermal expansion.
- Vertical Cracks: These cracks run straight up and down the wall and can indicate foundation issues or settling.
- Horizontal Cracks: These are usually more serious and may signify structural problems or moisture damage.
- Diagonal Cracks: Slanted cracks can suggest differential settling or expansion and contraction issues.
2. Identifying the Root Cause
Before proceeding with repairs, it’s crucial to determine the underlying cause of the cracks:
- Foundation Settling: Uneven settling can cause cracks to form. If your house has settled unevenly, it may need professional evaluation.
- Moisture Damage: Water infiltration through cracks or poor drainage can weaken the wall and lead to more cracks.
- Thermal Expansion: Fluctuations in temperature can cause materials to expand and contract, leading to cracks.
- Structural Issues: Severe structural problems may manifest as extensive cracking and require immediate attention from a structural engineer.
Preparation for Repair
1. Tools and Materials Required
Gather the following tools and materials to ensure a successful repair:
- Mortar Mix: Use a high-quality mortar mix suitable for brickwork.
- Trowel: For applying and smoothing the mortar.
- Wire Brush: To clean out cracks and remove loose debris.
- Chisel and Hammer: For enlarging and cleaning the cracks.
- Caulk Gun: For precision application of crack fillers.
- Crack Filler or Epoxy: For filling smaller cracks.
- Sealant: To protect the repaired area from future damage.
2. Surface Preparation
Proper preparation is critical for effective repairs:
- Clean the Cracks: Use a wire brush to clean out any loose material and debris from the cracks.
- Widen the Crack: If necessary, use a chisel and hammer to slightly widen the crack. This helps the repair material adhere better.
- Remove Moisture: Ensure the area is dry before applying any repair materials.
Repairing Different Types of Cracks
1. Repairing Hairline Cracks
For minor cracks, follow these steps:
- Apply Crack Filler: Use a high-quality crack filler or masonry caulk. Apply the filler using a caulk gun for precision.
- Smooth the Surface: Use a trowel or putty knife to smooth the filler and ensure it is flush with the surrounding wall.
- Allow to Dry: Let the filler dry completely according to the manufacturer’s instructions before applying any paint or sealant.
2. Repairing Vertical and Horizontal Cracks
For larger or more significant cracks:
- Apply Mortar: Mix the mortar according to the manufacturer’s instructions. Use a trowel to apply the mortar into the crack, ensuring it is fully packed.
- Smooth and Shape: Use a trowel to smooth the surface of the mortar and match it with the existing brickwork.
- Allow to Cure: Let the mortar cure as per the manufacturer’s guidelines. Curing times may vary depending on the type of mortar used.
3. Repairing Diagonal Cracks
For cracks that are indicative of more serious issues:
- Inject Epoxy: Mix epoxy resin according to the instructions. Use an epoxy injection system to fill the crack. This method is especially useful for structural repairs.
- Seal the Surface: Once the epoxy has cured, apply a high-quality sealant to protect the area from future moisture intrusion.
Post-Repair Considerations
1. Inspect the Repair
After completing the repair:
- Check for Gaps: Ensure that the repaired area is solid and free from gaps.
- Test for Stability: Gently press on the repaired area to confirm that it is stable and secure.
2. Apply a Sealant
To protect your repair:
- Choose a Sealant: Select a masonry sealant appropriate for your brick type and the repaired area.
- Apply Evenly: Use a brush or roller to apply the sealant over the repaired area and the surrounding wall.
- Follow Drying Instructions: Allow the sealant to dry completely before exposing it to moisture or weather.
3. Monitor the Wall
Regularly inspect the repaired area:
- Look for New Cracks: Watch for any signs of new cracks or deterioration.
- Address Issues Promptly: Address any new cracks or issues immediately to prevent further damage.
Preventing Future Cracks
1. Address Foundation Problems
Ensure any foundation issues are addressed by a professional to prevent future cracks. Foundation repairs may involve underpinning or other structural interventions.
2. Improve Drainage
Enhance drainage around the foundation to prevent water accumulation. Ensure gutters are functioning correctly and that water is directed away from the wall.
3. Maintain the Wall
Regular maintenance is essential:
- Clean the Wall: Regularly clean the wall to remove dirt and debris.
- Inspect for Damage: Periodically check for signs of new cracks or other damage.
Conclusion
Effectively repairing cracks in brick walls involves careful preparation, selecting the right materials, and following precise repair techniques. By addressing the root cause of the cracks and implementing preventative measures, you can maintain the structural integrity and appearance of your brick walls.


