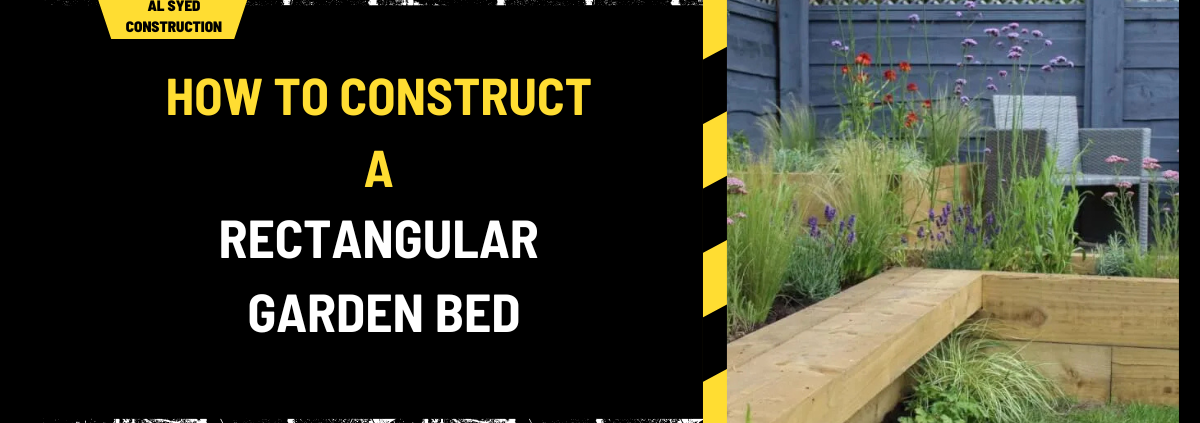
How to Construct a Rectangular Garden Bed: A Detailed Guide
Creating a rectangular garden bed is a practical and aesthetically pleasing way to organize your garden, whether you’re cultivating vegetables, flowers, or herbs. This comprehensive guide will walk you through the process, offering step-by-step instructions to ensure a successful and long-lasting garden bed.
Planning Your Rectangular Garden Bed
1. Choosing the Location
Selecting the right location is crucial for the success of your garden bed. Here are key factors to consider:
- Sunlight Exposure: Opt for a spot that receives at least 6-8 hours of direct sunlight daily. Most plants thrive in full sun, but some shade-tolerant plants can work well in less sunny spots.
- Soil Drainage: Ensure the area has well-draining soil to prevent waterlogging. If the soil is clayey or prone to puddling, consider building a raised bed.
- Accessibility: Choose a location that is easily accessible for planting, weeding, and harvesting.
2. Determining Size and Dimensions
The dimensions of your rectangular garden bed will depend on the available space and your gardening needs. Consider the following:
- Width: Typically, garden beds are 4 feet wide, allowing easy access from both sides. If using a raised bed, a width of 3-4 feet is manageable.
- Length: The length can vary based on your garden space, but a length of 6-8 feet is common.
- Depth: Aim for a depth of at least 12 inches to accommodate root growth. For raised beds, a depth of 18-24 inches is ideal.
3. Budgeting for Materials
Planning your budget helps in selecting materials that meet both aesthetic and functional needs. Consider the following costs:
- Wood or Metal for Framing: Cedar, redwood, or composite lumber are popular choices for framing. Metal options include galvanized steel or aluminum.
- Soil and Compost: Purchase high-quality garden soil and compost to fill your bed.
- Tools: Basic tools include a shovel, level, and saw.
Building the Rectangular Garden Bed
1. Marking and Measuring
- Outline the Bed: Use stakes and string to mark the dimensions of your garden bed. Ensure the corners are square and the sides are straight.
- Measure Accurately: Double-check the length, width, and depth to confirm accuracy.
2. Preparing the Site
- Clear the Area: Remove grass, weeds, and debris from the marked area. This prevents competition for nutrients and reduces the likelihood of pests.
- Level the Ground: Ensure the ground is level to provide a stable base for the garden bed. Use a level and make adjustments as needed.
3. Constructing the Frame
- Cutting Materials: If using wood, cut the boards to the desired lengths. For a typical 4×8 foot bed, you will need four 8-foot boards and four 4-foot boards.
- Assembling the Frame: Use screws or nails to join the boards at the corners. For added stability, pre-drill holes and use corner brackets if necessary.
- Securing the Frame: Place the frame on the prepared site and ensure it is level. Anchor the frame using stakes or additional supports if needed.
4. Filling the Bed
- Adding Soil: Fill the bed with a mix of high-quality garden soil and compost. Aim for a blend that provides good drainage and fertility.
- Tamping Down: Gently tamp down the soil to remove air pockets and ensure a firm planting base.
Planting and Maintaining Your Garden Bed
1. Selecting Plants
Choose plants that are suitable for your climate and soil conditions. Consider companion planting to maximize space and improve plant health. Here are some tips:
- Vegetables: Opt for crops that suit the season and spacing, such as tomatoes, lettuce, and carrots.
- Flowers: Consider annuals or perennials that will thrive in your chosen location.
- Herbs: Herbs like basil, thyme, and parsley can be grown alongside other plants.
2. Planting Techniques
- Spacing: Follow the recommended spacing guidelines for each plant to avoid overcrowding and ensure adequate air circulation.
- Planting Depth: Plant seeds or seedlings at the recommended depth. For most plants, this means planting at the same level as they were in their nursery containers.
3. Watering and Fertilizing
- Watering: Keep the soil consistently moist but not waterlogged. Water deeply and regularly, especially during dry periods.
- Fertilizing: Apply a balanced fertilizer or compost periodically to provide essential nutrients. Follow the recommended application rates to avoid over-fertilizing.
4. Weeding and Pest Control
- Weeding: Regularly remove weeds to prevent competition for nutrients and water. Mulching can help reduce weed growth.
- Pest Control: Monitor for pests and diseases. Use organic pest control methods and maintain plant health through proper care.
Seasonal Considerations
1. Winter Care
- Protecting Plants: Use mulch or row covers to protect plants from frost and harsh winter conditions.
- Soil Management: Add compost to the soil before winter to enrich it and prepare it for the next growing season.
2. Spring Preparation
- Soil Testing: Test soil for nutrient levels and pH. Amend the soil as needed to optimize growing conditions.
- Planting: Prepare the bed for new plantings by clearing debris and adding fresh compost.
3. Summer Maintenance
- Monitoring: Keep an eye on plant growth and address any issues promptly. Adjust watering and fertilizing as needed.
- Harvesting: Regularly harvest mature crops to encourage continued production and prevent overripening.
4. Fall Cleanup
- Clearing Debris: Remove dead plants and debris from the bed. This helps prevent pests and diseases.
- Preparing for Winter: Add mulch and compost to the bed to protect the soil and prepare it for the next season.
Conclusion
Constructing a rectangular garden bed is a rewarding project that enhances your garden’s functionality and aesthetic appeal. By following this detailed guide, you can build a garden bed that meets your needs, supports healthy plant growth, and contributes to a beautiful outdoor space. For more information on garden bed construction and design


