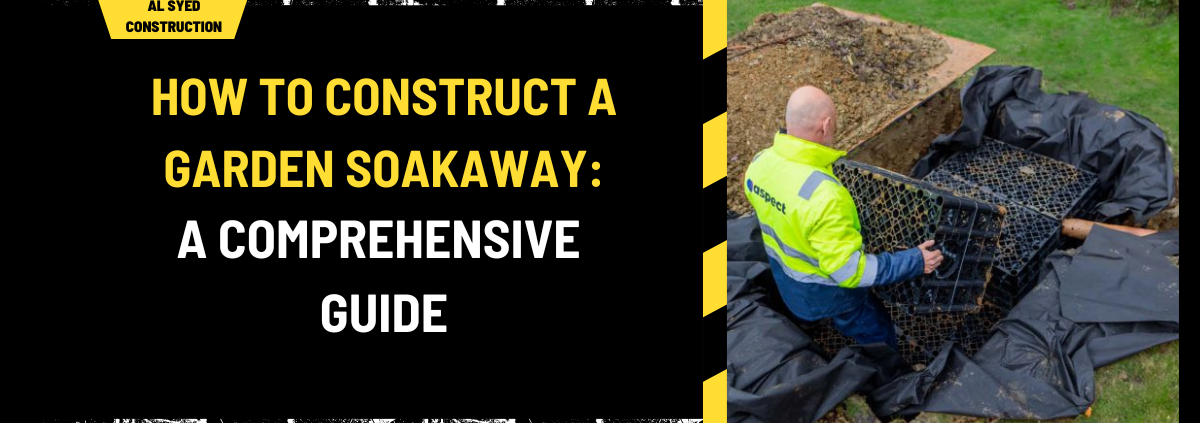
How to Construct a Garden Soakaway: A Comprehensive Guide
Building a garden soakaway is an essential step in managing rainwater runoff and protecting your property from potential water damage. A well-designed soakaway efficiently channels rainwater away from your home, reducing flood risks and promoting sustainable water management. This guide provides a thorough, step-by-step approach to constructing a garden soakaway, ensuring effectiveness and compliance with best practices.
Understanding Soakaways
1. What is a Garden Soakaway?
A garden soakaway is a drainage system designed to collect and disperse rainwater into the ground. It helps prevent water accumulation on your property and mitigates flooding by allowing water to naturally infiltrate into the soil. Soakaways are particularly useful in gardens, driveways, and areas with poor drainage.
2. Benefits of Installing a Soakaway
- Flood Prevention: Reduces the risk of flooding by managing rainwater runoff effectively.
- Environmental Impact: Promotes groundwater recharge and minimizes the strain on local drainage systems.
- Cost Efficiency: Lowers water management costs and reduces the need for expensive drainage solutions.
Planning Your Soakaway
1. Assessing Your Site
- Soil Type: Determine the soil’s drainage capabilities. Sandy soils drain quickly, while clay soils retain water. Conduct a percolation test to assess how well the soil absorbs water.
- Location: Choose a location away from building foundations, driveways, and other structures to avoid potential water damage. Ensure the site is accessible for construction and future maintenance.
2. Soakaway Size and Capacity
- Calculating Capacity: The size of the soakaway depends on the volume of water it needs to handle. Consider factors such as roof size, impermeable surfaces, and average rainfall. Use online calculators or consult a drainage specialist to determine the appropriate size.
- Depth and Dimensions: Standard soakaways are usually between 1 to 3 meters deep. Ensure the soakaway is large enough to accommodate the expected water volume and allow for effective drainage.
Designing Your Soakaway
1. Choosing the Right Materials
- Geotextile Fabric: Use geotextile fabric to line the soakaway pit, preventing soil from entering the system while allowing water to pass through.
- Drainage Pipes: Opt for perforated drainage pipes to facilitate water flow into the soakaway. Ensure pipes are durable and resistant to clogging.
- Aggregate: Use gravel or crushed stone as the primary aggregate. This material promotes water infiltration and prevents sediment from blocking the system.
2. Design Layout
- Pit or Trench Soakaway: Decide between a pit soakaway or a trench soakaway based on the available space and site conditions. A pit soakaway involves digging a deep hole, while a trench soakaway requires a long, narrow trench.
- Inlet and Outlet: Design the inlet to direct water from downspouts or drainage channels into the soakaway. Ensure there is an outlet for excess water to flow away if the soakaway reaches its capacity.
Constructing the Soakaway
1. Excavation
- Digging the Hole: Excavate the pit or trench to the required depth and dimensions. Remove any debris or large stones from the excavation site.
- Preparing the Base: Level the base of the excavation and lay a layer of coarse gravel to create a stable foundation for the soakaway.
2. Installing the Soakaway
- Lining the Soakaway: Cover the excavation with geotextile fabric. Ensure the fabric is securely in place and extends beyond the edges of the excavation to prevent soil intrusion.
- Placing the Aggregate: Fill the excavation with aggregate, such as gravel or crushed stone. Leave space at the top to accommodate future sediment and soil settling.
- Installing Pipes: Lay perforated drainage pipes within the aggregate. Connect the pipes to the inlet and ensure they are properly aligned for optimal water flow.
3. Connecting the Soakaway
- Linking to Downspouts: Connect downspouts or drainage channels to the soakaway inlet. Use appropriate fittings and seal all connections to prevent leaks.
- Testing the System: Test the soakaway by simulating rainfall or using a water hose. Check for proper drainage and ensure there are no blockages or leaks.
Finishing Touches
1. Backfilling and Landscaping
- Backfilling: Carefully backfill the excavation with soil, covering the aggregate and pipes. Compact the soil to prevent settling and ensure stability.
- Landscaping: Restore the surrounding area with grass, plants, or decorative features. Ensure that the landscaping does not obstruct the soakaway or impede water flow.
2. Maintenance and Inspection
- Regular Checks: Inspect the soakaway periodically for signs of clogging or damage. Remove any debris that may obstruct the system.
- Clearing Blockages: If the soakaway becomes blocked, clear the blockage promptly to maintain effective drainage. Consider installing a maintenance access point for easier cleaning.
3. Compliance and Regulations
- Local Regulations: Ensure that your soakaway complies with local regulations and building codes. Obtain any necessary permits and follow guidelines for construction and maintenance.
Conclusion
Constructing a garden soakaway is a crucial step in managing rainwater runoff and protecting your property from flooding. By following this comprehensive guide, you can design and build an effective soakaway system that meets your needs and enhances your garden’s functionality. Regular maintenance and adherence to local regulations will ensure long-term performance and sustainability.


