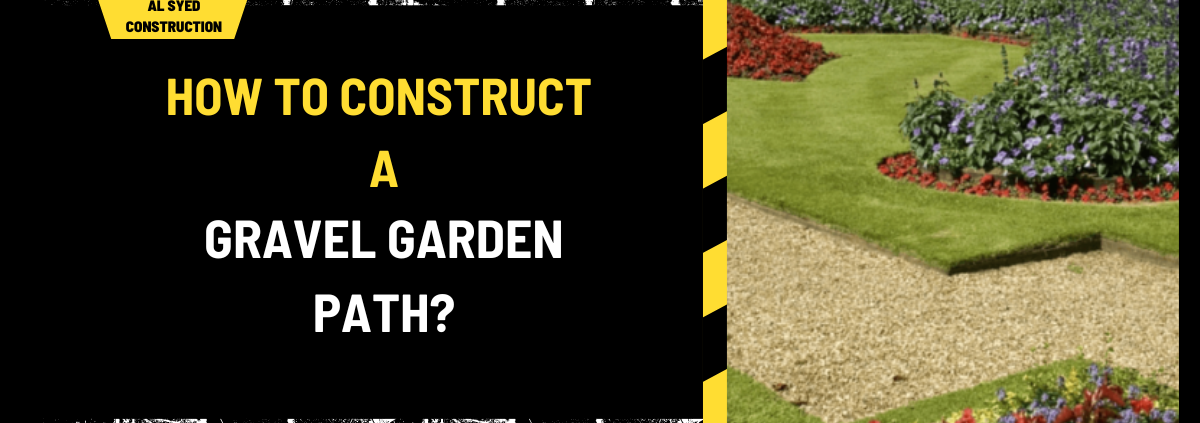
How to Construct a Gravel Garden Path?
Creating a gravel garden path adds a touch of elegance and practicality to any garden. Gravel paths are not only visually appealing but also offer low maintenance and durability. This comprehensive guide will walk you through the process of constructing a gravel garden path, ensuring that you achieve a beautiful and functional addition to your outdoor space.
Planning Your Gravel Garden Path
Determining Path Location and Design
Begin by planning the location and design of your gravel garden path. Consider the overall layout of your garden and how the path will integrate with existing features. Decide on the path’s width and shape. Straight paths offer a clean, modern look, while winding paths create a more natural, informal aesthetic. Mark the path’s outline using garden stakes and string or spray paint.
Choosing the Right Gravel
Selecting the appropriate gravel type is crucial for both aesthetics and functionality. Decorative gravel such as crushed granite, pea gravel, or river rock can enhance the visual appeal of your path. For a more stable surface, consider angular gravel like crushed limestone. Ensure the gravel size is suitable for walking; typically, a 1/4-inch to 3/8-inch gravel is ideal.
Preparing the Site
Clearing the Area
Clear the path area of all grass, weeds, and debris. Use a shovel and garden fork to remove any vegetation and rocks. Ensure the ground is level and compacted. If the area is particularly uneven, you may need to use a landscape fabric to help with weed control and soil stability.
Excavating the Path
Excavate the path to a depth of about 4-6 inches. This depth allows for a base layer of gravel and a sub-base that helps with drainage and stability. Make sure the edges of the excavation are straight or curved according to your design.
Installing the Base Layers
Adding a Sub-Base
Lay down a sub-base layer of crushed stone or gravel, approximately 2-3 inches thick. This layer provides a solid foundation and aids in drainage. Compact the sub-base using a hand tamper or a mechanical compactor to ensure it is firmly set.
Installing the Base Layer
On top of the sub-base, add a layer of sharp sand or gravel. This layer should be about 1-2 inches thick. Level and compact this layer thoroughly. The sharp sand helps to stabilize the path and makes it easier to lay the top layer of decorative gravel.
Laying the Top Layer
Choosing and Spreading Decorative Gravel
Spread your chosen decorative gravel evenly over the base layer. Aim for a depth of about 1-2 inches of gravel. Rake the gravel to ensure an even distribution and smooth surface. To prevent the gravel from spreading beyond the path, consider installing edging along the path’s sides.
Installing Edging
Selecting Edging Materials
To keep your gravel path neatly contained, install edging materials. Options include metal, plastic, or wood edging. Edging helps define the path and prevents gravel from spilling into garden beds. Choose an edging material that complements your garden’s style and the path’s design.
Securing the Edging
Place the edging along the path’s edges, ensuring it is level and secure. Use stakes or spikes to fasten the edging in place. If using wooden edging, ensure the wood is treated to resist rot and pests.
Finishing Touches
Tamping Down the Gravel
After spreading the gravel, use a compactor or tamping tool to compress the gravel slightly. This helps to settle the gravel and create a stable walking surface. Be careful not to over-compact, as this can affect the gravel’s appearance and drainage.
Weed Control and Maintenance
To prevent weeds from growing through your gravel path, lay a weed barrier fabric beneath the gravel. Over time, some weed seeds may still find their way through, so occasional weeding may be necessary. Regularly check the path for loose gravel and replenish as needed to maintain a consistent appearance.
Conclusion
Constructing a gravel garden path involves careful planning, preparation, and installation. By selecting the right materials and following these steps, you can create a stunning and functional path that enhances your garden’s beauty and usability. Regular maintenance will ensure your gravel path remains in excellent condition for years to come.


