
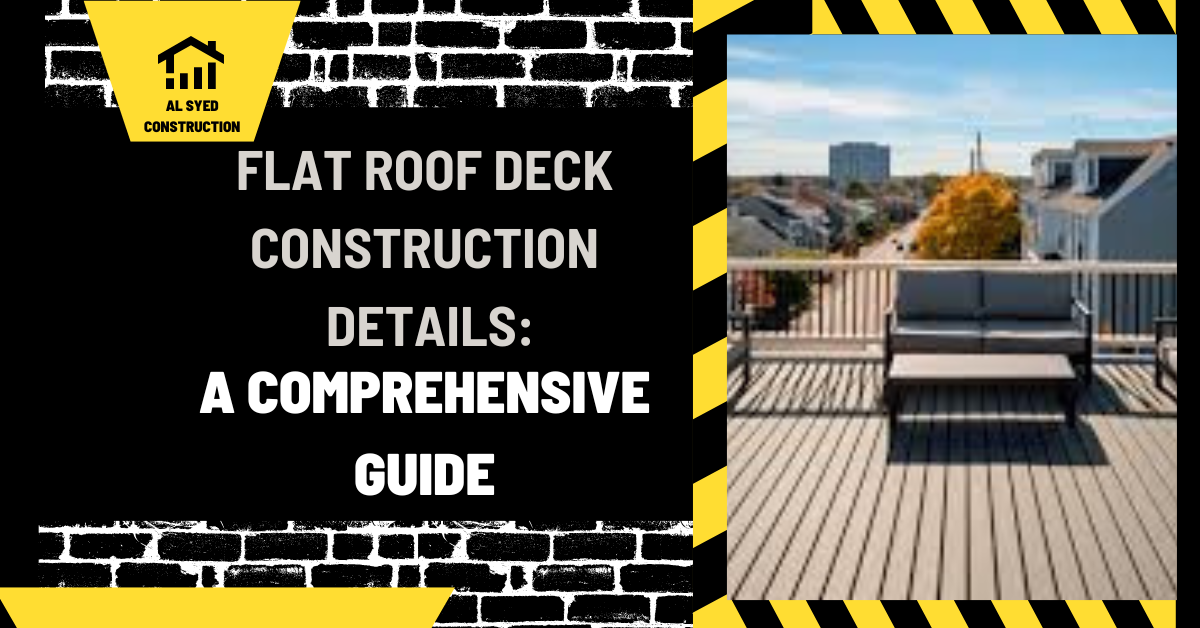
Flat Roof Deck Details: Structure, Drainage, and Membrane
In brief. A flat-roof deck is a coordinated structural and waterproofing assembly. The framing, slope, drains, membrane, walking surface, and edge terminations must work as one system.
Whether you’re looking to create a stunning outdoor living space or enhance the functionality of your property, proper construction details are key to ensuring a durable and long-lasting deck. In this guide, we’ll cover everything you need to know about flat roof deck construction, from planning and materials to installation and maintenance.
Planning Your Flat Roof Deck
Before you begin construction, it’s essential to carefully plan your flat roof deck. Start by determining the size and layout of your deck, taking into account any existing structures or features that may impact its design. Consider factors such as access points, drainage, and load-bearing capacity. Additionally, check local building codes and regulations to ensure compliance with all relevant requirements.
Selecting the Right Materials
Choosing the right materials is crucial for the success of your flat roof deck construction. Opt for high-quality, weather-resistant materials that are suitable for outdoor use. Common materials for flat roof decks include pressure-treated wood, composite decking, and PVC membrane. Consider factors such as durability, maintenance requirements, and aesthetics when selecting materials for your deck.
Construction Details
When it comes to constructing your flat roof deck, attention to detail is key. Start by ensuring that the roof surface is clean, smooth, and free of any debris. Coordinate the deck surface, roof membrane, flashing, drains, and edge terminations as one waterproofing assembly; follow the approved roof-system detail. Do not penetrate a roof membrane or attach framing to the roof surface unless the complete connection and waterproofing detail has been designed for that assembly.
Next, frame the deck using pressure-treated lumber or steel framing. Ensure that the framing is level and securely anchored to the roof surface. Install a slope towards the drainage points to ensure proper water runoff. Finally, install the decking material according to the manufacturer’s instructions, leaving adequate gaps for expansion and contraction.
Maintenance Tips
To ensure the longevity of your flat roof deck, regular maintenance is essential. Inspect the deck periodically for signs of wear and damage, such as loose boards or rusted fasteners. Clean the deck regularly to remove debris and prevent mold or mildew growth. Consider applying a protective sealant to the decking material to enhance durability and weather resistance.
| Review point | What to verify |
|---|---|
| Support | Trace loads through framing and connections. |
| Surface | Confirm product dimensions and fastening details. |
| Exposure | Coordinate flashing, drainage, and maintenance. |
The finish and the structure have to agree: compare deck roof attached to house with decking in construction while checking the supporting detail and the intended surface.
Coordinate the deck surface with its support system
A flat-roof deck is a coordinated structural and waterproofing assembly. The framing, slope, drains, membrane, walking surface, and edge terminations must work as one system. Use the topic as a decision to verify on the actual site, not as a universal detail copied from an unrelated project.
Have the roof and deck designer identify the load path, drainage plan, membrane protection, penetrations, access, and inspection points before any attachment is made. Write the assumption beside the measurement or drawing that supports it. This makes it easier for an owner, designer, installer, and inspector to see what has been decided and what still needs confirmation.
For deck work, treat the walking surface, framing, connections, footings, flashing, and edge protection as one assembly. Product compatibility matters: a board’s movement, fastening method, and exposure influence the details at joists, stairs, walls, and outside edges. If the deck is elevated or carries a roof, concrete, or unusual equipment, use an approved structural design rather than extending a ground-level detail by analogy.
Turn the plan into field checks
Start by recording the existing condition and the intended result. Compare the proposed work with the adjacent surface, support, opening, boundary, or drainage path. Confirm that the selected product and connection belong to the same system, then identify which work must be inspected before it is covered. These checks prevent a good-looking finish from hiding a weak interface or an unresolved water path.
| Review point | What to verify |
|---|---|
| Support | Trace loads through framing and connections. |
| Surface | Confirm product dimensions and fastening details. |
| Exposure | Coordinate flashing, drainage, and maintenance. |
Sequence the work around hold points
- Confirm the site measurements, existing material, and intended use before ordering or demolition.
- Resolve the structural, drainage, access, boundary, or code question that controls the layout.
- Check product instructions and approved drawings before cutting, fastening, placing concrete, or closing an enclosure.
- Inspect connections, edges, transitions, and water movement while each item remains visible.
- Record the final product, changes, approvals, and maintenance requirements for the next owner or contractor.
Failure pattern to prevent
Fastening through or covering a roof membrane without a designed detail can create leaks that remain hidden below the finished walking surface. A practical correction is to pause at the point where the condition becomes visible, document it with a measurement or photograph, and resolve the cause before adding more finish material. If the finding affects structure, fall protection, electrical work, or code approval, send it to the qualified designer or local authority rather than improvising a field change.
Example of a useful project note
For example, if a contractor proposes a change after opening the work area, note the original condition, the proposed detail, the product or drawing used to support it, and the person who approved the change. Then inspect the completed interface before trim, soil, siding, flooring, or stored items make it difficult to see. This record is more useful than a photo without a location or a verbal instruction that cannot be checked later.
Project-specific checks for flat roof deck details
Pay particular attention to where members meet. A surface board, joist, beam, post, footing, house wall, and stair stringer each move load or water differently. Verify the connection type and fastener compatibility against the approved detail, and make sure flashing or drainage features do not redirect water behind exterior finishes. Keep cut ends and concealed areas accessible for inspection until the relevant work has been accepted.
What to verify before the work is concealed
Inspect the location and continuity of each connection, the fit at edges and corners, and any route for water, movement, or access. Confirm that the installed material matches the product data and approved scope. Where a detail is hidden later by trim, soil, a panel, a membrane, or stored contents, take a record before closing it and identify the inspection or approval that applies.
Have the roof and deck designer identify the load path, drainage plan, membrane protection, penetrations, access, and inspection points before any attachment is made. Pair that information with the field condition rather than relying on a generic illustration. If the measured result differs from the plan, record the difference and get the responsible reviewer’s direction before work continues.
- Photograph the relevant interface with a location and date.
- Record the product, finish, and fastener actually installed.
- Note any deviation, approval, inspection, or repair still outstanding.
- Keep access open until the responsible reviewer accepts concealed work.
Records, follow-up, and maintenance
Closeout should capture the measurements, product names, drawings, approvals, inspection results, and any maintenance instructions that affect flat roof deck details. Keep the records together with photographs of concealed conditions and contact details for the installer or supplier. A clear record helps diagnose later movement, water entry, finish wear, or replacement needs without guessing how the original work was assembled.
Set a follow-up inspection based on exposure and use. After severe weather, seasonal movement, or a change in how the area is used, look again at the interface that carries the greatest risk. Correct loose, damaged, or blocked details early, and address the cause rather than covering the symptom with a new finish.
Common questions
What should be checked first for flat roof deck details?
A flat-roof deck is a coordinated structural and waterproofing assembly. The framing, slope, drains, membrane, walking surface, and edge terminations must work as one system. Then verify the controlling site measurement and the interface that will be hidden or loaded by the work.
Can one detail be used on every project?
No. Use the project’s actual substrate, exposure, intended use, approved design, product directions, and local requirements. A detail that works on one deck, porch, fence, or site condition may not transfer to another.
Closeout checklist for flat roof deck details
At completion, compare the work with the approved scope, inspect the transitions that carry water or loads, and confirm that doors, gates, stairs, and service access operate as intended. Record product names, dimensions, finish, approvals, inspection results, and any change made in the field. This documentation helps a future owner or contractor maintain the assembly without guessing which product or detail was used.
Revisit the work after weather exposure or initial use. Look for movement, loose connections, standing water, blocked drainage, damaged finish, or access problems. Address the cause early and keep the repair record with the original plans.
Conclusion
In conclusion, flat roof deck construction requires careful planning, quality materials, and attention to detail. By following the guidelines outlined in this guide, you can create a beautiful and functional outdoor space that will enhance the value and enjoyment of your property for years to come.




Leave a Reply
Want to join the discussion?Feel free to contribute!