
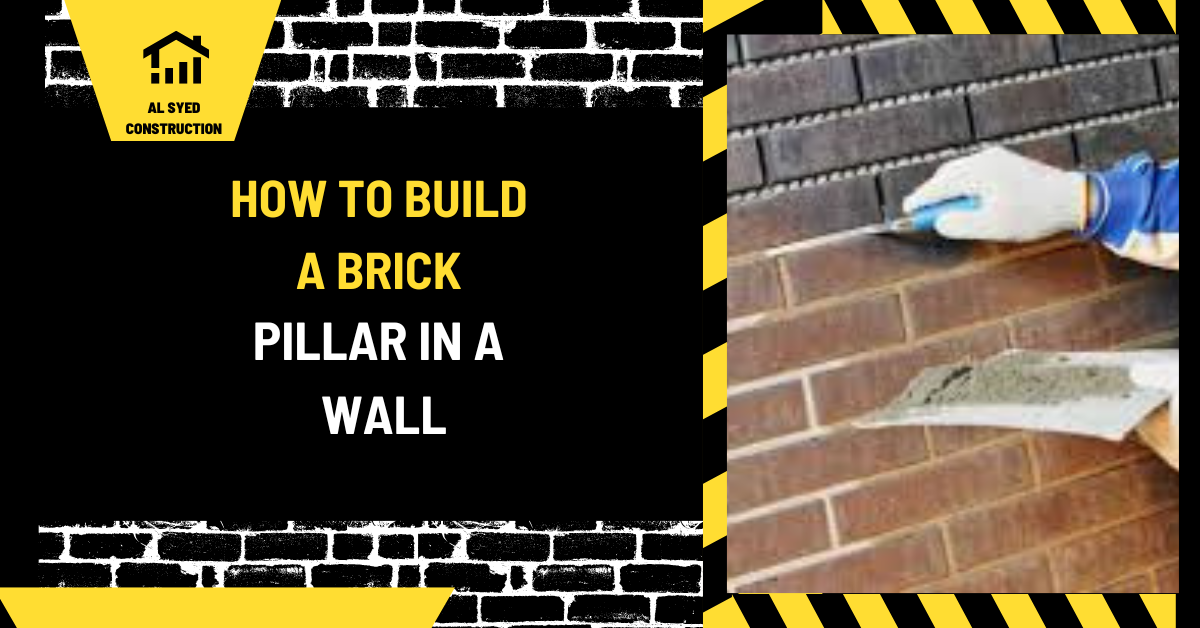
Brick pillar in a wall: Guide
Building a brick pillar in a wall is a robust and aesthetically pleasing way to add structural integrity and visual appeal to various construction projects. Whether you’re enhancing a garden wall, constructing a boundary wall, or adding a feature to an existing structure, a well-built brick pillar can serve as a focal point and provide essential support. This comprehensive guide will walk you through every step of constructing a brick pillar, ensuring a professional and enduring result.
Planning and Preparation
1. Define the Purpose and Design
Before starting your project, it’s crucial to define the purpose of the brick pillar and finalize its design.
- Purpose: Determine the function of the pillar—whether it’s for structural support, aesthetic appeal, or both.
- Design: Sketch a design that includes dimensions, brick patterns, and any additional features like decorative elements or lighting fixtures.
2. Gather Materials and Tools
Collect all necessary materials and tools to ensure a smooth construction process.
- Materials:
- Bricks: Choose high-quality, durable bricks suitable for outdoor use.
- Mortar Mix: Select a mortar mix appropriate for masonry work, such as Type N or Type S.
- Reinforcement Materials: For added strength, you might need steel reinforcements or rebar.
- Concrete: If creating a foundation, use ready-mix concrete.
- Tools:
- Shovel: For digging and moving soil.
- Trowel: For applying and smoothing mortar.
- Level: To ensure bricks are laid evenly.
- Tape Measure: For accurate measurements.
- Brick Hammer: For adjusting and fitting bricks.
- Masonry Saw: For cutting bricks to size.
Preparing the Foundation
1. Mark the Pillar Location
Accurately mark the location where the brick pillar will be constructed.
- Use Stakes and String: Place stakes and string to outline the dimensions of the pillar. This ensures precision and helps visualize the final structure.
2. Excavate the Area
Dig a hole for the pillar foundation.
- Depth and Width: The foundation hole should be approximately 12-18 inches deep and wide enough to accommodate the concrete base and reinforcement.
- Remove Debris: Clear the hole of any debris, roots, or rocks to provide a stable base.
3. Pour the Concrete Foundation
Prepare and pour concrete into the excavation to create a solid foundation.
- Mix Concrete: Follow the manufacturer’s instructions to mix the concrete.
- Pour and Level: Pour the concrete into the hole and use a trowel to level it. Allow it to set and cure according to the manufacturer’s recommendations, usually 24-48 hours.
Constructing the Brick Pillar
1. Lay the First Course of Bricks
Begin laying the first course of bricks on the cured concrete foundation.
- Apply Mortar: Spread a layer of mortar on the foundation where the bricks will be placed.
- Place Bricks: Lay the bricks in the desired pattern, ensuring they are level and aligned with the marked outline.
- Check for Level: Use a level to ensure the bricks are evenly placed. Adjust as necessary.
2. Build Up the Pillar
Continue adding courses of bricks until you reach the desired height.
- Stagger Joints: To enhance strength and appearance, stagger the joints between bricks in each course.
- Apply Mortar: Apply mortar between the bricks and press them firmly into place.
- Smooth Mortar: Use a trowel to smooth and fill gaps in the mortar, creating a clean finish.
3. Reinforce the Structure
For added stability, incorporate reinforcement materials as needed.
- Insert Rebar: If required, insert steel rebar or reinforcement bars between courses of bricks. Secure them with mortar to provide additional support.
- Use Bond Beams: In some cases, bond beams may be used to connect and reinforce the pillar’s structure.
Finishing Touches
1. Clean Excess Mortar
After completing the brickwork, clean any excess mortar from the bricks.
- Wipe with a Sponge: Use a damp sponge to remove mortar from the brick faces before it hardens.
- Brush Residue: For any remaining mortar residue, use a stiff brush to clean the surface.
2. Inspect and Touch Up
Inspect the completed pillar for any imperfections and make necessary repairs.
- Check Alignment: Ensure all bricks are properly aligned and level.
- Repair Gaps: Fill any gaps or voids with additional mortar and smooth the surface.
3. Apply a Sealant
To protect the brick pillar from weathering and staining, apply a sealant.
- Choose a Sealant: Select a high-quality masonry sealant appropriate for your bricks.
- Apply Evenly: Apply the sealant evenly across the brick surface using a brush or roller. Follow the manufacturer’s instructions for application and curing times.
Maintenance and Care
1. Regular Cleaning
Keep the brick pillar clean by regularly removing debris and dirt.
- Use a Soft Brush: Gently brush the pillar to remove loose dirt and grime.
- Wash with Water: For stubborn stains, wash the pillar with water and a mild detergent.
2. Inspect for Damage
Periodically inspect the pillar for any signs of damage or deterioration.
- Check Mortar Joints: Look for cracked or deteriorating mortar joints and repair as needed.
- Address Cracks: Fill any cracks in the bricks or mortar with appropriate repair materials.
3. Reapply Sealant
Reapply sealant every few years to maintain protection and appearance.
- Follow Instructions: Ensure the surface is clean and dry before applying a new coat of sealant.
Design the Pillar Before Choosing the Bond
A brick pillar may be a decorative pier, a gate support, a fence post, or a structural element carrying a beam or roof. Its purpose determines its dimensions, foundation, reinforcement, connections, and allowable height. A pillar that supports a gate experiences repeated movement and lateral load; a pier carrying a canopy receives vertical and uplift forces; a garden feature may carry only its own weight. Do not size a pillar by copying a photograph. For structural, tall, retaining, or gate-supporting work, use project-specific design and confirm permits, property boundaries, and underground utilities first.
Specify the brick or masonry unit, mortar, bond, core configuration, reinforcement, grout, cap, and any metal connection. A solid-looking brick pier can contain a hollow core; whether that core is grouted or reinforced depends on the design. The foundation must transfer the pillar loads to suitable soil and resist overturning. A narrow surface pad may be inadequate, especially where frost, expansive soil, slope, or wind exposure matters. Confirm the footing size, depth, reinforcement, elevation, and drainage before starting masonry.
Set Out and Build from a True Base
Locate the centerlines and finished dimensions with a square, tape, and level. Check diagonal measurements and alignment with the adjoining wall. Clean the footing and verify that anchor bars or dowels are correctly positioned. Lay out the first course dry to check the bond and the location of any core or connection. Use the specified mortar and establish a level, fully supported base course. Keep the pillar square at every course; small errors accumulate quickly and can leave a visibly twisted top.
Maintain the bond pattern so units overlap as detailed. At corners, alternate the unit arrangement or use the specified corner units to avoid a continuous vertical joint. Keep joints consistent and plumb the faces in two directions. If bars run through a core, keep them centered and tied. If the design calls for grout, keep the core free of mortar droppings and inspect it before filling. Follow the specified grout placement and consolidation sequence; do not assume that pouring grout into an obstructed core will fill it completely.
Connect Gates, Beams, and Wall Returns
Gate hinges and latches need a designed attachment that transfers repeated forces into the pillar. A screw in a face brick or mortar joint may loosen under cycling loads. Use the specified embedded plate, sleeve, anchor, or reinforced core detail, and coordinate it before the pillar is closed. Keep hinge alignment and gate clearance in the layout. Where a beam or coping spans between pillars, verify bearing and connection details, plus movement between dissimilar materials. A pillar may also need to be tied to a return wall or braced during construction; temporary stability should be addressed before the wall reaches full height.
Install the cap or coping with a slope and drip edge that move water away from the pillar faces. Seal or flash metal connections as detailed to limit water entry. Do not trap water in a hollow top or rely on a surface coating to correct a missing cap. In cold climates, choose units and mortar suitable for the exposure and keep water from ponding at the top.
Inspect, Protect, and Maintain
Check dimensions, plumb, level, bond, joints, bars, grout, and embedded hardware before concealment. Protect fresh masonry from rain, freezing, rapid drying, and impact. Leave braces in place until the assembly is stable and the design permits removal. After completion, inspect for cracks at the base, loose caps, rust staining, movement at gate hinges, and water entry around connections. A growing crack, leaning pier, or movement under gate use calls for prompt professional evaluation. A durable pillar depends on a proper footing and load path as much as on precise brickwork.
Related masonry reading: How to Build a Mortared Stone Wall Safely and Brick Veneer Construction: How the Wall Works.
Conclusion
Building a brick pillar in a wall enhances both the functionality and beauty of your construction project. By following the steps outlined in this guide, you can create a durable and visually appealing pillar that will stand the test of time. For more detailed construction tips and expert advice




Leave a Reply
Want to join the discussion?Feel free to contribute!