
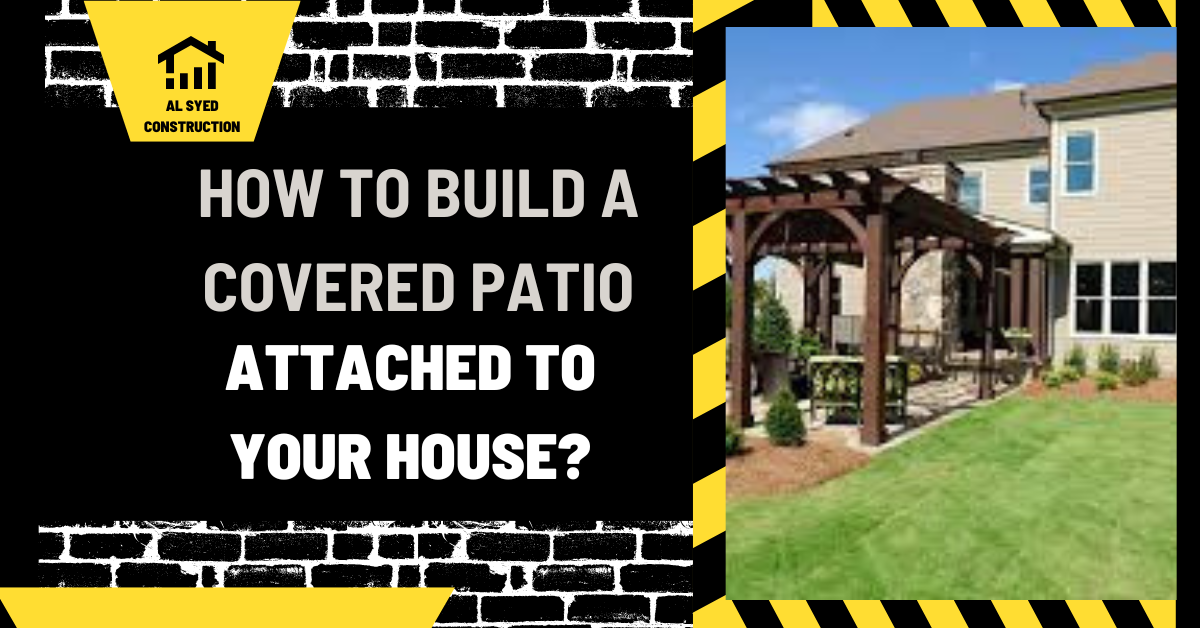
Build an Attached Covered Patio: Project Sequence
Building a covered patio attached to a house begins with a property-specific design and a coordinated construction plan. The new roof must have suitable support and connections, while its meeting with the house must manage water appropriately. Existing paving and roof trim should not be assumed capable of supporting the proposed structure.
Resolve local approvals, foundation and framing design, house attachment, roof covering, drainage, and required inspections before construction. The sequence below explains the project stages and decisions. It does not supply universal beam spans, footing sizes, or fastener schedules for an unknown house.
Define the roofed space and its intended use
Mark the covered footprint, furniture, routes, doors, windows, and proposed roof arrangement. Decide whether the project is an open patio cover or includes an enclosure or conditioned use. Those choices can change the design and requirements.
The patio roof planning guide compares the broader cover arrangements. Select the concept with the house, property limits, sunlight, and outdoor activities in view before developing construction details.
Identify separate features such as lighting or appliances. They may introduce trade coordination and product-location requirements. Include them in the brief rather than adding them after the roof is complete.
Investigate the existing house and site
An attached design needs an appropriate assessment of the existing structure at the proposed connection. Determine what supports the new loads and how they continue to suitable foundations. Decorative trim is not a substitute for that assessment.
Review existing walls, roofing, openings, utility locations, and water details. Concealed conditions may need investigation. Keep the design assumptions identifiable so discoveries can be addressed before framing is installed.
Survey the patio area and surrounding ground. Existing concrete, pavers, or a deck may require separate evaluation or alteration. Their appearance alone does not establish the support needed for roof columns.
Obtain the applicable approved design
Local adoption and amendments determine the relevant code and approval requirements. The 2024 International Residential Code includes a patio-cover appendix, but its presence in a model code does not establish adoption or applicability in every jurisdiction.
Ask the responsible designer and authority what documents, permits, and inspections apply to this property. Coordinate any structural, zoning, energy, conservation, or trade requirements relevant to the accepted scope.
Avoid transferring an ordinary deck detail to a roofed cover automatically. American Wood Council states that its DCA6 guide applies to the specified residential deck scope and does not cover canopies or awnings. Use appropriate design information for the actual structure.
Organize construction by review stage
| Project stage | Work to coordinate | Review before proceeding |
|---|---|---|
| Investigation and design | Existing structure, layout, loads, and water | Accepted design assumptions and approvals |
| Site setup | Access, utilities, protection, and temporary routes | Work area and responsibilities established |
| Foundation work | Excavation and designed supports | Required review before concealment or placement |
| Posts and framing | Specified members, connectors, and attachment | Assembly matches approved documents |
| Roofing and water detailing | Covering, flashing, drainage, and interfaces | Details inspected before concealment |
| Related trades | Approved electrical or other work | Required trade review and coordination |
| Closeout | Surface restoration, corrections, and records | Normal use and maintenance information provided |
The actual inspection sequence comes from the applicable authority and project. Arrange it before the contractor schedules dependent work.
Match purchased components to the accepted design
Check the actual member, connector, roofing, and kit identifiers before installation. A similar-looking component may have different dimensions, fastening requirements, or application limits. Keep product instructions with the current drawings so the crew can identify the intended assembly.
If a specified item is unavailable, obtain appropriate approval for a substitution before purchasing it. The replacement may affect connected details or the construction sequence. An owner-supplied kit should receive the same review of its documented scope and site-specific suitability as materials purchased by the contractor.
Set up access and protection
Identify delivery, staging, equipment routes, and household access. Keep doors and required routes appropriately managed. Protect retained surfaces, planting, and building finishes before removal or excavation begins.
Confirm utilities through the appropriate process before digging. Show relevant service features on the construction plan and coordinate any necessary relocation with qualified providers.
Arrange temporary weather protection where existing construction will be opened. The house attachment can expose important details during work. Discuss how the contractor manages that interval rather than waiting for rain to reveal the need.
Construct the specified foundations
Follow the approved foundation design for the site’s conditions, loads, and assembly. Do not assume a post can be anchored to an existing patio slab solely because the slab looks intact.
Arrange required inspections at the correct stage. Excavation, reinforcing where specified, embedments, and other details may need review before they are concealed. The contractor should understand those hold points.
Coordinate foundations with the paving plan. New supports may require cutting, removing, or restoring part of an existing surface. Include the resulting edges and joints in the construction scope.
Establish the house connection as designed
Use the approved connection detail and verify the existing supporting construction. If site discoveries differ from the assumptions, obtain appropriate revised direction before continuing. A substitute fastening pattern should not be improvised.
The attached patio roof connection guide explains the structural and water relationships at this interface. Construction should preserve both rather than treat flashing as a later cosmetic addition.
Document relevant concealed conditions and the completed connection where useful. Keep records with the accepted design so future maintenance or changes can be evaluated against the actual installation.
Assemble posts, beams, and roof framing
Install the specified members and connectors using the approved documents and product instructions. Member sizes, spacing, bearing, restraint, and fastening depend on the design. This guide deliberately avoids replacing them with generic dimensions.
The contractor should plan temporary support and erection appropriately. A partially assembled roof is a construction condition that needs its own managed sequence. Do not assume the final assembly’s stability applies before connections are complete.
Check layout and important clearances before the work advances. Door operation, window relationships, roof profile, and furniture use should match the accepted plan. Resolve conflicts before covering conceals the framing.
Install roofing and water details together
The roof covering, underlayment where applicable, flashing, wall interfaces, edges, and drainage form a coordinated water-management assembly. Follow the actual roof product and approved details.
Do not rely on a bead of sealant as the entire house connection’s water solution. Appropriate flashing and drainage relationships need to be incorporated where the assembly requires them, including before relevant areas are concealed.
Review gutters or other collection with the receiving arrangement. A new roof concentrates water differently from an open patio. Discharging it beside a foundation or across the main walkway without a suitable plan can create a new problem.
Coordinate electrical and other work
Approved lighting, fans, receptacles, or other equipment need appropriate products and trade installation. Plan routes and equipment positions before finishes close access. Follow applicable local requirements and manufacturer information.
Do not assume every outdoor cooking appliance is suitable beneath the new roof or within a later enclosure. Check the exact product’s location, ventilation, and clearance instructions when establishing the layout.
Keep separate trades working from current documents. A changed roof or post location can affect a fixture or service route. Communicate the revision before a conflicting installation is completed.
Restore the patio surface and surrounding ground
After the structure and related work permit it, complete the planned surface repairs or new paving. Coordinate foundations, posts, movement details, finished levels, and water routes. The roof and ground surface should function together.
Do not conceal an unresolved connection or inspection item beneath the final surface. Sequence restoration so relevant work remains accessible until accepted.
Reinspect delivery routes and retained areas. Assign repair of disturbed ground, planting, fences, or paving through the agreed scope. Completion extends beyond the roof covering and central patio footprint.
Manage changes through the whole design
An owner-requested enclosure, larger roof, different covering, or shifted column can affect loads, water, approvals, and trades. Obtain the appropriate review before treating it as a simple visual adjustment.
The DIY attached patio feasibility guide helps owners assess responsibilities and capability. Even when an owner performs some work, consequential design changes need the correct expertise and approval route.
Keep revised drawings, product information, prices, and scheduling decisions consistent. A changed construction detail should not leave the crew using an outdated plan at another part of the structure.
Inspect and hand over the completed project
Complete required inspections and review the work against the accepted scope. Operate doors, examine routes, check relevant water details, and identify unfinished restoration or corrections by location.
Collect the approved design, relevant inspection records, roofing and connector information, trade records, and care instructions. Keep the contact process for reporting future concerns clearly identified.
Observe the structure and drainage during normal use without assuming one inspection or rain event proves performance in every condition. Report movement, water entry, or other concerns through the appropriate contractor or professional review.
Can existing patio concrete support the roof posts?
That must be established by the appropriate design and site assessment. A sound-looking surface alone is insufficient evidence.
Can I use standard deck details for the roof?
Do not assume their scope covers a roofed structure. Use design information applicable to the actual patio cover and jurisdiction.
What should happen before framing begins?
Resolve the accepted design, applicable approvals, foundations, house connection, inspection sequence, and site protection arrangements.

Leave a Reply
Want to join the discussion?Feel free to contribute!