
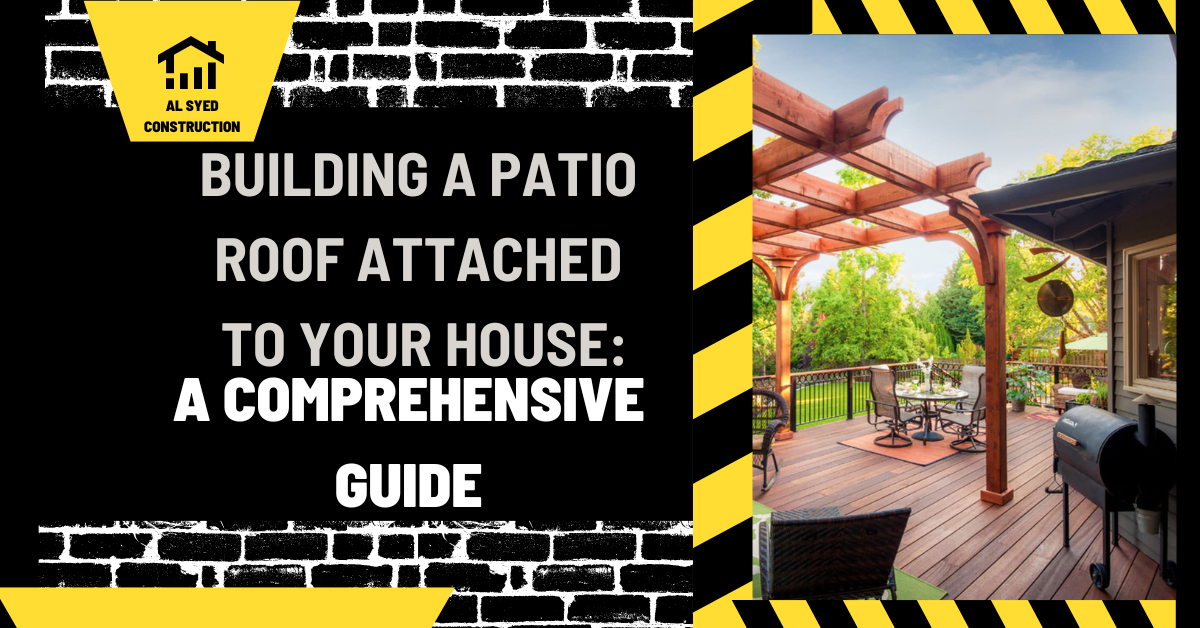
Attached Patio Roof: Connections and Water Control
Building a patio roof attached to a house requires two coordinated systems: a structural connection that transfers the roof’s loads safely, and a weather-resistant connection that keeps water out of the existing building. A roof that appears firmly attached can still have an incomplete load path or a leaking wall interface. Resolve both systems before selecting lumber sizes, fasteners, or roofing materials.
The existing patio floor is a third consideration. A slab built for pedestrian use is not automatically a suitable foundation for roof posts. The house’s visible trim is not automatically structural framing. This guide explains the decisions that an attached-roof design must address. It does not provide a universal framing schedule, footing size, or fastening pattern; those details depend on the building, site loads, materials, and applicable requirements.
Confirm the project’s legal and physical limits
Identify the governing building department and discuss the proposed roof, attachment, location, and intended use. Permit and zoning requirements vary by jurisdiction. Property setbacks, easements, lot coverage, and other restrictions can affect a patio cover even when the work does not enclose a room. Do not assume that an exemption for an uncovered patio also exempts the roof above it.
Document the proposed footprint and height in relation to doors, windows, roof drainage, utility equipment, and property lines. Check whether the cover affects required access or daylight at an existing opening. If the patio may be enclosed later, discuss that possibility now, because a future enclosure can introduce requirements beyond those of the original open cover.
Compare an attached design with a freestanding design before committing to the house connection. A separate structure may avoid certain wall interfaces, but it still needs a designed load path and foundation. The overview of patio roof options helps compare the arrangements. The appropriate choice follows the site and building condition rather than an assumption that attachment is always simpler.
Identify what the house can actually receive
Investigate the existing structure at the proposed attachment. Siding, fascia, veneer, soffit, and decorative trim perform different functions from structural framing. A fastener driven through an attractive surface is not evidence that it reaches a suitable supporting member. Determine what lies behind the finish and how that member is connected to the rest of the building.
Record conditions that can complicate attachment, including deterioration, previous alterations, concealed utilities, irregular framing, and projecting roof details. A design based on a standard wall section may not match an older house. Where the condition cannot be established without opening the assembly, include that investigation in the project rather than leaving it as a surprise during installation.
Have the designer establish the connection location and detail from verified conditions. If the original plan cannot be supported by the existing framing, revise the design before construction continues. Substituting larger screws without understanding the receiving member does not solve an uncertain connection. The load path needs an identifiable destination, not just stronger-looking hardware.
| Interface | What must be established | Why an assumption is risky |
|---|---|---|
| House attachment | Verified framing and designed connection | Finish materials may not carry roof loads |
| Outside posts | Support arrangement and anchorage | Vertical support alone does not address every load |
| Foundation | Suitable footing or verified structural support | A patio slab may serve only as a walking surface |
| Wall and roof junction | Compatible flashing and drainage detail | Surface sealant alone may conceal water entry |
| Roofing system | Slope, support, and installation limits | Different coverings need different assemblies |
Trace the complete load path
An attached roof experiences its own weight and environmental loads appropriate to the location and design. Those forces must pass through roofing support, framing, connections, posts or house structure, and foundations. Wind can create uplift and lateral effects as well as downward loading. A design that considers only gravity is incomplete for an exposed outdoor structure.
Trace the path on a drawing. Identify each connection and the member or foundation receiving the load. This makes missing details easier to recognize: a supported beam without an adequate post connection, a post without suitable anchorage, or a house connection with no verified receiving structure. The drawing should describe how the system works, not merely show the roof’s finished appearance.
Use specified connectors and installation requirements. Hardware capacity depends on compatible materials, fasteners, placement, and the conditions in which it is used. A connector attached with whatever screws are available may not perform as intended. Preserve product information and the design details so installation and later inspection can be checked against the actual specification.
Design foundations independently of the patio finish
Evaluate where new supports will land and what is below them. An existing concrete slab can conceal shallow fill, previous trenches, or unknown construction. Confirm whether the roof foundation requires separate footings, a verified structural slab detail, or another designed solution. A post base sitting on concrete does not by itself establish foundation adequacy.
Coordinate footing excavation with underground utilities and existing foundations. The location of a convenient patio corner may be unsuitable if it conflicts with a service line or another structure’s support. Address drainage around the new footings and the relationship to the finished paving. The roof and patio finish should meet through a planned detail rather than an improvised patch around each post.
Keep design dimensions, soil conditions, and inspection steps together in the work scope. If excavation reveals conditions different from those assumed, obtain the required design response before concealing the work. Foundation revisions can affect both schedule and cost, which is why a budget should include the full structure described in the covered patio cost guide rather than roofing material alone.
Detail the house junction for water
The attachment must integrate with the house’s existing water-control layers. Flashing should direct water out and away while preserving the intended drainage of the wall or roof assembly. A bead of surface sealant across siding is not a complete substitute for this integration. The correct detail depends on the cladding, roofing arrangement, and connection location.
Consider how the existing roof drains onto or near the new cover. A downspout may need a revised path, and a valley or concentrated discharge can place more water on the new roof than its own plan area suggests. Avoid designing gutters as an afterthought. Identify collection points, discharge locations, and maintenance access before the roof shape is finalized.
Check whether the detail creates concealed pockets where water or debris can collect. A tight-looking junction can be difficult to inspect or repair after roofing is installed. Discuss access to flashing and gutters and retain photographs of concealed work. Those records can help diagnose a later leak without immediately dismantling the entire cover.
Coordinate roofing material and slope
Check maintenance access around the attachment before approving the final arrangement. Future gutter cleaning, roof repairs, and siding replacement should remain feasible. A cover that permanently blocks access to an existing roof drain or hides a deteriorating wall section creates an avoidable maintenance problem. Record who will handle those interfaces if the house and patio roof are repaired by different contractors later.
Select the covering together with its required support, slope, fastening, and drainage details. Metal panels, shingles, translucent panels, and proprietary roof systems are not interchangeable skins on any framing arrangement. Each has installation requirements. A low slope chosen to fit beneath a window may conflict with the selected material’s permitted application.
Consider condensation and underside appearance where relevant. A roof can stop rainfall from above while producing moisture or dripping beneath it under certain conditions. The assembly should address the intended use and environment. Do not add insulation, ceiling finishes, or electrical equipment without considering their effect on ventilation, moisture, and maintenance.
Plan penetrations carefully. Fans, lighting, and other equipment may require separate electrical work, suitable outdoor products, and coordinated mounting. A last-minute hole through roofing or flashing can compromise the water-control detail. Establish these accessories in the design rather than allowing each trade to improvise a different opening.
Sequence construction so critical work remains visible
Prepare a sequence covering foundation work, support erection, house connection, framing, roofing, drainage, and required inspections. Temporary support and access during construction should be planned by the people responsible for the work. An incomplete frame can behave differently from the completed structure, so permanent stability should not be assumed during intermediate stages.
Keep connections and foundation details available for inspection before finishes conceal them. If an inspector or designer requires a correction, complete it while the work is accessible. Photographs are useful records but may not replace an inspection required by the jurisdiction. Schedule the work around the actual approval process rather than treating inspections as a final administrative step.
Review the completed cover as an integrated system
Inspect drainage after suitable rainfall and check the attachment area for leaks. Review gutters, downspout discharge, post interfaces, and the route from the house to the patio. A roof can change where rain reaches the ground and make an existing drainage problem more concentrated. Address those changes as part of completing the project.
Keep the approved plans, product details, inspection records, and maintenance guidance. An attached patio roof succeeds when its load path, foundations, roofing, and house water-control layers work together. The durable result comes from verified conditions and coordinated details, not from a generic span table or the assumption that the visible house trim and existing patio concrete can carry whatever is added above them.

Leave a Reply
Want to join the discussion?Feel free to contribute!