
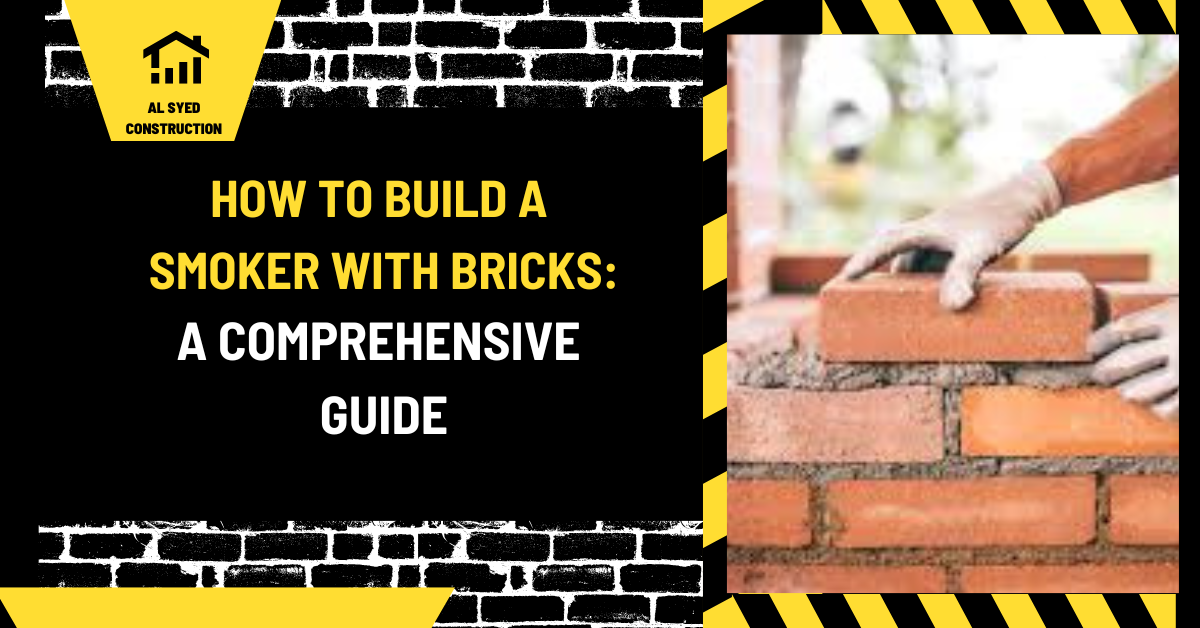
Brick Smoker Construction: Materials and Venting
This guide covers brick smoker construction and the material, design, and installation checks that shape a durable masonry project.
Building a brick smoker is a fantastic project for anyone who enjoys the art of smoking meats and other foods. A well-constructed brick smoker provides superior heat retention and can enhance the flavor of your smoked dishes. This guide will walk you through the entire process, from planning and gathering materials to construction and final touches. Follow these steps to create a durable and efficient brick smoker that will be the centerpiece of your outdoor cooking setup.
Planning Your Brick Smoker
1. Determine Your Smoker Design
The first step in building a brick smoker is to determine its design.
- Size and Capacity: Decide on the size based on the quantity of food you plan to smoke. Common designs include rectangular or cylindrical shapes.
- Type of Smoker: Choose between a vertical smoker, offset smoker, or a traditional brick-built smoker, depending on your preference.
2. Gather Materials and Tools
Having the right materials and tools is essential for constructing your brick smoker.
- Materials:
- Firebricks: These are designed to withstand high temperatures and are essential for the interior of the smoker.
- Regular Bricks: Used for the outer structure of the smoker.
- Mortar: High-temperature mortar or refractory cement for securing bricks.
- Insulation: Ceramic fiber blanket or board for heat retention.
- Tools:
- Shovel: For excavation and moving materials.
- Trowel: For applying mortar.
- Level: To ensure bricks are laid evenly.
- Tape Measure: For accurate measurements.
- Brick Cutter: For cutting bricks to size.
Preparing the Site
1. Choose an Ideal Location
Select a suitable location for your brick smoker.
- Ventilation: Ensure the location has adequate airflow to disperse smoke and heat.
- Surface: Choose a stable, flat surface that can support the weight of the smoker.
2. Mark and Excavate the Area
Outline the area where the smoker will be constructed and prepare the foundation.
- Mark Dimensions: Use stakes and string to outline the dimensions of your smoker.
- Excavate: Dig out the area to a depth of approximately 6-8 inches to create a solid base for the construction.
3. Prepare the Foundation
Create a stable foundation to support the smoker.
- Level the Base: Ensure the base is level and compacted.
- Add Gravel: Place a layer of gravel or crushed stone at the base to provide drainage and stability.
Building the Brick Smoker
1. Construct the Base
Start by laying the foundation bricks for the base of your smoker.
- Lay Firebricks: Arrange firebricks to form the bottom layer of the smoker. Use high-temperature mortar to secure them.
- Check for Level: Use a level to ensure the bricks are even and properly aligned.
2. Build the Walls
Construct the walls of the smoker using firebricks or regular bricks.
- Lay the First Course: Apply mortar to the base layer and lay the first course of bricks. Ensure they are level and aligned.
- Stagger Joints: As you build up the walls, stagger the joints between bricks for added stability.
- Create Openings: Leave openings for the door, air vents, and chimney, according to your design.
3. Install Insulation
Insulating the smoker helps to maintain consistent temperatures and improves efficiency.
- Apply Insulation: Line the interior walls and base with ceramic fiber blanket or board.
- Seal Insulation: Ensure the insulation is securely attached and free of gaps.
4. Build the Smoking Chamber
Construct the chamber where the smoking will occur.
- Shape the Chamber: Form the chamber to the dimensions specified in your design. Ensure it has the right size to accommodate the racks and food.
- Reinforce Structure: Use additional firebricks or refractory cement to reinforce the chamber and ensure durability.
Adding Features
1. Install the Firebox
The firebox is where the fuel will be burned to generate smoke.
- Position the Firebox: Install the firebox in the designated area, ensuring it is aligned with the smoker’s chamber.
- Connect Fuel Source: If using charcoal or wood, ensure the fuel source is properly installed and accessible.
2. Install the Airflow System
Proper airflow is crucial for maintaining consistent smoking temperatures.
- Add Air Vents: Install air vents to control the airflow and regulate the temperature inside the smoker.
- Install Chimney: Fit a chimney or flue to allow smoke to escape and ensure proper ventilation.
3. Build the Door
Construct a door to access the smoking chamber.
- Door Construction: Build the door using sturdy materials and ensure it fits securely in the opening.
- Seal the Door: Use a gasket or sealant to prevent smoke from escaping.
4. Install Racks
Add racks inside the smoking chamber for placing food.
- Position Racks: Install adjustable racks or shelves to accommodate various sizes of food items.
- Secure Racks: Ensure the racks are securely installed and can support the weight of the food.
Finishing Touches
1. Test the Smoker
Before using the smoker, perform a test run to ensure everything is working correctly.
- Heat Up the Smoker: Light a small fire and gradually increase the temperature.
- Check for Issues: Monitor for any issues such as uneven heating, smoke leaks, or ventilation problems, and make necessary adjustments.
2. Final Inspection
Conduct a thorough inspection to ensure the smoker is safe and operational.
- Check Stability: Ensure all bricks and components are secure and stable.
- Verify Safety: Confirm that all safety features, such as ventilation and fuel connections, are properly installed.
Maintenance and Care
1. Regular Maintenance
Proper maintenance ensures the longevity and performance of your smoker.
- Inspect for Damage: Regularly check for cracks or damage to the bricks and mortar.
- Clean the Smoker: Remove ash and debris after each use to maintain efficiency.
2. Safety Precautions
Follow safety precautions to prevent accidents.
- Use Proper Ventilation: Always operate the smoker in a well-ventilated area.
- Wear Protective Gear: Use safety gear such as gloves and eye protection when handling hot equipment and food.
Separate the hot chamber from the outer structure
A brick smoker combines a hot fire or combustion area, a cooking chamber, and an outer structure. The materials near flame and high heat should be rated for that exposure. Ordinary face brick and standard mortar are not automatically suitable for a firebox or flue. Use refractory units and compatible mortar where the design requires them, and follow the product temperature limits. The exterior shell may use different masonry but must protect the surrounding area from heat.
Plan the smoker’s size, fuel, air inlet, exhaust, cooking grate, and cleanout before laying. The airflow path controls combustion and smoke movement; a blocked or poorly designed vent can cause unsafe operation or poor cooking performance. Keep cooking surfaces and smoke-contact materials appropriate for food use. Do not apply unknown coatings or sealers inside the chamber.
Base, location, and fire prevention
Build on a stable, level, noncombustible foundation that can support the masonry and resist settlement. Choose a location away from combustible siding, fences, roof overhangs, vegetation, and stored fuel. Maintain clearances from structures according to the approved design and local fire requirements. A smoker should be used outdoors with sufficient ventilation; never operate a charcoal or wood-burning unit in a garage, enclosed porch, or other confined space.
Check local rules for outdoor fires and construction permits. Keep the area free of dry leaves and trip hazards, and provide a safe place for ash disposal after it has cooled. Use an appropriate fire extinguisher and keep children and pets away from the hot masonry and metal parts.
Build, cure, and operate carefully
Lay the foundation and firebox to the approved dimensions. Keep joints full and remove mortar droppings from air passages. Allow refractory materials to dry and cure as directed before a gradual first firing. Heating damp masonry too quickly can cause damage. Inspect the firebox, flue, doors, dampers, and supports for cracks, loose parts, or blocked passages before use.
Use the smoker according to the fuel and temperature guidance for its design. Do not leave an active fire unattended, and keep combustible liquids away from the heat. Stop use if the structure shifts, a crack grows, or smoke escapes where it should not. Durable smoker construction relies on appropriate hot-face materials, reliable ventilation, cleanable surfaces, and safe operation.
Plan the Firebox, Airflow, and Food Chamber
A brick smoker is a heat-producing appliance, so begin with a design that defines the firebox, cooking chamber, flue path, door, grate supports, and clearances. The firebox needs materials suited to repeated heat. Ordinary face brick and standard mortar may crack or deteriorate on the hot side; use refractory materials where the design requires them. Keep the exterior structural masonry separate from the hot lining, and use compatible mortar for each. Do not rely on an improvised opening or a loosely fitted door to regulate airflow.
Place the smoker outdoors on a stable noncombustible base, clear of decks, fences, siding, roof eaves, dry vegetation, and stored fuel. Consider prevailing wind and nearby windows so smoke does not enter the home or neighboring property. Maintain safe access around the firebox and provide a location for hot tools and ash. Follow local fire rules and any homeowner-association or permit requirements before construction.
Build and Dry the Assembly
Lay out the footprint, verify square corners, and confirm the base can support the weight. Construct the firebox and cooking chamber according to the selected plan, keeping openings aligned and supports level. Any steel lintel, angle, grate support, or door frame must be suitable for the heat and corrosion exposure. Allow for expansion where the design calls for it; metal and masonry do not move identically. Use the specified mortar joint thickness and keep the flue passage free of obstructions.
Let mortar and refractory products cure and dry as directed before heating. Moisture trapped in a new assembly can cause spalling when it turns to steam. Start with a controlled low-temperature curing schedule only when the plan or product instructions specify one. Keep rain out of the firebox and add a cap or overhang that sheds water without blocking the intended exhaust.
Use, Cleaning, and Inspection
Use the fuel and operating method the smoker was designed for. Keep adequate ventilation and never use a charcoal or wood smoker in an enclosed garage, shed, or room. Carbon monoxide is odorless and can be fatal. Keep children away from hot surfaces, use heat-resistant gloves, and maintain an appropriate extinguisher. Store ash in a metal container with a lid after it has cooled completely, away from combustible materials.
Before each season, check the firebox lining, joints, flue, cap, door, grate supports, and base for loose or damaged components. Remove grease and soot buildup using a safe method. If smoke spills through cracks, the flue is obstructed, a wall leans, or bricks spall, stop using the smoker until it is repaired and inspected. A durable masonry smoker depends on proper thermal materials, controlled airflow, weather protection, and safe operation.
Related masonry reading: Outdoor Brick Fireplace: Site, Materials and Safety and Brick Forge Construction: Materials and Safety.
Conclusion
Building a brick smoker is a rewarding project that enhances your outdoor cooking experience. By carefully planning, selecting the right materials, and following the construction steps outlined in this guide, you can create a durable and efficient smoker tailored to your needs. For additional tips and detailed information on building a smoker

Leave a Reply
Want to join the discussion?Feel free to contribute!