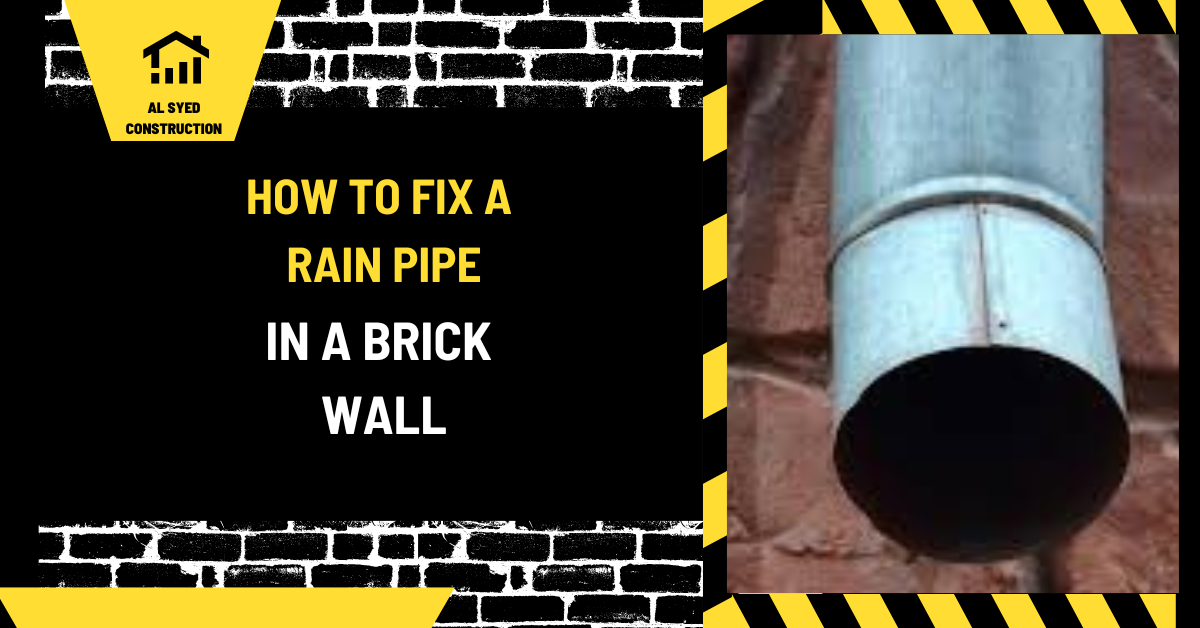
How to Fix a Rain Pipe in a Brick Wall: A Comprehensive Guide
Fixing a rain pipe embedded in a brick wall can seem like a daunting task, but with the right tools, techniques, and understanding, it can be efficiently managed. This guide will provide you with detailed, step-by-step instructions to address and resolve issues related to rain pipes within brick walls, ensuring a successful repair.
Table of Contents
Identifying the Problem
1. Common Issues with Rain Pipes in Brick Walls
Rain pipes, also known as downpipes or gutter pipes, can experience various problems when integrated into brick walls:
- Leaks: Occur at joints, connections, or due to pipe corrosion.
- Blockages: Caused by debris, leaves, or sediment buildup.
- Corrosion: Metal pipes can rust and deteriorate over time.
- Cracks: Damage to the pipe that may result from physical impact or environmental factors.
2. Assessing the Extent of the Damage
Before proceeding with repairs, a thorough assessment is crucial:
- Locate Leaks: Look for water stains or damp patches on the wall, indicating where leaks may be occurring.
- Check for Blockages: Determine if there are any obstructions within the pipe by inspecting its interior or using a plumber’s snake.
- Inspect the Pipe Condition: Examine the pipe for signs of corrosion, rust, or physical damage.
Preparation for Repair
1. Tools and Materials Needed
To ensure a smooth repair process, gather the following tools and materials:
- Pipe Wrenches: For loosening and tightening pipe fittings.
- Pipe Cutter: To remove damaged sections of the pipe.
- Plumber’s Tape: To seal threaded joints and connections.
- Sealant or Epoxy: To repair minor leaks or cracks.
- Replacement Pipes and Fittings: For sections of pipe that need to be replaced.
- Trowel and Mortar: For repairing the brick wall post-repair.
- Safety Gear: Gloves, safety glasses, and a dust mask.
2. Shut Off Water Supply
Before starting any repair work:
- Locate the Main Water Shutoff Valve: Typically found in the basement or near the water meter.
- Turn Off the Water Supply: Ensure the pipe is not carrying water during repairs to avoid further damage.
Repairing Leaks in the Rain Pipe
1. Locate the Source of the Leak
To find the exact location of the leak:
- Inspect the Pipe: Look for visible signs of leakage such as water dripping from joints or cracks.
- Use a Pipe Inspection Camera: For internal leaks or if the source of the leak is not immediately visible.
2. Repair Minor Leaks
For small leaks or cracks:
- Apply Pipe Sealant: Use a suitable pipe sealant or epoxy resin to cover the leak. Follow the manufacturer’s instructions for application and curing time.
- Use a Pipe Repair Clamp: For a temporary fix, place a pipe repair clamp over the leak and tighten it to compress the pipe and stop the flow of water.
3. Replace Damaged Sections
For extensive damage or severe leaks:
- Cut Out the Damaged Pipe Section: Use a pipe cutter to remove the compromised section of the pipe.
- Install New Pipe: Measure and cut a replacement piece of pipe. Use pipe fittings and connectors to join the new section with the existing pipe.
- Seal Connections: Apply plumber’s tape to threaded connections and ensure they are securely tightened.
Clearing Blockages in the Rain Pipe
1. Identify the Cause of the Blockage
Blockages can result from:
- Debris Accumulation: Leaves, dirt, or other materials obstructing the pipe.
- Pipe Scaling: Mineral deposits from hard water.
2. Remove the Blockage
- Use a Plumber’s Snake: Insert a plumber’s snake into the pipe to break up and remove the blockage.
- Flush the Pipe: After clearing the blockage, flush the pipe with water to remove any remaining debris.
- Chemical Cleaners: For stubborn blockages, use a chemical drain cleaner appropriate for your type of pipe, following the safety instructions carefully.
Repairing the Brick Wall
1. Replacing Brick or Mortar
After addressing the pipe issue, repair the brick wall:
- Remove Broken Brick: Carefully take out any damaged bricks.
- Prepare Mortar Mix: Mix mortar according to the manufacturer’s instructions.
- Reinstall Bricks: Apply mortar to the back of the bricks and press them into place. Use a trowel to smooth and finish the mortar joints.
2. Seal and Finish the Wall
- Clean the Area: Remove excess mortar and clean the surface of the wall.
- Apply Masonry Sealer: To protect the repaired area from moisture, apply a masonry sealer once the mortar has cured.
Preventing Future Problems
1. Regular Maintenance
To avoid future issues with rain pipes in brick walls:
- Inspect Pipes Regularly: Look for signs of wear, leaks, or blockages.
- Clean Drains: Periodically clean out drains and pipes to prevent build-up.
- Monitor Water Pressure: Ensure water pressure is within normal limits to prevent pipe damage.
2. Prompt Repairs
Address minor issues as soon as they arise:
- Fix Small Leaks Early: Repairing minor leaks or blockages promptly can prevent more significant problems.
Conclusion
Effectively fixing a rain pipe in a brick wall requires careful assessment, precise repair techniques, and thorough wall restoration. By following the steps outlined in this guide, you can ensure a durable and effective repair, preventing future issues and maintaining the integrity of your brick wall.


