
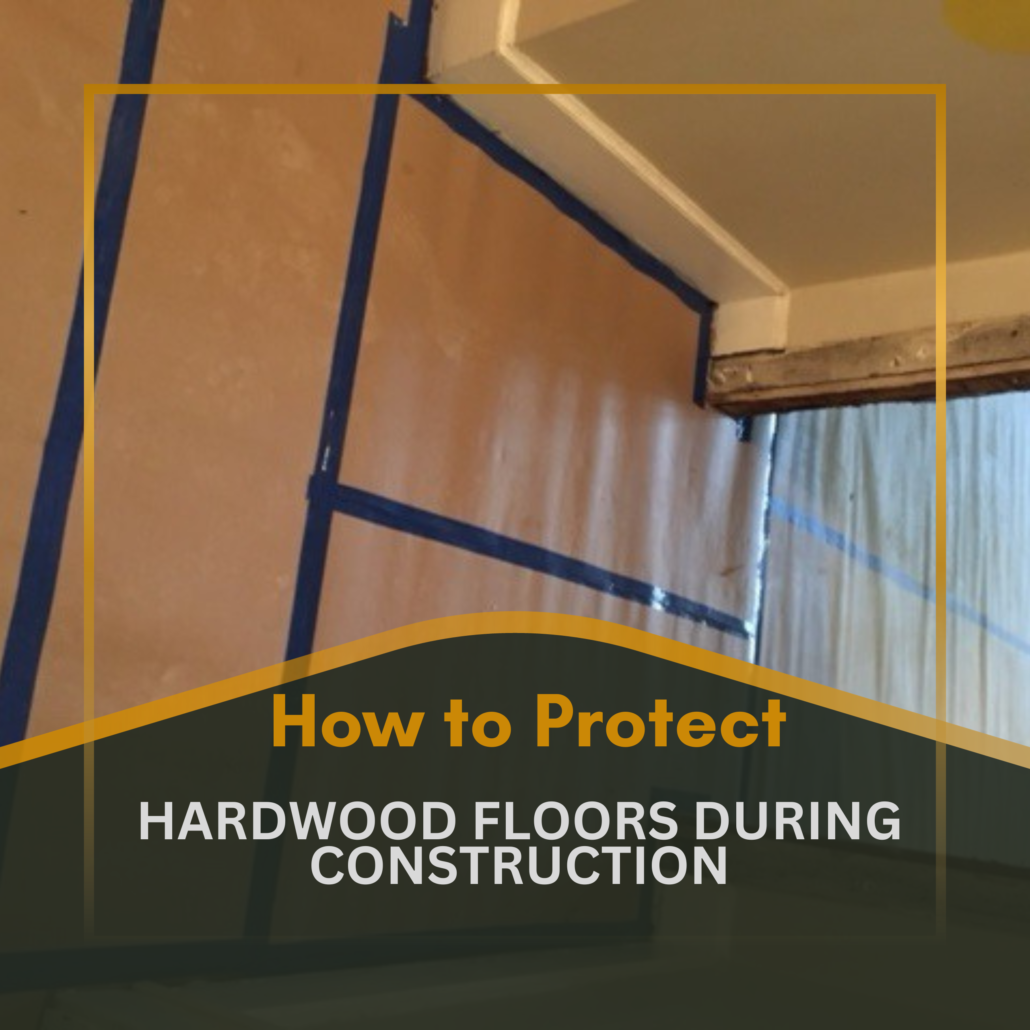
How to Protect Hardwood Floors During Construction
Protect hardwood floors during construction by planning the work route, controlling dust and moisture, and using a covering that is safe for the floor’s finish. Hardwood can be scratched by grit, dented by point loads, stained by spills, and damaged by moisture trapped under plastic. The best plan starts before tools and materials enter the room and continues through final cleanup. A single protective sheet is not enough if workers walk across the floor with debris on their shoes.
Check the flooring manufacturer’s care instructions and the protection product’s label. Finishes, adhesives, temperature, project duration, and traffic all affect compatibility. If the floor is newly installed, ask the installer how long it must cure before covering it. Test a small area when a product or tape could affect the finish.
Assess the floor and construction scope
Before work begins, identify the hardwood type, finish, age, and condition. Note pre-existing scratches, dents, open seams, and worn areas with photos. A site record helps distinguish new damage from prior wear. Check for moisture or loose boards before covering the floor; a protector can hide a leak until damage becomes extensive.
Map the sequence of work. Demolition, drywall sanding, tile cutting, painting, plumbing, and appliance installation create different hazards. Plan the access route, material staging, waste removal, and equipment placement. If another route uses hard flooring, direct crews there. Keep the hardwood room closed when it is not needed.
Identify heavy or rolling loads, including cabinets, refrigerators, ladders, scaffolds, and tool carts. These need distributed support and a planned path. Small wheels and narrow feet can dent wood through a thin sheet. Do not assume ordinary paper or plastic protects against concentrated loads.
Clean before covering
Remove grit, dust, and small debris before installing protection. Particles trapped beneath a covering can act like sandpaper as workers walk over it. Use a vacuum with a floor attachment or a method approved for the finish, then check seams and corners. Do not wet-mop a wood floor shortly before covering it unless the manufacturer allows it and the floor has dried completely.
Make sure the floor is dry and the room is within suitable temperature and humidity conditions. If there is a recent leak or wet trade, locate the source and allow the floor and subfloor to dry. Covering wet hardwood can trap moisture and cause cupping, staining, finish damage, or mold beneath the floor.
Remove furniture or place it on clean, broad pads. Avoid dragging it. If furniture must remain, distribute weight with protective boards and supports that will not stain or scratch. Keep plant pots, cleaning products, and liquids off the floor.
Choose the right temporary floor covering
Protection options include breathable nonwoven sheets, builder’s board, reinforced floor paper, and products designed specifically for finished wood. The selected material must protect from the expected hazards without transferring dye, adhesive, or moisture. Some plastic coverings can trap water and condensation. A breathable covering is often preferable for longer work, while spill protection may be needed for short wet trades.
Check whether the covering’s backing or adhesive is approved for the particular finish. Tape placed directly on wood can pull finish, leave residue, or create a shadow line. When possible, tape seams to the covering rather than to the floor. Use a low-tack product only when its manufacturer approves the surface and duration, and remove it on schedule.
For heavy traffic or equipment, add a rigid protective layer over a suitable underlayment. The boards should distribute load, have smooth edges, and be joined so they do not shift. Do not drive fasteners through the floor. Avoid sharp corners, raised seams, or exposed nails that could damage the surface or create a trip hazard.
Install a protected access path
Lay the covering in the direction workers will travel, overlap seams as instructed, and secure them so they cannot curl. At doorways, create a smooth transition without an exposed edge that can catch a wheel. Keep stairs and exit paths clear. Mark the route and tell each trade where materials may be carried.
Where carts are necessary, use clean, large wheels and test the route with the expected load. Keep grit out of the wheels and check for metal edges or screws. Roll heavy appliances on a dedicated path with load-distributing boards; do not pivot them in place on the wood. Use lifting equipment for objects that exceed safe manual handling.
At thresholds, protect adjacent finishes and avoid using a covering that blocks a door or creates a height hazard. Maintain required clearances and keep the covering from interfering with HVAC grilles or floor vents. If the room is closed, post a sign so workers do not enter accidentally.
Control dust, paint, and wet work
Protect hardwood from dust at the source. Use dust extraction and barriers during sanding, cutting, and demolition. Seal nearby openings when appropriate and keep HVAC returns from drawing construction dust through the floor area. Clean the route daily; fine dust can migrate under seams and scratch a finish when the protection is removed.
Wet trades need a separate plan. Painting, plumbing, tile work, and concrete placement can spill liquids or compounds that stain or etch hardwood. Keep containers away from the floor and use a compatible impermeable layer only for the period and conditions its manufacturer permits. Check under the covering after wet work and remove it if moisture appears.
Do not allow mortar, grout, solvent, adhesive, or paint to cure on the hardwood. Use approved cleanup methods immediately and consult a flooring professional if a chemical has contacted the finish. Abrasive pads and strong solvents can make a small spill much worse.
Daily inspection and maintenance
Inspect the floor covering at the start and end of each shift. Look for tears, wet spots, loose tape, exposed seams, trapped grit, and movement. Replace damaged sections rather than patching them with tape that can affect the finish. Vacuum the route as needed and keep tools from being dragged across the covering.
Check the edges and any transition between protected and unprotected floor. Dust and small debris often enter at doorways. If moisture is suspected, carefully lift the covering and inspect the floor. Allow the area to dry and resolve the source before replacing protection.
Limit the number of workers and trips through the area. Provide a clean staging surface for fasteners, tools, and hardware. Do not use the finished hardwood as a cutting bench. Keep food, drinks, and chemicals outside the work zone.
Remove protection carefully
Remove coverings as soon as dusty or damaging work is complete and within the product’s recommended time. Roll or fold them inward so collected debris stays contained. Do not drag a dirty sheet across the floor. Lift rigid boards and inspect underneath before stacking them elsewhere.
Vacuum and clean the floor with a product approved for the finish. Avoid soaking the wood or using a generic construction cleaner. Inspect in good light for scratches, dents, finish marks, and color change. Compare with the pre-work photographs and document any new damage before furniture is returned.
If adhesive residue remains, do not scrape aggressively or use solvent without checking with the flooring manufacturer. A professional wood-floor cleaner may be needed. Wait for the finish to dry before replacing furniture, and use protective pads under legs.
Protection by construction phase
During demolition and framing, use rigid load distribution and dust barriers. During drywall finishing, seal the room and clean the covering frequently because joint compound dust is abrasive. During painting, protect from drops but keep tape off the finish unless approved. During cabinet installation, use broad pads under supports and a clean path for boxes. During final cleaning, remove protection and use only floor-safe materials.
New hardwood may require a cure period before covering. Some finishes continue to harden after they feel dry. Follow the installer’s recommendations for rugs, plastic, tape, and furniture. If the schedule requires early protection, coordinate a method with the flooring manufacturer rather than assuming standard builder’s paper is suitable.
Once the room is handed over, provide the owner with the product and finish details. These help future contractors choose compatible protection and cleaning methods.
Common mistakes
Common mistakes include covering a damp floor, using tape directly on the finish, leaving plastic in place too long, allowing grit under the sheet, and placing point loads on thin paper. Another mistake is failing to control dust in adjoining spaces. Protection should be checked throughout the job, not installed once and forgotten.
Do not use a generic waterproof film as long-term protection without checking moisture conditions. Do not clean the floor with solvents or abrasive compounds after construction. If damage occurs, identify whether the finish, wood, or subfloor is affected before repair.
Frequently asked questions
Can I cover hardwood with plastic?
Only when the product and duration are appropriate. Plastic can trap moisture, so inspect beneath it and follow manufacturer guidance.
Can tape be applied directly to hardwood?
Only if the tape maker and flooring maker approve it for the finish and duration. Tape can pull coating or leave residue.
When should new hardwood be covered?
Follow the flooring installer’s cure and protection instructions. The finish may need more time before coverings or tape are applied.
What covering is best for construction?
Choose based on traffic, spills, duration, and the floor finish. Use a tested, compatible covering with a clean, grit-free installation.
If damage requires replacement rather than repair, a hardwood flooring calculator can help estimate the new material area.




Leave a Reply
Want to join the discussion?Feel free to contribute!