
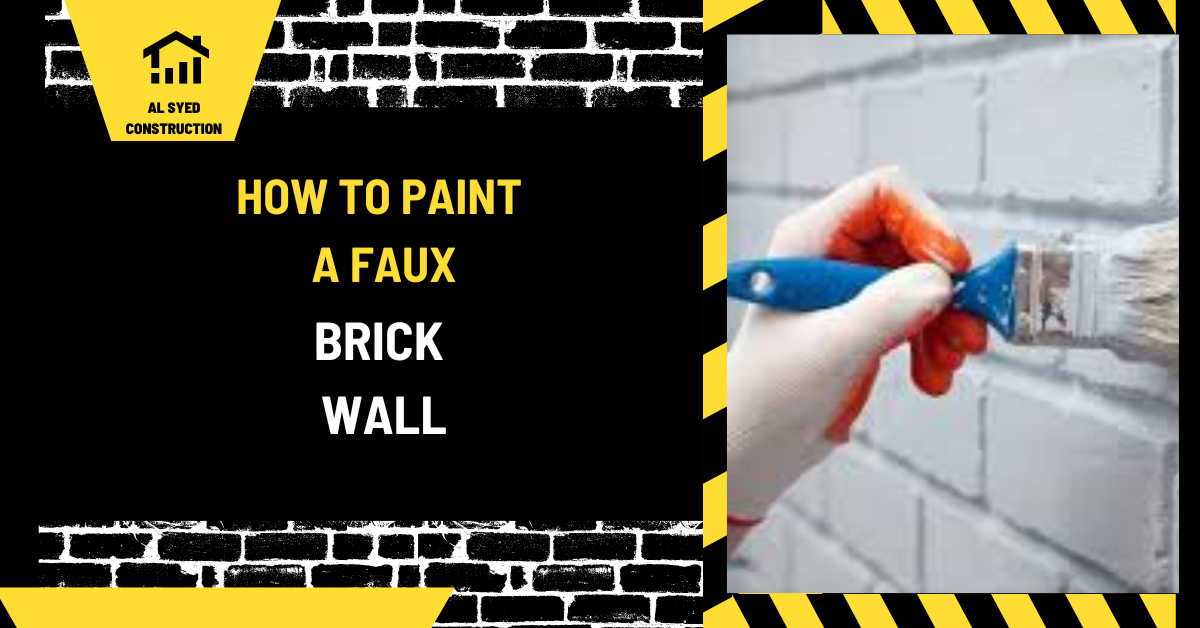
How to Paint a Faux Brick Wall
Painting a faux brick wall creates the visual pattern of brick on a smooth surface using paint, a stencil, tape, or another layout method. It can add texture and warmth without installing masonry or thin brick veneer. The result depends on surface preparation, accurate spacing, color layering, and restraint with highlights and shadows. A painted brick effect is decorative; it does not provide the structure, thermal mass, fire rating, or moisture performance of actual brick.
Before starting, decide whether the pattern should look like handmade brick, clean running bond, painted white brick, or a more aged finish. Make a sample board with the planned wall color, grout lines, and brick tones. View it in the room’s light before painting the full surface. A sample also reveals whether the chosen paint texture works with the wall.
Prepare the wall
Inspect the wall for loose paint, holes, cracks, grease, moisture, and uneven patches. Repair defects and allow patching compound to dry. Sand high spots carefully and remove dust. A glossy or contaminated surface may need additional preparation. Do not paint over an active leak or recurring dampness; correct the source first.
Clean the surface with a method suitable for the existing coating. Rinse residue if required and allow the wall to dry. Protect flooring, baseboards, outlets, trim, and adjacent surfaces with drop cloths and masking. Remove switch plates and cover electrical openings safely. Turn off power where necessary before working around devices.
Test existing paint if the surface is old or its composition is unknown before sanding or scraping. Use appropriate dust controls and safe work practices. If the wall has wallpaper or loose texture, remove or stabilize it using a method compatible with the planned finish.
Choose primer and paint
Primer improves adhesion and can even out porosity, but the correct product depends on the wall and finish. New drywall, patched areas, glossy paint, and stains may need different preparation. Read the primer and topcoat data sheets for substrate compatibility, coverage, recoat time, and ventilation. A primer is not a substitute for repairing moisture or unstable paint.
Choose a grout-line color and several brick colors that work together. Real brick varies in tone, so a faux finish often looks more convincing with a small palette rather than one flat color. A warm base with subtle red, brown, or muted neutral variations can create depth. For a painted white brick look, use a contrasting but soft grout shade so the pattern remains visible without appearing harsh.
Sheen affects the result. Matte or eggshell finishes may look closer to masonry than a high-gloss surface, but cleaning needs also matter. Use paint intended for the room’s exposure. A paint calculator can help estimate wall coverage, and a paint color finder may help explore a palette; verify colors with physical samples before ordering.
Plan the brick pattern
Measure the wall width and height and choose a brick size and mortar-joint width. A running bond pattern offsets each course, while stacked bond aligns vertical joints. Decide how the pattern terminates at corners, doors, windows, and outlets. Avoid narrow partial bricks in prominent locations by shifting the starting point or adjusting the pattern.
Mark a level baseline and use a story pole or measured guide to keep courses consistent. A laser level or chalk line can help establish horizontal lines. The wall may not be square, so measure from a consistent reference rather than following an irregular ceiling. Test a small area first to confirm that the pattern looks balanced.
Use painter’s tape, a stencil, a sponge, or a pattern tool depending on the desired look. Tape creates clean lines but can lift paint if the surface or tape is not suitable. A stencil speeds repetition but may show repeated shapes. A hand-painted approach looks more varied but requires steady spacing.
Apply the base coat
Apply primer if required and allow it to dry fully. Then paint the base color that will form either the brick field or mortar lines, depending on the method. Many taped designs paint the grout color first, then mask the joints and add brick colors. Other stencils apply the brick shape directly over a prepared background. Follow the sequence that matches the chosen technique.
Use a roller for broad coverage and a brush at edges. Keep a wet edge to reduce lap marks and apply the number of coats needed for uniform color. Let each coat dry for the stated interval. Rushing the masking step can pull the base coat or leave uneven lines.
Before applying tape, confirm the base coat is sufficiently cured. Use a low-tack tape suitable for the paint and test it in an inconspicuous location. Press edges firmly enough to prevent bleed, but do not burnish so hard that removal damages the coating.
Create the grout lines
Measure each course and apply tape or a stencil along the planned joints. Keep horizontal spacing level and vertical joints offset for a running bond. Recheck with a level and step back to view the full wall. A small alignment error repeated across many courses becomes highly visible.
To reduce paint bleed, some painters apply a thin layer of the base color over the tape edge before the brick color. This seals the edge when compatible with the system. Use only paints that can be layered together and allow proper drying. Remove tape at the recommended stage, pulling it back at a low angle to avoid tearing the finish.
If grout lines are hand-painted, use a steady brush and a guide. Slight variations can look natural, but inconsistent width can make the wall appear poorly laid out. Keep the pattern scale consistent around openings and corners.
Paint brick colors and add variation
Apply the primary brick color with a roller, brush, sponge, or stencil. Use a light touch if texture is desired. Avoid filling the grout areas. For multiple tones, vary a portion of the bricks rather than alternating every piece in a rigid pattern. Real masonry contains variation, but too many unrelated colors can look artificial.
Layer a slightly darker or lighter glaze selectively to add depth. Use a dry brush, sponge, or rag to soften the edges. Work in small sections and compare with the sample. A gentle shadow near one edge can suggest depth, but strong outlines may make the wall look cartoonish. Keep color changes subtle and consistent with the lighting direction.
Step back frequently and inspect the overall composition. Do not overwork a section while it is drying. If the color is too saturated, use a compatible glaze or repaint the affected area after the previous layer cures. Maintain a record of the paint colors and ratios for future touch-ups.
Finishing and protecting the wall
Allow the faux brick paint to cure according to the coating instructions before cleaning or placing furniture against it. A clear protective coat may be useful in a high-traffic area, but it can change sheen and color. Test it on the sample board first and verify compatibility with the underlying paint. Some walls do not need a clear coat.
Remove masking, reinstall outlet plates, and inspect edges at trim and ceiling. Touch up small defects with a fine brush. Avoid painting over electrical labels or blocking vents. Keep a small amount of each color in labeled containers for later repair, following storage guidance.
For a kitchen or bathroom, the faux finish remains a painted surface. It is not a tile backsplash or waterproof wall. Protect it from direct water and use a cleanable coating appropriate for the space. If the wall needs a wet-area assembly, install a real approved finish system.
Common faux brick problems
Uneven courses often come from measuring from a sloped ceiling or failing to use a level line. Bleed under tape can result from poor adhesion or skipping edge sealing. Paint lifting may happen when tape is removed too soon or the base coat has not cured. A repeated stencil pattern can look too uniform, while excessive color variation can feel chaotic.
Correct a small error while the coating is still workable if the product allows it. For dried defects, let the finish cure and repaint a defined area rather than layering thick corrections. Test the repair on a sample first. Protect the room and use ventilation appropriate to the paint and glaze.
Cost and quantity planning
Measure wall area and subtract large openings, then include the number of coats and the wall’s porosity. Primer, base color, accent colors, glaze, tape, stencil, rollers, brushes, and masking supplies all contribute to the material list. A patterned wall may use less paint than a solid wall but requires more time and tools. Add an allowance for test boards and touch-ups.
Labor depends on surface repairs, pattern size, number of colors, wall height, and cut-ins around openings. A written scope should state the pattern, color palette, sample approval, number of coats, protective finish, and cleanup. Compare a faux paint treatment with actual brick veneer only after accounting for durability and maintenance needs.
Frequently asked questions
Can faux brick paint look realistic?
It can create a convincing visual from normal viewing distance when the pattern, color variation, and grout lines are controlled. A sample helps set expectations.
Do I paint grout lines first or last?
Many taped methods paint the grout color first, then mask the joints and apply brick colors. Stencils may use a different sequence.
Can I use faux brick paint in a shower?
No. A decorative paint effect is not a shower waterproofing system. Use a finish and assembly approved for direct wet exposure.
How do I estimate the paint needed?
Use the wall area, product coverage, coat count, and substrate condition. Confirm estimates against the selected paint’s label.


Leave a Reply
Want to join the discussion?Feel free to contribute!