
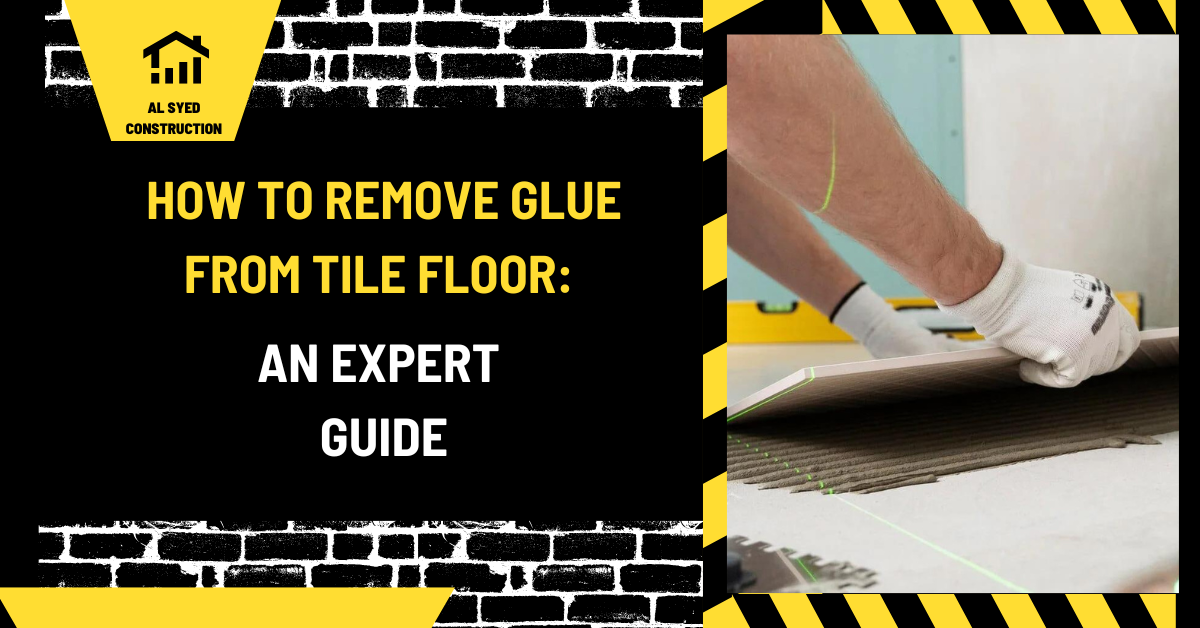
How to Remove Glue from a Tile Floor Safely
Identify the tile and adhesive first
Before removing glue, identify the tile surface and adhesive type. Modern pressure-sensitive residue, dried construction adhesive, thinset, and old black mastic require different methods. Ceramic and porcelain faces can tolerate some cleaners that may damage marble, limestone, cement tile, glaze, or sealers. A label, renovation record, or installer may help identify the material. If the flooring or adhesive is old or unknown, do not scrape, sand, grind, or heat it until it has been assessed. Some older floor tiles and adhesives may contain asbestos. Disturbing them can release hazardous fibers, so suspected material should be evaluated by a trained and accredited asbestos professional.
Protect yourself and the surrounding finishes
Set up a small work area, keep children and pets away, and protect nearby baseboards and surfaces from cleaner or solvent. Follow the product label and safety data sheet for gloves, ventilation, eye protection, and disposal. Do not mix cleaning products. Avoid open flames or heat guns when using flammable solvents. If the material is suspected to contain asbestos, stop and do not attempt removal yourself. A household vacuum or dry sweeping is not a safe cleanup method for hazardous dust. The site’s article on what asbestos floor tiles may look like explains why visual inspection cannot confirm the material.
Start with the least aggressive method
For a small, recent adhesive smear on intact glazed tile, begin with a plastic scraper and a compatible mild cleaner. Test in an inconspicuous spot and wait the recommended time. Keep the scraper nearly flat to reduce the chance of chipping the tile or scratching its surface. Lift the softened residue gradually instead of forcing it. Use a clean cloth to remove loosened adhesive and rinse if the product requires it. Do not assume that a method safe for porcelain is safe for natural stone or a specialty finish. If the mark does not respond, identify the adhesive before escalating to a stronger product.
Treat fresh and dried adhesive differently
Fresh adhesive may be removable with a damp cloth or the cleaner recommended by its manufacturer before it cures. Once hardened, the product may require a specific remover or careful mechanical work. Read the adhesive label and technical data for substrate compatibility, dwell time, and cleanup. Avoid a metal blade on polished or delicate tile unless the tile supplier approves it. A mechanical method that removes glue can also remove glaze, polish, or grout. Keep a record of the product used and how it performed on the test patch. If the adhesive type is unknown, consult a flooring professional before using aggressive solvents or tools.
Protect grout joints and tile edges
Grout can absorb liquid, soften with incompatible chemicals, or be gouged by a scraper. Apply remover only to the adhesive and control how much reaches the joint. Use a plastic tool near grout and tile edges. If glue is embedded in the grout, spot removal may not restore the joint; replacing a small grout section could be safer than scraping deeper. Avoid prying against a tile corner because brittle edges can chip. If a tile is loose or cracked, stop and stabilize or replace it before applying force. The site’s guide to removing thinset from grout lines covers a related but different residue.
When a solvent is appropriate
A solvent should be used only when its label identifies the adhesive and the tile material is compatible. Test first, use the minimum amount, ventilate, and follow the required contact time. Some solvents can soften plastic trim, damage sealers, discolor grout, or leave an oily residue that affects future bonding. Keep the product away from drains unless disposal directions permit it. Do not combine solvents or add heat to make them work faster. If residue remains after the stated process, stop and ask the manufacturer or installer rather than increasing concentration or dwell time beyond instructions.
Mechanical removal and silica precautions
For cement-based residue, powered grinding or aggressive scraping can damage the tile and may create respirable silica dust. OSHA notes that cutting and grinding masonry, mortar, and tile-related materials can create silica exposures that require appropriate controls. Use a method designed for the task, such as suitable wet techniques or dust collection, and follow applicable worker-protection requirements. Do not dry-grind in an occupied home. Protect nearby finishes and keep the tool from contacting tile edges. For large areas, thick residue, or uncertain material, a qualified flooring contractor can determine whether the tile should be replaced or the substrate re-prepared.
Clean and inspect the floor afterward
After removal, clean the surface with a compatible rinse method and allow it to dry. Inspect for scratches, dull patches, stained grout, loose tiles, and residue that could interfere with a new coating or adhesive. If the floor will receive new tile or a finish, confirm that the surface is free of contaminants and meets the next product’s requirements. A residue remover can leave a film even when the tile looks clean. Do not apply sealer or polish until the tile manufacturer confirms it is appropriate. Photograph any damage and keep the product names used during cleanup.
Frequently asked questions
Can vinegar remove glue from tile? It may not work on many adhesives and can damage acid-sensitive stone or grout; check compatibility first.
Can I use a razor blade? Only if the tile manufacturer permits it and the surface can tolerate it; a plastic scraper is safer for many finishes.
What about old black adhesive? Do not disturb unknown old flooring adhesive. It may contain asbestos and needs professional assessment.
Can a heat gun soften glue? Avoid heat unless the adhesive instructions explicitly permit it; heat can create fumes, damage finishes, or increase fire risk.
A safer removal sequence
Identify the tile and glue, assess whether the material may be hazardous, protect the area, test a compatible cleaner, and begin with the least aggressive method. Protect grout and edges, and stop if the tile is damaged or the adhesive is unknown. Use appropriate dust controls for cement-based residue and keep records of products and results. If the adhesive may contain asbestos or the job involves extensive grinding, use qualified professionals. A clean floor is useful only if the tile, grout, substrate, and people doing the work remain protected.
Special care for natural stone and specialty tile
Natural stone can react to acids, solvents, and abrasive pads differently from glazed ceramic or porcelain. Cement tile and some decorative surfaces may also have a sealer or pigment that a cleaner can remove. Identify the surface before selecting a product and follow its care instructions. Make a small test on an inconspicuous tile, allow it to dry, and inspect for color or sheen change. If the glue sits near an edge or grout joint, use less liquid and a softer tool. For high-value stone or a large adhesive area, a stone-care professional can recommend a compatible process.
Handling residue before new installation
If the floor is being prepared for a new finish, the remaining adhesive can affect bond strength even when the tile looks clean. The new product manufacturer may require a clean, sound surface or may specify an approved encapsulation method. Do not apply new mortar, coating, or sealer over a residue without confirming compatibility. Remove loose material, clean with an approved method, and allow the surface to dry fully. If old tile and adhesive are being left in place, the overlay design must account for height, transition, substrate stability, and any hazardous-material concerns.
Disposal and cleanup
Collect removed glue and used absorbent materials according to the product label and local disposal rules. Keep solvent-soaked rags away from heat and dispose of them as directed. Do not wash concentrated residue into a drain unless the product instructions permit it. If asbestos is suspected, ordinary household cleanup and disposal are not appropriate; stop and follow professional guidance. After the work area is clean, remove protective coverings carefully so trapped grit does not scratch the tile. Keep children and pets away until the surface is dry and any odor has cleared under the manufacturer’s ventilation instructions.
Alternatives when removal is not practical
Sometimes removing adhesive is riskier than replacing the affected tile or changing the finish plan. A flooring professional can assess whether the tile can be lifted without damaging the substrate and whether the adhesive is confined to the surface. In some cases, a compatible overlay may be possible after proper evaluation, but it must meet height, bond, and moisture requirements. Never conceal unknown old adhesive just to avoid a test or inspection. The right option depends on material identification, area size, tile value, substrate condition, and the intended next finish.
A record for future maintenance
Write down the tile type, adhesive identification if known, cleaner used, test results, and any damage repaired. Photograph the floor before and after work. If future maintenance requires matching tile or grout, this record can save time. Keep the product packaging or technical sheet for the remover with the project notes. For a construction or commercial job, record who approved the method and how waste was handled. Good documentation is particularly useful when a later contractor needs to distinguish a repaired finish from an original installation.







Leave a Reply
Want to join the discussion?Feel free to contribute!