Removing New Construction Recessed Lights Without Attic Access: A Step-by-Step Guide
Table of Contents
Introduction
Recessed lighting is a popular choice in modern homes for its sleek and unobtrusive design. However, there may come a time when you need to remove or replace these fixtures, which can be challenging, especially if you don’t have access to the attic. This article provides a comprehensive guide on how to safely and efficiently remove new construction recessed lights without attic access.
Understanding New Construction Recessed Lights
The Basics of Recessed Lighting
New construction recessed lights are typically installed between the ceiling joists before the ceiling material is in place. They are secured with mounting bars or brackets that extend to the sides of the joists, making them more challenging to remove than remodel recessed lights, which are held in place by clips.
Identifying Your Recessed Light Type
Before attempting removal, it’s crucial to identify the type of recessed light you have. New construction lights are usually distinguishable by their solid mounting, as opposed to the clips used in remodel lights. Knowing the type will help you understand the removal process and the tools required.
Step-by-Step Removal Process
Step 1: Turn Off the Power
Safety first! Always turn off the power to the circuit you’ll be working on. Use a non-contact voltage tester to confirm that the power is off before proceeding.
Step 2: Remove the Trim and Bulb
Carefully remove the trim piece and light bulb. The trim is usually held in place by spring clips or friction and can be pulled down and out of the ceiling.
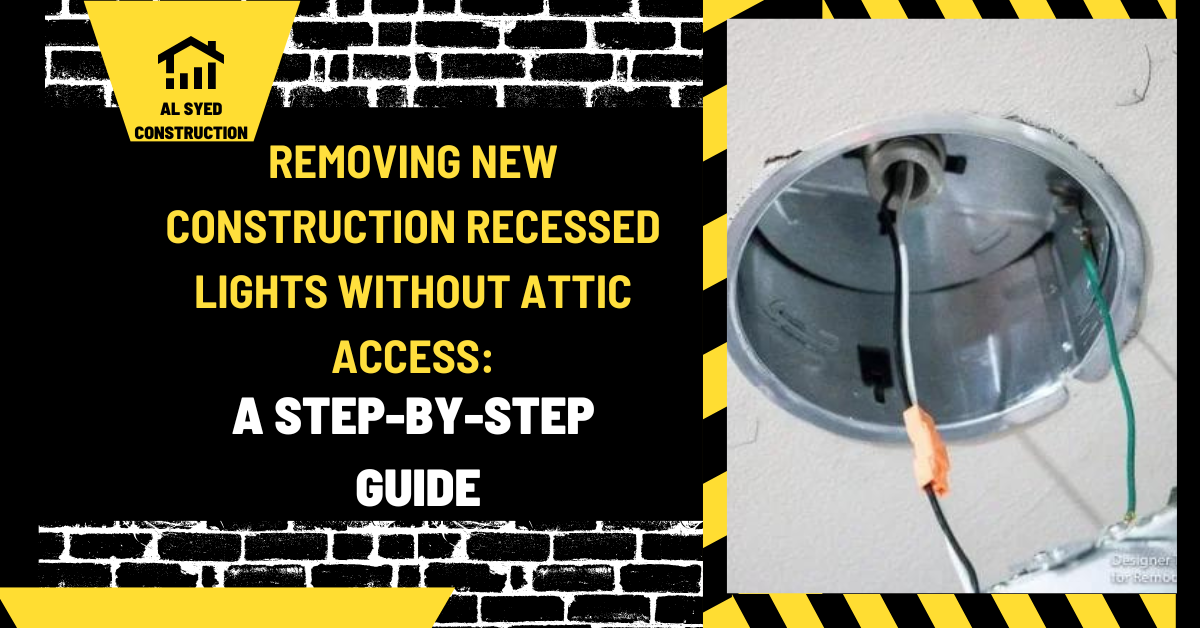
Step 3: Disconnect the Wiring
Once you have access to the housing, disconnect the wiring. This might involve unscrewing wire nuts and separating the wires. Make sure to note how the wires were connected for future reference.
Step 4: Release the Mounting Bars
New construction recessed lights are secured by mounting bars. Locate these bars and release them. This may require unscrewing or cutting, depending on the installation. Be prepared to support the weight of the fixture as it becomes loose.
Step 5: Remove the Housing
With the mounting bars released, carefully lower the housing from the ceiling. If there are any additional clips or supports, release them as you go. Once the housing is free, you can pull it out of the ceiling.
Conclusion
Removing new construction recessed lights without attic access can be a daunting task, but with the right tools and a careful approach, it’s achievable. Always prioritize safety by turning off the power and using appropriate protective gear. By following this step-by-step guide, you can successfully remove recessed lighting fixtures and prepare your space for new installations or repairs.


