
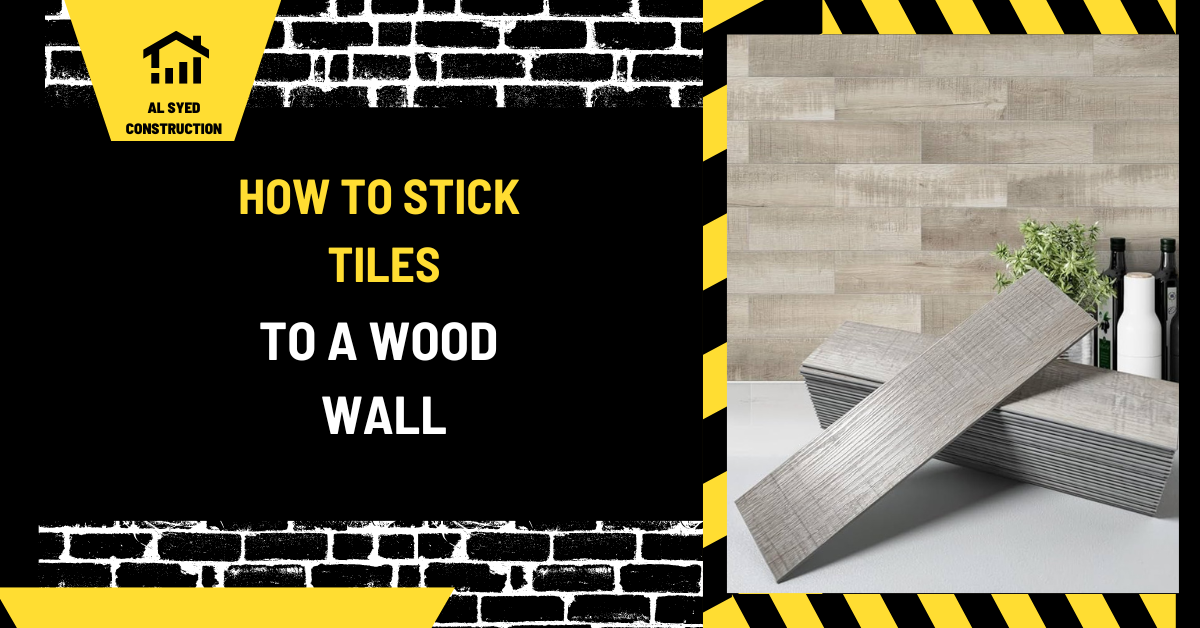
How to Install Tile on a Wood Wall Correctly
Why direct tile-to-wood adhesion can fail
Wood changes dimension as moisture and temperature vary. Tile and grout are comparatively rigid, so movement in the wood can lead to cracked joints, loose tile, or debonding. A paint-grade plywood or wood panel is not automatically an approved tile substrate. Before selecting adhesive, determine the wall construction, expected movement, moisture exposure, tile weight, and manufacturer requirements. A stable, compatible assembly is more important than choosing a very strong adhesive. If the wall is a shower or wet area, the design needs a complete waterproofing system in addition to a suitable tile substrate.
Check framing, panel, and wall condition
Inspect studs for spacing, straightness, fastening, and support. Confirm that the wood panel is sound, dry, firmly attached, and not delaminating. Check for movement when pressure is applied and look for existing moisture or rot. Remove wallpaper, loose paint, grease, dust, and other contaminants. Verify the wall is flat enough for the selected tile format. Large or heavy tile places greater demands on the substrate and fastening. If framing or sheathing is damaged, repair it before adding a tile assembly.
Use an approved tile backer or system
Many projects use a cementitious or other approved tile backer over framing rather than bonding tile directly to wood. Some membranes or proprietary panels may also provide a compatible substrate when installed as a complete system. The correct choice depends on location, tile, moisture exposure, and product instructions. Cement board itself is not always waterproof; wet areas may require a separate membrane or an integrated waterproof board. Follow fastener spacing, seam treatment, and transition details. Do not combine products from different systems unless compatibility is documented.
Waterproofing in wet areas
For showers, tub surrounds, and other direct-wet locations, water management must extend behind the tile and connect continuously at corners, penetrations, benches, and the floor. Tile and grout do not form a waterproof barrier. Select a waterproofing approach that is compatible with the backer, drain or tub flange, mortar, and tile. Seal plumbing penetrations with approved components. Confirm the wall-to-floor transition and any required testing before tile is installed. The site’s guide to tiling moisture-prone walls covers substrate and moisture checks.
Prime and prepare only as directed
A primer may improve compatibility or control suction, but it is not a universal requirement and cannot stabilize a moving wall. Use primer only if the substrate or setting-material manufacturer specifies it. Apply it at the recommended coverage and allow it to dry or cure before continuing. A product described as a primer for paint or wallpaper may not be suitable beneath tile mortar. Keep the wood and backer dry and clean. The site’s primer coverage calculator helps estimate paint primer, but it does not choose a tile bonding system.
Choose mortar or adhesive for the assembly
Select a setting material approved for the tile, substrate, location, and membrane. Cement-based mortar is common for many tile systems; mastic has narrower approved uses and should not be assumed suitable for wet areas, floors, or heavy tile. Read the technical sheet for mixing, trowel, open time, coverage, and cure. Spread material only where tile can be set before it skins. Lift a tile periodically to confirm transfer. The site’s thinset article explains common mortar terminology.
Plan tile layout and movement
Establish level and plumb reference lines, dry-lay the tile, and plan cuts around outlets, trim, corners, and fixtures. Use spacers appropriate to the product and maintain movement joints at changes of plane and perimeters where required. Do not fill a designed movement joint with rigid grout. Large tiles may need a flatter substrate and a smaller offset pattern. The tile calculator can estimate coverage; include cuts and waste for the actual layout. Check that the added assembly thickness does not interfere with adjacent doors or trim.
Installation and cure
Install backer, membrane, and tile according to the approved sequence. Avoid bending or deflecting the wall while tile is being set. Support heavy tile if required by the system and use temporary spacers or ledgers as appropriate. Keep joints clean and remove excess mortar before it cures. Protect the finished surface from movement, impact, and moisture during the cure period. Do not grout, load, or expose the assembly to water earlier than the product instructions permit. Record the products used in case future repair is needed.
Common mistakes to avoid
Common mistakes include bonding directly to an unstable wood panel, using a paint primer as a tile primer, assuming cement board is waterproof, selecting mastic for a wet area without approval, and ignoring movement joints. Another mistake is covering a damp wall or failing to seal penetrations. If tile loosens, identify whether the cause is substrate movement, moisture, inadequate coverage, or incompatible materials. Do not simply add more adhesive over an existing problem.
Frequently asked questions
Can tile go directly on plywood? Only if the complete system and product instructions specifically approve that substrate and use; many projects require an approved backer assembly.
Is cement board waterproof? Not necessarily. Wet areas may need a separate or integrated waterproofing layer.
Can I use construction adhesive? Only if the product is specifically approved for the tile system and location.
Do I need primer? Follow the substrate and mortar manufacturer’s instructions; primer does not fix movement.
A reliable installation sequence
Confirm the wall structure, moisture exposure, substrate, waterproofing, tile, and setting material as one coordinated system. Prepare a flat, stable surface, follow product instructions, and verify transitions and joints before tiling. Use a professional installer for a shower or complex wall assembly. Tile can finish a wood-framed wall successfully when the supporting layers control movement and moisture, but a direct adhesive shortcut is not a substitute for system design.
Movement joints and room corners
A tile assembly over a wood-framed wall must allow movement at corners, wall-to-floor junctions, and changes in plane where the design calls for flexible joints. Do not grout every intersection rigidly. Use the sealant or movement profile specified for the assembly. The wall should not be locked between two immovable surfaces without appropriate accommodation. If the tile is installed around a window or niche, detail the transition so water cannot enter the wall.
Outlets, fixtures, and added thickness
A backer board, membrane, mortar, and tile can add significant thickness. Check electrical boxes, plumbing trim, cabinet edges, door casing, and window returns before installation. Use approved box extensions or trim kits where required; do not leave devices recessed or improperly supported. Confirm that fixtures can be mounted without penetrating an unprotected wet-area membrane. The layout should place cuts cleanly around outlets and pipes. A quick section drawing can reveal conflicts before material is installed.
Test adhesion and cure before loading
Follow the mortar’s cure time before grouting or attaching accessories. Do not hang heavy shelves, grab bars, or cabinets from tile and backer alone unless the design provides adequate blocking and anchorage. Locate framing or backing before the wall is closed. A small sample board can help evaluate appearance and setting method, but it does not replace proper structural backing. Record the position of concealed blocking and services for future work.
Waterproofing inspection and service life
Inspect membrane seams, corners, fasteners, and penetrations before tile hides them. Use the manufacturer’s approved method to repair damage. If the tile is in a shower, complete required tests before finishing. Maintain sealant at changes of plane and investigate leaks promptly. Keep product and installation records so later repairs can follow the same system. A durable tiled wall depends on a stable substrate, continuous water management, correct setting material, and movement accommodation.
Planning quantities and finish details
Measure wall height and width, subtract large openings only when the takeoff method permits, and add waste for cuts and pattern. Order trim pieces, edge profiles, and spare tile with the main material. The tile calculator can help estimate coverage, while the paint calculator may be useful for adjacent un-tiled surfaces. Verify final quantities with the field layout and product packaging.
Avoid direct application shortcuts
A strong adhesive does not make an unsuitable wall system safe. Construction adhesive, silicone, or mastic may bond to a surface temporarily but fail under movement, moisture, or tile weight. Follow a recognized tile assembly for the actual location. If the manufacturer does not approve direct bonding to the wood panel, install the specified backer or membrane. Do not use extra fasteners through a waterproof membrane without an approved sealing detail.
Large-format tile and added load
Large and heavy tile increases the demands on framing and substrate. Confirm stud spacing, backing, panel fastening, and total assembly weight. The wall should not deflect enough to crack grout or loosen tile. If the framing is not adequate, have it reviewed before installing the finish. Temporary support may be needed during setting, but it cannot compensate for an undersized permanent structure.
Natural stone and finish care
Natural stone may need a specific mortar color, sealer, or handling method. Test for show-through and confirm the cleaner will not etch the surface. Some stone products vary in thickness and require sorting or back-buttering. Review the supplier’s instructions and use a professional for a wet-area installation or expensive stone. Keep spare pieces and record the product lot for future repair.




Leave a Reply
Want to join the discussion?Feel free to contribute!