
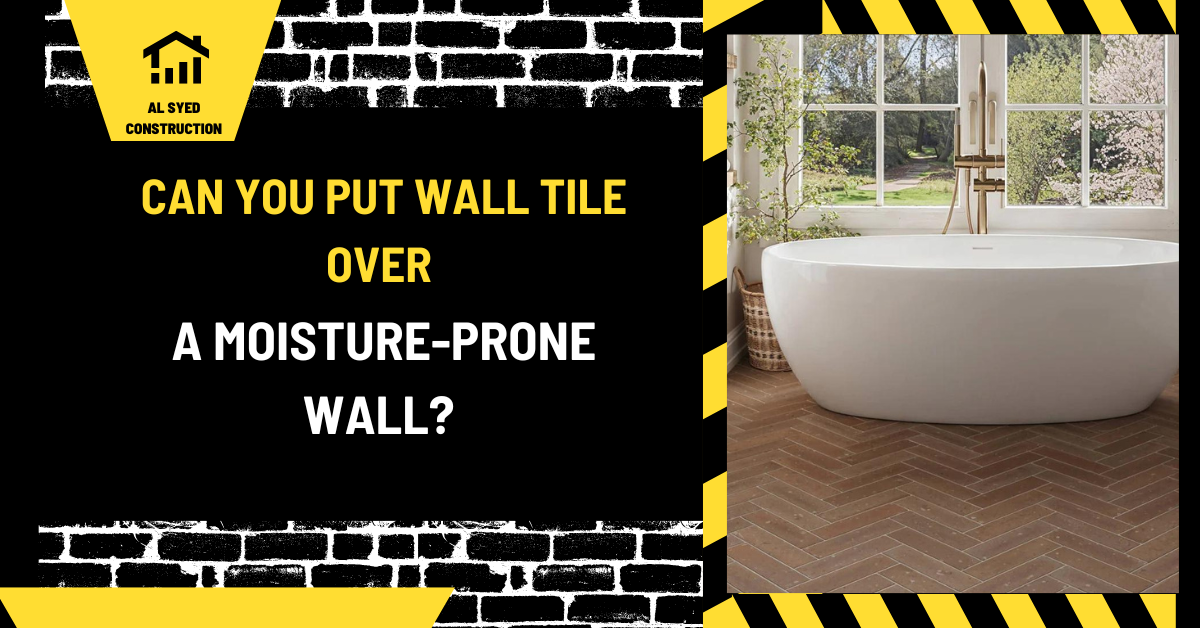
Can You Tile a Moisture-Prone Wall? What to Check
Find the moisture source before covering the wall
Do not cover a wall that is actively wet, leaking, or showing unexplained staining with tile. First determine whether moisture comes from plumbing, exterior intrusion, condensation, ground water, or routine splash. Tile can hide symptoms while water continues to damage framing and finishes behind it. Look for recurring dampness, musty odor, soft wallboard, bubbling paint, or staining at corners and penetrations. Repair the source and allow the assembly to dry as required before proceeding. If the moisture is unexplained or extensive, have the wall assessed by a qualified building professional. Surface preparation cannot correct a leak.
Tile and grout are not the waterproofing layer
Tile and grout provide a durable finish, but they are not inherently a waterproof wall assembly. Water can move through grout joints, cracks, fastener penetrations, and transitions. A wet-area wall needs a designed waterproofing system behind or directly beneath the tile, with compatible seams, corners, and connections to the shower base or other drainage plane. The exact approach may use a membrane, waterproof backer, or another approved assembly. Follow the system manufacturer’s instructions and project drawings. Do not mix components from unrelated systems unless compatibility is documented. A tile finish should be treated as the visible surface over a water-managed assembly, not the only defense against moisture.
Choose the right substrate for the location
A substrate must be suitable for the expected wet exposure and compatible with the selected waterproofing and tile-setting products. Standard drywall may be permitted in some dry areas but is not a substitute for a wet-area backer assembly in a shower. Other panels can be water-resistant without being a complete waterproofing system. Confirm whether the product is approved for intermittent splash, a shower, a steam environment, or exterior use. The manufacturer’s installation guide should explain fastener spacing, joint treatment, and membrane requirements. If the wall is an exterior wall, account for vapor control and climate conditions as well as liquid water.
Design transitions and penetrations carefully
Waterproofing performance depends on details at inside corners, wall-to-floor junctions, niches, benches, valves, pipes, windows, and the top of the tiled area. Every seam and penetration should be treated as the approved system requires. A membrane that stops short of a tub flange or shower base can leave a hidden path for water. A niche shelf needs a slope that directs water outward, and plumbing penetrations need compatible seals. Do not rely on a surface bead of caulk to repair a poorly integrated layer behind the tile. Review the complete section and product details before tile is set.
Manage ventilation and condensation
Some moisture problems come from condensation rather than direct leaks. Bathrooms need an appropriate ventilation strategy, and exterior walls need a compatible thermal and vapor-control design. Cold surfaces, air leaks, and high indoor humidity can contribute to condensation inside a wall. Tiling over the interior does not eliminate those conditions. Confirm that the exhaust fan is ducted as intended, the wall assembly is complete, and insulation and air sealing are appropriate for the climate. Steam showers have more demanding vapor-management needs than an ordinary shower and require a system designed for that use. If mold or rot is present, address the affected materials and moisture source before closing the wall.
Prepare and inspect the wall
Before installation, confirm that the framing is sound, flat, and able to support the tile assembly. Check for bowed studs, loose panels, damaged fasteners, mold, and plumbing leaks. Correct the plane within the tolerances required for the tile size; large-format tile makes irregularities more visible. Install the backer or membrane with the required fasteners, overlaps, sealant, and curing times. Inspect concealed details before they are covered and photograph them when project records call for it. Do not tile until the waterproofing has passed any required inspection or flood test. Rushing this step can turn a finish change into a costly tear-out.
Select setting materials and tile for exposure
Use mortar, grout, sealant, and tile suited to the wet area and substrate. Some materials have limits on tile size, absorption, or exposure. Follow the technical data and local requirements rather than assuming one thinset or grout works everywhere. Plan movement joints at changes of plane and where required by the design. Choose a tile finish appropriate to the location and cleaning routine. Natural stone may require additional care, while some glass or specialty tile needs a specific mortar color or setting method. The shower tile calculator can support early quantity planning, but it does not design waterproofing or replace a qualified installer.
Warning signs after installation
After the wall is in service, monitor for loose tile, cracked grout, persistent staining, soft adjacent finishes, musty odor, or water appearing in a neighboring room. A single hairline grout crack may be a maintenance issue, but repeated cracking or dampness can signal movement or a hidden leak. Do not repeatedly re-caulk a symptom without finding its source. Stop using the affected area if water intrusion is suspected and obtain a qualified inspection. Keep records of the tile, membrane, backer, mortar, and installation date to help diagnose a future issue. Early evaluation can limit damage to framing and adjoining finishes.
Frequently asked questions
Can I tile over water-resistant drywall? Only if the product and complete assembly are approved for the particular location; a shower wall needs a designed wet-area system.
Can grout seal a moisture-prone wall? No. Grout is not the waterproofing layer.
Can tile cover mold? No. Correct the moisture source and remove or remediate affected material appropriately before closing the wall.
Is one waterproofing method always best? No. Use a compatible, complete system designed for the exposure and follow its manufacturer instructions.
A safe go/no-go checklist
Proceed only when the moisture source is understood, damaged materials are addressed, the substrate is suitable, and the waterproofing system is complete and inspected. Confirm all transitions, penetrations, and drainage details before setting tile. Select compatible setting materials, allow required cure times, and verify ventilation. The website’s pages on shower tile installation and shower wall tile provide related planning context. The key rule is to solve moisture first; a tile surface should finish a sound assembly, not conceal a wet one.
Drying and testing before installation
A wall that looks dry at the surface may still contain moisture behind the finish. Follow the repair plan and product instructions for drying, and use an appropriate assessment where the project requires moisture testing. Do not trap damp framing or gypsum behind a new membrane and tile. If the wall has been opened after a leak, inspect insulation, framing, sheathing, and adjacent spaces for damage. Remove or remediate materials according to the condition and applicable guidance. A fan or dehumidifier can help only after the water source has been corrected; drying equipment is not a substitute for repairing a leak or changing a faulty assembly.
Waterproofing continuity at the base
The lower wall is often where failures become visible because it meets a shower pan, tub, floor, or curb. Confirm how the wall membrane connects to the receptor or floor system and where the drainage path terminates. If the assembly uses a traditional mortar bed, the drain and liner detail must match that method. If it uses a surface membrane, the membrane and drain must form a compatible system. Do not combine a topical wall membrane with an incompatible pan detail. The site’s shower wall tile installation article discusses another critical penetration in a tiled wall; the seat and its fasteners must be integrated with the waterproofing plan.
Construction sequencing and inspection
Coordinate framing inspection, backer installation, waterproofing, membrane testing, tile setting, and fixture installation. Ask who inspects each concealed layer and how the inspection is documented. A shower test or flood test may be required by the system, project, or local rules; follow the approved procedure and duration. Complete this check before tile hides the waterproofing. Protect the membrane from trade damage and repair punctures using the system’s approved method. Keep valves, niches, and benches accessible to the installer so that details can be completed without makeshift patches. A written sequencing plan helps avoid gaps between plumbing, waterproofing, and tile trades.
When a wall should not be tiled yet
Delay installation if the source of moisture is unknown, the wall is still wet, framing is damaged, the substrate is unstable, or the waterproofing detail is incomplete. Also pause if the product instructions conflict with the project detail or if required inspection has not occurred. Resolve questions with the designer, installer, and system manufacturer before proceeding. If the wall is simply exposed to occasional humidity rather than liquid water, the design may need a different assessment than a direct shower spray zone. Classify the exposure precisely. A general phrase such as “moisture-prone” is not enough to choose a substrate or membrane.
Maintenance after the room is complete
After installation, maintain grout and sealant at the joints as recommended, clean with compatible products, and promptly repair plumbing leaks. Ventilate the room according to the building design and monitor adjacent rooms for signs of hidden moisture. Caulk at changes of plane may require periodic replacement, but a surface sealant is maintenance, not the primary waterproofing layer. If tiles loosen or stains recur, find the reason before repairing the finish. Retain product labels and a photograph of the concealed assembly. That record can help a future owner or contractor identify the waterproofing system and avoid drilling through a critical layer.




Leave a Reply
Want to join the discussion?Feel free to contribute!