
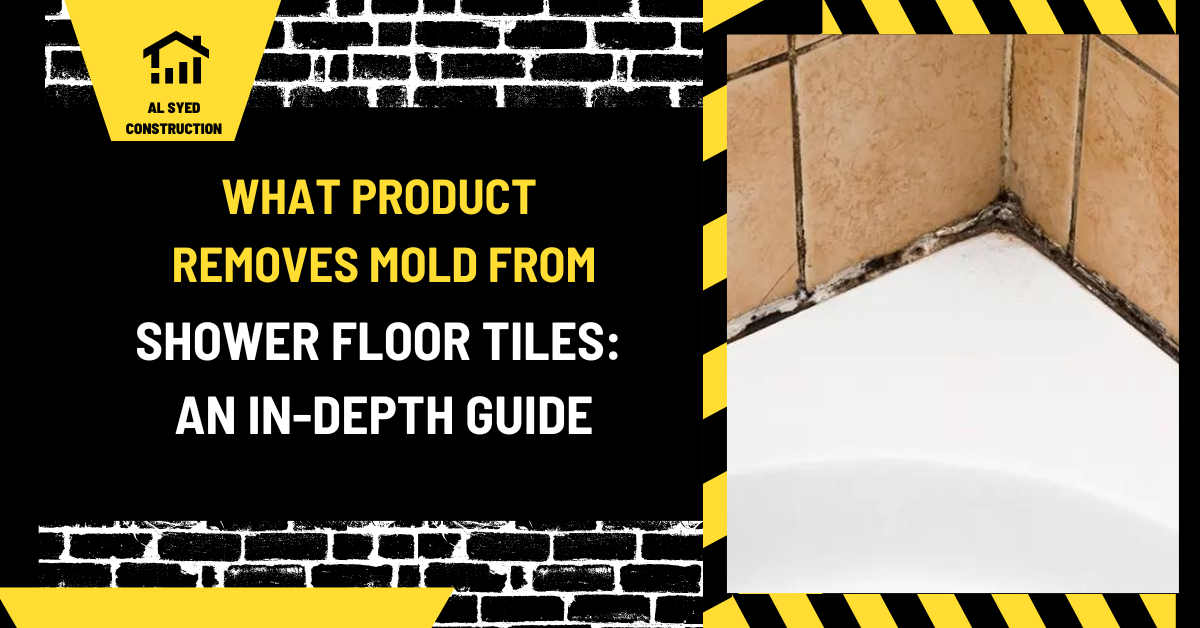
What Removes Mold from Shower Floor Tiles?
For surface mold or mildew on a shower floor, use a cleaner labeled safe for the specific tile and grout, apply it as directed, and scrub with a soft nylon brush before rinsing and drying. A mild detergent or an approved tile-and-grout cleaner often removes surface soil; some labeled products include bleach, but bleach is not a routine solution for every mold problem. The underlying moisture and ventilation conditions must also be corrected or growth can return.
Do not mix cleaners. Never combine bleach with ammonia, acids, vinegar, or another product. Test a small area, ventilate the bathroom, wear the protection listed on the label, and avoid products that could etch natural stone or damage grout. If growth is widespread, recurring, or behind the tile assembly, a surface cleaner will not solve the cause.
First identify what is on the tile
Dark or pink staining on a shower floor may be mold, mildew, soap residue, mineral deposits, or a combination. A surface that wipes away easily may be organic film, while hard white deposits may be mineral scale. The appearance alone does not identify the species or tell whether growth extends behind grout or sealant.
Check where the discoloration appears. Growth concentrated in grout, at the drain, or near a slow-drying corner may point to trapped moisture or soap residue. Darkening that persists under a surface coating, soft grout, cracked caulk, or a musty odor can indicate a deeper issue. Do not scrape the grout aggressively to investigate.
If the shower has natural stone, colored grout, specialty coatings, or an unknown tile, use a cleaner approved for those materials. A chemical safe for glazed ceramic may damage marble, limestone, metal trim, or a sealer.
Choose the right cleaning product
Start with a neutral or mild tile-and-grout cleaner labeled for the installed surfaces. Follow its dilution and dwell-time instructions. Some products require rinsing; residue left on a shower floor can make it slippery. A small amount of detergent may be sufficient for ordinary soap film and surface dirt.
For visible mold on a hard, nonporous surface, a product labeled for bathroom mold and mildew may be appropriate if its instructions permit use on the tile and grout. Read the label for contact time, ventilation, gloves, eye protection, and rinse requirements. Do not use a stronger concentration than directed.
Bleach can be used in some home cleanup situations, but environmental guidance does not recommend biocides as a routine mold-cleanup practice. Killing growth alone is insufficient; the material must be removed and moisture controlled. Bleach may also affect grout color, metal, fabrics, and nearby stone. Select the product for the actual surface and stain rather than assuming bleach is the best choice.
Safe cleaning steps
Remove bath mats, bottles, and loose items. Ventilate the room by opening a window or using the exhaust fan if it is safe and functional. Wear the gloves and eye protection listed on the product label. Keep children and pets out of the work area.
Apply the cleaner as instructed, giving it the stated contact time. Use a soft nylon brush or nonabrasive pad to work the tile and grout. Do not use steel wool, a wire brush, or a sharp tool that can scratch the glaze or remove grout. Rinse with clean water and remove the rinse water so the surface does not remain slick.
Allow the shower to dry fully. Launder washable mats and towels. Discard or professionally clean items that remain moldy. If the staining returns quickly, find the moisture source or ventilation problem rather than repeating stronger chemical treatments.
Why vinegar and mixed cleaners are risky
Vinegar is acidic and should not be treated as a universal shower cleaner. It may damage natural stone, some sealers, and certain grout products. Combining vinegar with bleach can release dangerous gas. Do not mix cleaners or apply one product immediately over another without thoroughly rinsing and following the labels.
Ammonia-based glass cleaners and bleach should not be used together. Strong acids, alkaline degreasers, and abrasive powders can also harm tile, grout, metal trim, or the shower drain. If a product’s compatibility is unclear, contact the tile or grout manufacturer and test a small hidden area.
Never combine commercial mold remover with another bathroom product. Store chemicals in their original labeled containers and do not pour unused cleaner into an unlabeled bottle. Ventilate the room during and after use as directed.
Clean grout and sealant carefully
Grout joints can hold soap film and soil. Use a cleaner approved for the grout type and a soft brush. Do not assume a sealer prevents mold or eliminates cleaning. Sealer performance varies, and some grouts do not require sealing. Follow the grout manufacturer’s maintenance instructions.
Inspect flexible sealant at inside corners, changes of plane, and the drain perimeter. Cracked or separated sealant may let water reach the substrate. Do not apply new caulk over moldy or loose sealant. Remove failed material using an approved method, let the area dry, and replace it with a compatible sealant after correcting any underlying problem.
Grout that is soft, missing, or repeatedly stained may need repair. A shower floor’s waterproofing is beneath the tile; replacing grout or applying a topical coating does not automatically restore it. If the tile assembly is loose or leaking, have it inspected.
Prevent the mold from returning
Run the exhaust fan during showering and long enough afterward to remove humid air. Confirm that the fan vents outdoors and functions properly. Squeegee or towel the floor and walls after use where practical. Leave the shower door or curtain open enough to help the area dry.
Fix plumbing leaks, failed caulk, slow drains, and poor ventilation. Remove soap residue and hair regularly. Replace bath mats that remain damp, and avoid storing bottles where water collects underneath them. These steps reduce the moisture and organic soil that support repeated growth.
If the bathroom remains humid despite ventilation, check the fan size, duct routing, and air path into the room. A contractor may need to inspect the ventilation and shower assembly. Surface cleaner cannot correct a design or leak problem.
When professional help is needed
Contact a qualified professional when mold covers a large area, returns after cleaning, is associated with a leak, or appears behind loose tile, damaged grout, or wallboard. People with asthma, allergies, or weakened immune systems may need to avoid the cleanup area. Follow public-health guidance for protective equipment and exposure concerns.
If the shower floor moves, smells musty, leaks below, or has extensive cracked grout, stop using it if water may be escaping and arrange an inspection. The repair may involve waterproofing, drain connection, or substrate work rather than just replacing tile. Do not conceal a recurring problem with a coating.
For a new shower, correct waterproofing and slope are essential. Review our guide to installing ceramic tile in a shower for the assembly and detailing considerations.
Common cleaning mistakes
Common errors include using a stronger chemical than the label allows, mixing cleaners, scrubbing with a metal brush, failing to rinse, and leaving the shower wet. Another mistake is treating mold only with a biocide while leaving the leak or ventilation problem in place. Dead growth can still cause reactions, and surface residue should be removed.
Do not use acid on unknown stone or grout. Do not apply sealer over wet or dirty joints. Avoid pouring chemical cleaner into a drain if the product label does not allow it. A careful surface test and product-specific instructions reduce the chance of damage.
Frequently asked questions
What product works best for shower tile mold?
Choose a cleaner labeled for the tile and grout, use it as directed, scrub gently, rinse, and dry. The correct product depends on the surface and stain.
Should I use bleach on shower grout?
Only if the product and grout instructions permit it. Bleach is not a routine solution for every mold issue and must never be mixed with other cleaners.
Can vinegar remove shower mold?
It may affect certain soils but is not universal and can damage stone or grout. Never mix vinegar with bleach or apply it to acid-sensitive surfaces.
Why does mold come back after cleaning?
Persistent moisture, a leak, poor ventilation, or damaged grout and sealant may be allowing growth to return.
Choosing a product for grout, textured tile, and nearby finishes
Read the cleaner label for the permitted material and use location. A shower floor may include glazed ceramic, porcelain, natural stone, cement grout, epoxy grout, silicone sealant, metal drain parts, and a factory coating. The most sensitive component can limit which chemical is safe. If the product label names only ceramic tile, do not assume it is also safe for stone, metal, or a colored grout joint.
Textured tile can hold soap residue in small surface recesses. Use a soft nylon brush that reaches the texture without scratching the glaze. Work in short sections, keep the surface wet for the product’s stated contact time, and rinse until the water runs clear. A stiff metal brush can remove grout or leave scratches that collect more soil later.
For a persistent spot, try a second application using the same approved cleaner instead of combining products. If the color remains after the area is clean and dry, it may be a stain, mineral deposit, damaged grout, or growth beneath the surface. A tile-care professional can distinguish these conditions and recommend a targeted repair without unnecessary abrasion.
Care after treatment
After cleaning, remove standing water from the floor and let the shower dry with ventilation. Rinse bottles, mats, and tools that contacted the cleaner. Follow the label before returning bath mats or personal-care items to the shower. Do not apply a grout sealer or other coating until the grout is clean and fully dry and the product instructions approve the application.
Keep a note of the cleaner used and the grout type for future maintenance. If the same area becomes dark within days, photograph it and check for a leak, poor drainage, or a joint that remains wet. Repeatedly using stronger chemicals can damage the finish while leaving the moisture source untouched.




Leave a Reply
Want to join the discussion?Feel free to contribute!