
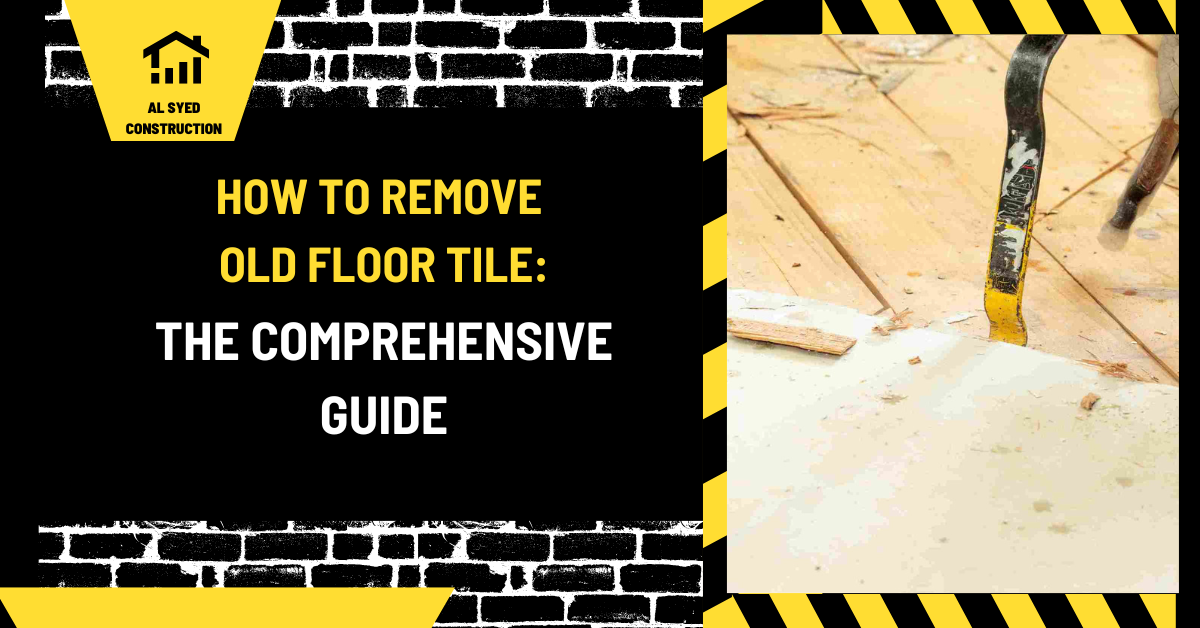
How to Remove Old Floor Tile Safely
Removing old floor tile starts with identifying the tile, adhesive, and layers beneath it. The removal method depends on whether the tile is ceramic, stone, resilient, or part of an older assembly, and whether the goal is to preserve the subfloor. Before breaking, scraping, drilling, or grinding, consider asbestos and other hazards. If the material is unknown or old enough to raise concern, stop and arrange a qualified assessment before disturbing it.
Tile demolition can create sharp fragments, heavy debris, and fine dust. Protect the people, rooms, utilities, and substrate around the work. For a full room, plan access, debris removal, and a safe work sequence. A tool that removes tile quickly can also damage underfloor heating, membranes, wiring, or the floor structure.
Identify the floor layers before starting
Look at an already exposed edge at a doorway, register, or missing tile without prying the floor open. Note the tile material, thickness, grout, setting bed, underlayment, adhesive, and subfloor if visible. A ceramic tile over cement board is different from tile over a thick mortar bed or an older resilient floor. The layer that must remain in place affects tool choice.
Check the building history and renovation records. New flooring may cover older tile, sheet goods, backing, or adhesive. A modern top layer does not prove that the lower materials are safe to disturb. If asbestos may be present, visual appearance is not enough to clear it.
Inspect for cracks, loose pieces, water stains, hollow areas, and movement. Identify radiant heating cables, plumbing, electrical runs, and floor registers. Do not cut or drill until concealed systems are located. If the assembly is unclear, consult a flooring professional before removing a large area.
Asbestos and other safety concerns
Some older floor tiles, sheet flooring, backing, or adhesive may contain asbestos. A 9-by-9-inch size, black mastic, or a particular color can be a cautionary clue but cannot identify asbestos. Do not sand, grind, scrape, drill, or break suspect material to test it. A qualified asbestos professional can advise on sampling and local rules.
If asbestos is confirmed or cannot be ruled out, options may include leaving the material undisturbed, covering it with an approved system, or using qualified abatement. The right approach depends on material condition and project scope. Ordinary masks and household vacuums are not a substitute for required controls. See our guides on what asbestos floor tiles may look like and how to identify them safely.
For nonhazardous tile demolition, wear eye protection, gloves, sturdy footwear, hearing protection, and respiratory protection suited to the dust. Use tools as directed and keep bystanders away. Do not dry sweep fine debris or blow dust with compressed air.
Prepare the room and access route
Remove furniture and protect cabinets, walls, adjacent flooring, and doors. Close off the work area and manage dust at its source. Protect HVAC returns and nearby occupied rooms without blocking required ventilation or equipment. Plan how broken tile will be carried out; a bucket of tile can become heavy quickly.
Disconnect or protect appliances and fixtures only as permitted. If a toilet or drain fixture is removed, protect the opening from debris and fumes. Identify water and electrical shutoffs before work begins. Keep a clear exit path and make sure lighting is adequate.
Remove baseboard or transition trim if it obstructs the tile edge, taking care not to damage reusable pieces. Photograph existing conditions and mark any damaged or loose areas. If the new flooring will meet another material, plan the finished elevation before demolition.
Select tools for the material and substrate
Tools may include a grout-removal tool, hand chisel, floor scraper, rotary hammer with a tile chisel, or a larger demolition hammer. A hand tool offers control for a small area; power tools can speed larger jobs but increase dust, noise, vibration, and substrate damage. Choose the smallest tool that can complete the task safely.
Use a dust-extraction system or approved wet method if suitable for the tool and material. Do not add water to electrical equipment unless its manufacturer allows it. For tile over wood, avoid deep chiseling that can tear out the subfloor. For tile over concrete, consider whether the slab must be protected for a new coating or finish.
Protect radiant heat, membranes, and plumbing. If a tile sits directly above a heating cable or pipe, removal should be handled with care and often by a qualified installer. Test the method in a small area and inspect the layers before expanding the work zone.
Remove grout and start at an edge
Where possible, begin at an exposed perimeter or a tile that is already loose. Remove grout around a tile to reduce stress on adjacent pieces. Use a tool with a depth stop or work carefully by hand so the blade does not cut into the substrate. Keep dust controlled and collect fragments as they are produced.
Break a tile inward into smaller pieces rather than prying against the neighboring edge. A chisel should be angled to lift the tile, not driven deeply into the floor. Work in sections and monitor the material beneath. If the substrate begins to split, stop and adjust the approach.
For a full floor, remove tile and mortar in manageable areas. Avoid stacking debris against walls or carrying oversized loads. Keep blades and cords in good condition. Pause to check for hidden services and to see whether the floor layer that must remain is still intact.
Remove thinset and adhesive residue
After tile removal, the substrate may be covered with thinset, adhesive, or a mortar bed. The next finish determines how clean and flat the surface must be. Some systems permit limited residue; others require removal. Use a method approved for the material and avoid grinding unknown old adhesive before hazard assessment.
Mechanical grinding can create fine silica dust from cementitious materials. If grinding is permitted, use equipment with effective dust collection and follow applicable safety requirements. Do not use a household vacuum for hazardous fine dust. A flooring contractor may have specialized tools for reducing dust and preserving the slab.
Do not use solvents to soften adhesive unless the new floor manufacturer approves it. Chemical residue can interfere with new mortar or adhesive. Remove only what the system requires and dispose of debris according to local rules.
Inspect and prepare the subfloor
Once the surface is exposed, inspect for cracks, moisture, delamination, rot, loose fasteners, soft spots, and unevenness. Repair structural damage before installing new flooring. For concrete, check moisture and surface profile. For wood, verify panel support, fastening, and framing stiffness. If there is a persistent leak, resolve it before covering the floor.
Use a straightedge to check flatness against the new floor manufacturer’s limits. Fill low areas with compatible patch or leveling compound and address high spots safely. Thinset mortar is not a universal floor-leveling product. A membrane may help with certain cracks but will not fix structural movement.
Record the exposed condition with photos and measurements. This helps the next installer choose the correct underlayment, waterproofing, and transition details. Keep spare tile or product details if a partial area will remain.
Debris handling and cleanup
Place sharp fragments in sturdy containers and keep them away from walkways. Use proper lifting techniques and do not overfill buckets or carts. Separate hazardous material from ordinary construction waste as required. Do not wash large amounts of mortar or adhesive into drains.
Clean with a method appropriate to the materials and dust level. Use a suitable vacuum and damp cleaning where appropriate; avoid dry sweeping fine powder. Inspect adjacent rooms, vents, and surfaces before removing barriers. If suspect asbestos has been disturbed, stop and contact a qualified professional rather than attempting ordinary cleanup.
Before installing a new floor, make sure the substrate is dry, clean, and stable. Protect it from foot traffic and other trades. Keep the product labels and demolition records with the project file.
Common removal mistakes
Common mistakes include beginning demolition before checking for asbestos, using a large hammer on a wood subfloor, ignoring radiant heat, and removing tile without protecting adjacent rooms. Others include grinding unknown adhesive, leaving an uneven base, and failing to correct moisture or structural movement before retiling.
Do not choose the removal method solely by speed. Preserving a sound substrate can save money and prevent a second repair. A controlled test area and regular inspection help identify problems early.
Frequently asked questions
Can I remove old tile myself?
Small, known, nonhazardous areas may be manageable, but full-room demolition, uncertain layers, or utilities call for qualified help.
How can I tell whether old floor tile contains asbestos?
You cannot confirm it by appearance. Arrange professional assessment before disturbing suspect material.
Can tile be removed without damaging concrete?
Often, but the tool, mortar bed, and bond affect the result. Test carefully and protect the surface needed for the next finish.
What should I do after removal?
Inspect moisture, flatness, and structural condition, then prepare the substrate for the selected new floor system.
For a more general walkthrough of lifting individual pieces, see our guide to lifting floor tiles.








Leave a Reply
Want to join the discussion?Feel free to contribute!