
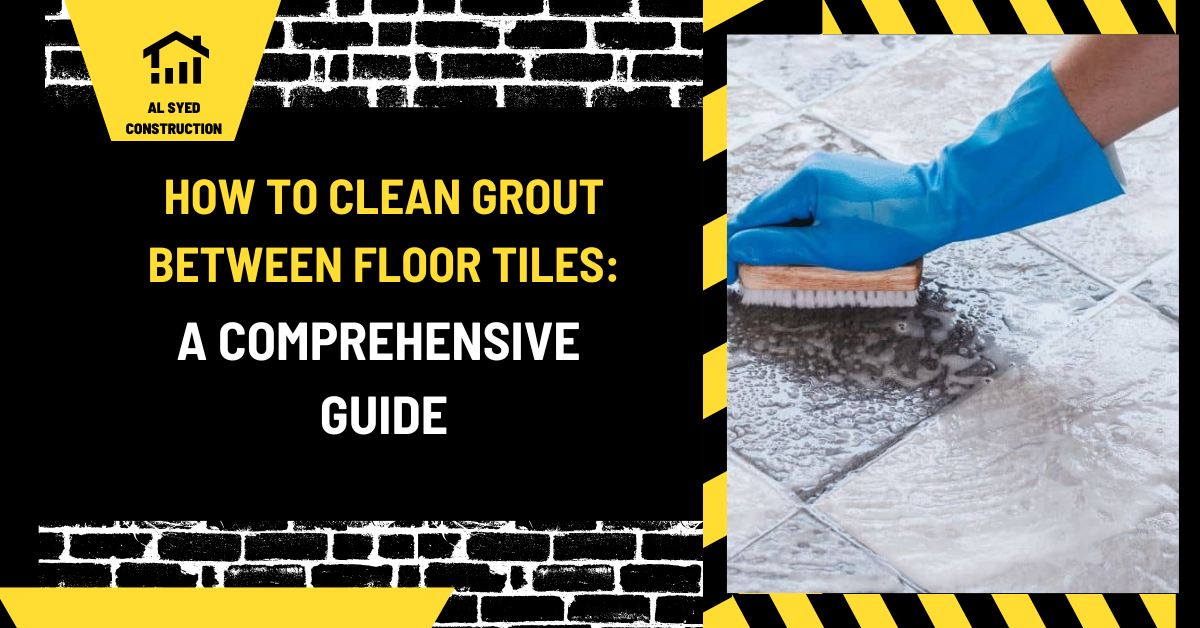
How to Clean Grout Between Floor Tiles
Grout lines can become darker than the surrounding tile because they collect fine soil, spills, cleaning residue, and moisture. Cleaning them safely means identifying the grout and tile, removing loose grit first, and choosing a compatible cleaner. Stronger chemicals and harder brushes do not always produce a better result; they can discolor grout, etch stone, or damage tile edges. This guide explains how to clean floor grout step by step, treat common stains, prevent recurring discoloration, and decide when the problem needs repair rather than more scrubbing.
Identify the grout and flooring
Most floor joints contain cementitious grout, but some installations use epoxy or other specialized grout. Tile can be glazed ceramic, porcelain, natural stone, cement tile, or a resilient product with grout-like lines. These materials do not all tolerate the same cleaner. Natural stone may react to acids; a sealer may be affected by solvents; and colored grout can lose pigment if treated incorrectly. Check product records or consult the installer when the surface is uncertain.
Look at the pattern of discoloration. Uniform darkening across high-traffic paths may be ordinary soil. A recurring patch beside a bath, sink, or exterior door may indicate water or a leak. Crumbling, missing grout, cracked tile, and loose areas are repair concerns. Cleaning can improve appearance but cannot restore grout that has deteriorated or correct a waterproofing failure.
Gather supplies and prepare the room
For routine cleaning, prepare a broom or vacuum, a soft nylon grout brush, microfiber cloths, a mop, clean water, gloves if required, and a cleaner approved for the tile and grout. Read the product label for dilution, contact time, ventilation, and rinse requirements. Test the cleaner in a discreet spot and allow that area to dry so you can evaluate the result.
Remove rugs, movable objects, and loose debris. Keep the work zone ventilated and block access until the floor is dry. Do not mix cleaning products. Never mix bleach with ammonia, vinegar, acids, or any other cleaner. If the surface has residue from another product, rinse thoroughly and allow it to dry before changing to a different cleaner. Use chemicals only as directed, and keep them away from children and pets.
Step 1: Remove grit from tile and grout
Dry vacuum or sweep the entire floor before applying liquid. Fine grit can scratch a polished surface when ground under a brush or mop. Use a vacuum attachment that will not scratch the tile and pay attention to corners and joints. Remove hair, loose soil, and debris from around toilet bases, cabinets, and thresholds.
Step 2: Apply an appropriate cleaner
Use a pH-neutral cleaner for routine maintenance unless the tile or grout manufacturer specifies a different product. Prepare the solution at the stated dilution; concentrated cleaner may leave residue or affect the surface. Apply it to a manageable area and give it only the contact time on the label. Do not allow a chemical to dry on the floor.
For an unknown tile, start with plain clean water and a gentle cleaner test. Avoid vinegar, lemon juice, and other acids unless approved. Acid can damage marble, limestone, travertine, and some grout. Do not apply bleach to the whole floor as a routine whitening method. A product’s label should state whether it is appropriate for the specific material and stain.
Step 3: Scrub the joints gently
Use a soft or medium nylon brush sized for the grout joint. Scrub in short sections along the joint, applying enough pressure to loosen surface soil without abrading the grout. A small detail brush can reach around corners, but a metal brush can scratch tile and remove grout. If the grout is deteriorating, stop rather than enlarging the damage.
For a large floor, clean one area at a time so the solution does not dry. Do not use a powered rotary brush unless the surface and tool are suitable and the operator can control the pressure. Excessive scrubbing can roughen the joint and make it collect dirt faster.
Step 4: Rinse and remove residue
Wipe the area with clean water and a well-wrung cloth or mop. Change rinse water frequently. Cleaner left behind can attract soil, create a slippery film, or alter grout appearance. If the product requires more than one rinse, complete it. Dry the surface with a clean towel or allow ventilation until the grout is fully dry.
Evaluate the floor only after it is dry. Wet grout often looks darker than dry grout, so judging the final color too early can lead to unnecessary repeat cleaning or recoloring. If the result is improved but not uniform, clean a second small area and compare before treating the entire floor again.
Handle stains and stubborn discoloration
First identify the stain if possible. Grease, soap, mineral scale, rust, and biological growth require different treatments. Use a stain-specific product approved for the tile and grout. Follow the directions and test it in a hidden area. A cleaner that removes mineral scale from ceramic could damage natural stone; a solvent that treats a coating might harm grout color.
If a stain remains after compatible cleaning, do not repeatedly increase chemical strength. The discoloration may be inside the grout, caused by a previous sealer, or a sign that the material has changed. A grout colorant may be an option for sound grout, while regrouting may be needed if joints are cracked or missing. Ask a tile professional to assess a large or recurring stain.
Recognize moisture and mold concerns
Dark marks that return quickly can be associated with a leak, poor ventilation, water trapped under a mat, or a failed sealant joint. Look for persistent dampness, soft adjacent material, loose tile, odor, and stains that spread beyond one joint. Address the source before cosmetic treatment. In bathrooms, improve ventilation, dry wet areas, and repair plumbing or failed caulk. Do not seal a damp floor and assume the moisture problem is solved.
If biological growth is suspected, avoid dry brushing that spreads dust or debris. Use products according to their labels, never mix chemicals, and seek qualified help if the affected area is extensive or recurring. Cleaning alone cannot prevent regrowth when moisture remains. The site’s washroom floor tile cleaning guide covers room-level cleaning and moisture prevention.
Should grout be sealed?
Some cement-based grout may benefit from a compatible sealer, but epoxy grout and other products may not require one. Follow the grout and sealer manufacturer’s instructions. Clean and dry the joint before application, and keep sealer off tile surfaces if the product can leave a film. A sealer can help reduce absorption and make maintenance easier, but it does not make the grout waterproof or eliminate routine cleaning.
Do not apply a sealer over dirt, cleaner residue, or wet grout. Confirm cure time and recoat instructions. If the grout is cracked, powdery, or missing, repair it first. Sealing a failing joint can trap the appearance of a problem without fixing the joint.
Build a simple maintenance routine
Vacuum or sweep regularly to keep grit out of joints. Wipe spills promptly and use a damp mop with a small amount of an approved cleaner. Rinse when required and dry areas that remain wet. Lift mats periodically to allow both mat and tile to dry. Use entry mats that do not transfer dye or trap moisture. In kitchens, clean greasy spills before they settle into grout.
Inspect the joints during routine cleaning. Flexible sealant belongs where the system specifies movement accommodation, such as certain changes of plane. Rigid grout should not be used to bridge a joint that needs to move. Replace failed sealant and investigate cracks rather than scrubbing them repeatedly.
Common mistakes to avoid
- Cleaning before vacuuming loose grit.
- Using vinegar or another acid on unknown stone or grout.
- Mixing bleach with another product.
- Scrubbing with a metal brush or abrasive pad.
- Leaving cleaner to dry on the floor or skipping the rinse.
- Applying sealer to damp, dirty, or damaged grout.
- Treating recurring stains without locating a moisture source.
Frequently asked questions
Can I use baking soda and vinegar together?
Do not assume a homemade mixture is safe or effective. Combining ingredients can neutralize their cleaning action, and vinegar is acidic. Use a compatible product approved for the tile and grout.
How often should I clean floor grout?
Frequency depends on room use, traffic, spills, and ventilation. Regular dry soil removal and prompt spill cleanup reduce the need for aggressive deep cleaning.
Can dirty grout be made white again?
Cleaning may remove soil, but staining, aging, or chemical damage can remain. Grout colorant or replacement may be needed when the joint is sound or when it is deteriorated.
Why is grout darker after mopping?
It may still be wet or may have absorbed dirty water. Allow it to dry, then check for cleaner residue, moisture, or a leak before repeating treatment.
Conclusion
Clean grout by removing grit first, testing a compatible cleaner, scrubbing gently, rinsing thoroughly, and letting the floor dry before evaluating the result. Avoid acids on uncertain materials, never mix chemicals, and stop when grout begins to break down. If discoloration returns or moisture is persistent, investigate the cause before sealing or recoloring. Careful routine maintenance keeps grout easier to clean and helps surface stains stand apart from real repair issues.


Leave a Reply
Want to join the discussion?Feel free to contribute!