
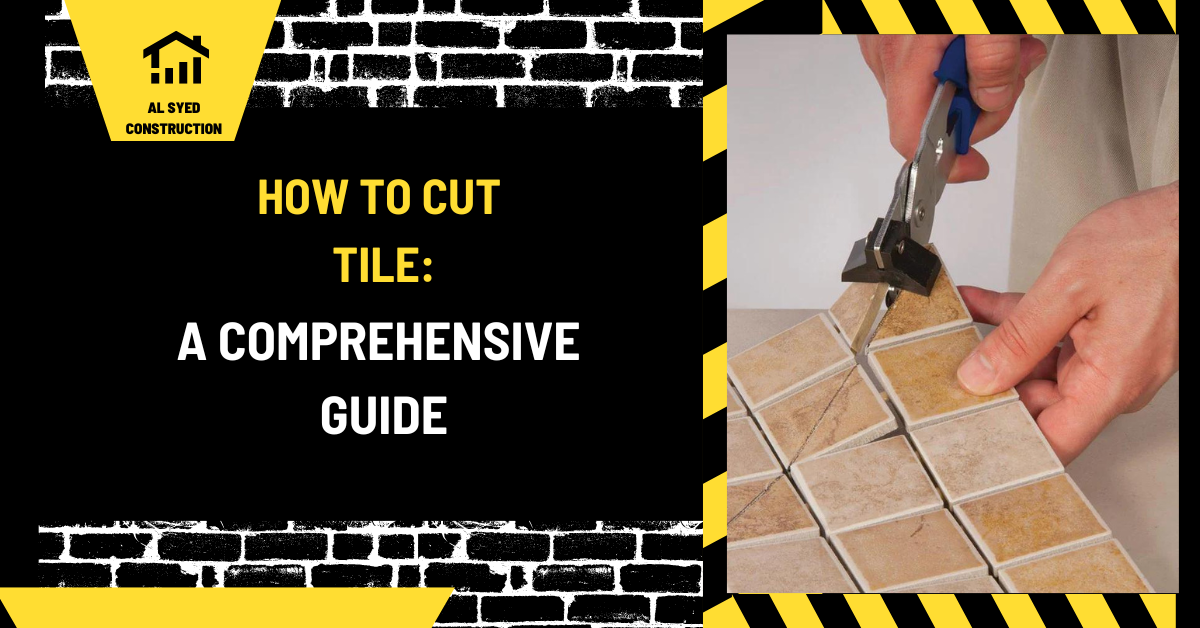
How to Cut Tile: Tools and Safe Methods
Cutting tile requires the right tool for the material, a precise measurement, and control of dust and sharp edges. A straight ceramic cut may need only a manual snap cutter, while porcelain, natural stone, thick tile, or a curved cut can require a wet saw, grinder, or specialty bit. The best cut is planned before the tile is set, tested on a spare piece, and finished without weakening the edge. This guide covers common tools, straight and shaped cuts, holes, safety, and troubleshooting.
Identify the tile and cut before starting
Check the tile material, thickness, finish, and hardness. Glazed ceramic may snap cleanly with a manual cutter; dense porcelain often needs a diamond blade; stone can chip or split depending on its grain and veining. A textured or glossy face may require extra protection. Review the product’s handling instructions and select a tool rated for the tile. If the tile is costly or the cut is visible, practice on an offcut first.
Decide whether the cut will be hidden under trim, exposed at a doorway, around a pipe, or along an outside corner. Exposed edges may need a factory edge, a profile, polishing, or another finish. Mark the tile face with a pencil or compatible marker. Verify the orientation and waste side before cutting; a correct measurement on the wrong face can still ruin a piece.
Tools for common tile cuts
- Manual snap cutter: useful for many straight cuts on suitable ceramic or porcelain tile.
- Wet tile saw: supports straight cuts and some angled cuts with a diamond blade and water.
- Angle grinder with diamond blade: useful for notches, shaping, and selected cuts when controlled properly.
- Tile nippers: remove small amounts from an edge or shape a curve gradually.
- Diamond hole saw: creates openings for pipes or fixtures when the tile and bit are compatible.
- Profile wheel or polishing tools: finish exposed edges when the tile material permits.
Use guards, clamps, and accessories specified for the tool. A dull or damaged blade can chip tile and increase kickback risk. Do not remove a guard to gain access to a cut. Keep the workpiece supported so it cannot vibrate or break under pressure.
Measure the space accurately
Measure the opening at more than one point because walls and fixtures are not always square. Account for grout joints, perimeter gaps, profiles, and movement space shown in the installation detail. If a tile fits between two fixed edges, measure at the exact position where it will sit. Use a story pole or template for repeated cuts. For pipes, make a cardboard template and transfer its center and diameter carefully.
Dry-fit the tile before setting it. Check that the cut leaves enough material to support the edge and does not create a thin sliver. If the layout results in tiny cuts, adjust the starting line or pattern before cutting the full room. The site’s floor tile layout guide explains how to plan rows before installation.
Make a straight cut with a manual snap cutter
Place the tile face up against the cutter’s guide and align the mark with the scoring wheel. Keep the tile flat and supported. Score once with steady, even pressure according to the cutter instructions; repeated scoring may create an irregular fracture. Position the breaker foot as directed and apply controlled pressure to split the tile. If the tile does not break cleanly, do not force the lever or put fingers under the piece. Recheck compatibility and use a wet saw if necessary.
Make straight cuts with a wet saw
Set the guide and blade for the required cut, then verify the measurement with the saw unplugged or in its safe setup state. Confirm the water supply is operating and the blade is suitable. Feed the tile slowly and steadily, keeping hands clear of the blade. Let the tool cut rather than forcing the tile. Support narrow pieces on both sides and use an approved auxiliary guide when needed.
Water reduces dust at the cutting point, but slurry can make the area slippery. Manage splash and electrical connections according to the tool instructions. Do not use a wet saw in an environment where water could contact unprotected wiring. After cutting, rinse the tile and blade area as directed and allow the tile to dry before setting.
Cut notches and L-shapes
Notches are common around door jambs, cabinets, floor registers, and pipe boxes. Mark the cut lines and remove material in a controlled sequence. A wet saw can make straight relief cuts, while a grinder can shape a corner; a series of small cuts is usually easier to manage than one deep plunge. Do not extend a relief cut past the finished line unless the design hides it. Sharp inside corners concentrate stress, so a small radius may reduce cracking when the detail permits.
For a U-shaped notch, measure both legs and the depth, then make parallel cuts and remove the waste gradually. Keep the remaining tile supported. If a narrow section is left between the notch and the outer edge, reconsider the layout or use another detailing method because the piece may break during handling or service.
Cut curves and holes
For a curve, make a template first and transfer the outline. Use nippers for small incremental removals or a diamond blade for a controlled cut. Smooth the edge with a tile stone or suitable polishing tool. Avoid trying to force a tight curve with one cut. If the piece is structural or the opening is large, consult the project detail before removing material.
For a pipe or fixture opening, choose a diamond hole saw sized for the clearance and tile. Support the tile on a firm sacrificial surface and follow the bit manufacturer’s dry or wet method. Use low, steady pressure and keep the bit cool when the method calls for water. Do not drill through a finished floor without locating plumbing, electric heat, or other services below. Leave the required clearance around penetrations and finish the opening with the specified escutcheon or sealant detail.
Control dust and protect yourself
Tile, mortar, and grout cutting can produce respirable dust and sharp fragments. Prefer wet cutting or a tool with effective dust collection for materials that produce fine dust. Keep bystanders away from the cutting station. Wear eye protection, suitable respiratory protection, hearing protection, and gloves appropriate to handling fragments. Do not dry sweep dust; use a suitable vacuum and clean the area without spreading particles.
Read the tool and blade instructions, maintain guards, and secure the material. Keep cables away from water and blades. Do not wear loose clothing near rotating equipment. When working at a jobsite, follow the site safety plan and applicable exposure-control procedures.
Finish and inspect the cut
Remove burrs or sharp edges with a compatible rubbing stone or polishing pad. Avoid grinding through a glaze or finish unless the intended edge detail allows it. Inspect the tile for cracks that extend beyond the cut. Dry-fit it in the installation to check the joint, transition, and fixture clearance. If the cut is visible, view it from normal standing positions and confirm the profile is consistent with neighboring edges.
Common cutting problems
- Chipped glaze: can result from a dull blade, wrong tool, fast feed, or unsupported tile.
- Tile breaks off the line: may indicate an unsuitable snap cutter, repeated scoring, or a weak area.
- Cut is too large: recheck dimensions at the actual opening and account for trim and joints.
- Cut edge is rough: finish with an appropriate stone or profile rather than hiding it with excess grout.
- Tile cracks after drilling: reduce pressure, support the piece, and use the correct bit and method.
Frequently asked questions
Can I cut porcelain tile with a manual cutter?
Some porcelain can be snap-cut with a suitable cutter, but dense or textured products may not break cleanly. Test an offcut and use a wet saw if the result is poor.
Can an angle grinder cut tile indoors?
A grinder can shape tile, but it creates dust and noise. Use suitable dust control, guards, PPE, and a safe work area. Wet cutting may be preferable where appropriate.
How do I cut a hole for a pipe?
Use a compatible diamond hole saw and a measured template. Support the tile, follow the bit’s cutting method, and locate any concealed services before drilling the floor or wall.
Can I cut tile after it has been installed?
It is possible but risky because vibration can damage the bond, surrounding tile, waterproofing, or concealed services. Remove and cut the tile separately when practical.
Make a sample cut before batching pieces
When several tiles need the same cut, finish one sample and check it in place before repeating the setup. Confirm the opening, exposed-edge treatment, and orientation. A small adjustment to a saw fence or template can prevent repeated errors. Label pieces that differ by location, especially when cutting tiles for several rooms or a patterned floor. Keep the sample until the installation is complete so it can serve as a reference for later cuts.
Conclusion
Accurate tile cuts start with choosing the correct tool and measuring the finished opening, not simply the rough edge. Dry-fit each piece, support it fully, use controlled cuts, and protect against dust and sharp fragments. Finish exposed edges and preserve clearances around transitions and penetrations. When a cut could affect waterproofing, structure, or concealed utilities, confirm the detail before removing material.





Leave a Reply
Want to join the discussion?Feel free to contribute!