
How to Seal a Tile Floor the Right Way
Whether a tile floor needs sealing depends on the tile, grout, finish, and manufacturer’s instructions. Many glazed ceramic and porcelain surfaces do not need a topical sealer, while some natural stone and cement-based grout may benefit from a compatible treatment. Sealer can help reduce staining or make routine cleaning easier, but it does not make a floor waterproof or repair cracked grout. This guide explains how to determine what should be sealed, choose a product, prepare the floor, apply it safely, and maintain the surface afterward.
Understand what tile sealer does
Tile and grout sealers are products that reduce absorption or form a surface treatment, depending on their chemistry. Penetrating or impregnating sealers enter pores and generally preserve the natural look, while topical products leave a film or coating. The product label identifies the intended material, appearance, and application. A sealer may slow staining from spills, but it will not prevent all liquids from reaching the substrate and should not be treated as a waterproofing membrane.
A waterproofing system belongs beneath or behind the tile in wet areas and must be installed as a continuous assembly. Applying sealer to tile and grout cannot compensate for failed shower waterproofing, a leaking pipe, a cracked floor, or a missing movement joint. If water repeatedly appears below a tiled surface, find the source before doing cosmetic work.
Determine whether the tile or grout needs sealing
Check the product documentation first. Glazed ceramic tile is often nonabsorbent on its face, so sealer may be unnecessary and can leave residue. Many porcelain tiles also do not require a topical treatment, although grout joints may be separate and potentially more absorbent. Natural stone, unglazed tile, quarry tile, cement tile, and cementitious grout can have different needs. A polished surface may react differently from a textured or honed one.
Use a manufacturer-recommended porosity test only if it is appropriate for the tile and grout. A simple water drop test can provide an initial clue on an inconspicuous, unsealed area, but it does not replace the product instructions or identify every coating. If water darkens the material, it may be absorbent; if it beads, the surface may already be sealed or finished. Avoid testing with oils or chemicals that can stain the floor.
Choose a compatible sealer
Read the label to confirm that the product is approved for the specific tile, grout, and exposure. Determine whether it is penetrating or topical, whether it changes the color or sheen, whether it is suitable for floors, and how many coats are required. Some sealers are made for grout only and should not be applied to polished tile. Others are for natural stone or concrete. Do not select a product solely because it says tile and stone on the front; confirm the details on the technical instructions.
Consider slip and maintenance effects. A topical coating may change surface friction or create a film that requires periodic stripping. The sheen may differ under direct light and across textured surfaces. Test the product on a spare tile or hidden section and allow it to cure before judging appearance. Check that the sealer will not conflict with any existing coating, grout colorant, or floor finish.
Prepare the floor carefully
Sealer should not be applied over soil, grease, soap film, grout haze, or cleaner residue. Remove furniture and mats, then vacuum or sweep thoroughly. Clean the tile and grout with a compatible cleaner, rinse when required, and let the floor dry for the period specified by the product. Porous materials can hold moisture below the visible surface, so a floor that feels dry may still need more time. Follow the label’s moisture and temperature conditions.
Repair cracked or missing grout and replace failed flexible sealant before sealing. Allow repairs to cure as instructed. Do not seal a damp floor, active leak, or joint that is still moving. Mask adjacent wood, metal, painted trim, and other materials if the sealer can stain or damage them. Keep ventilation and access controls in place during application.
Apply the sealer
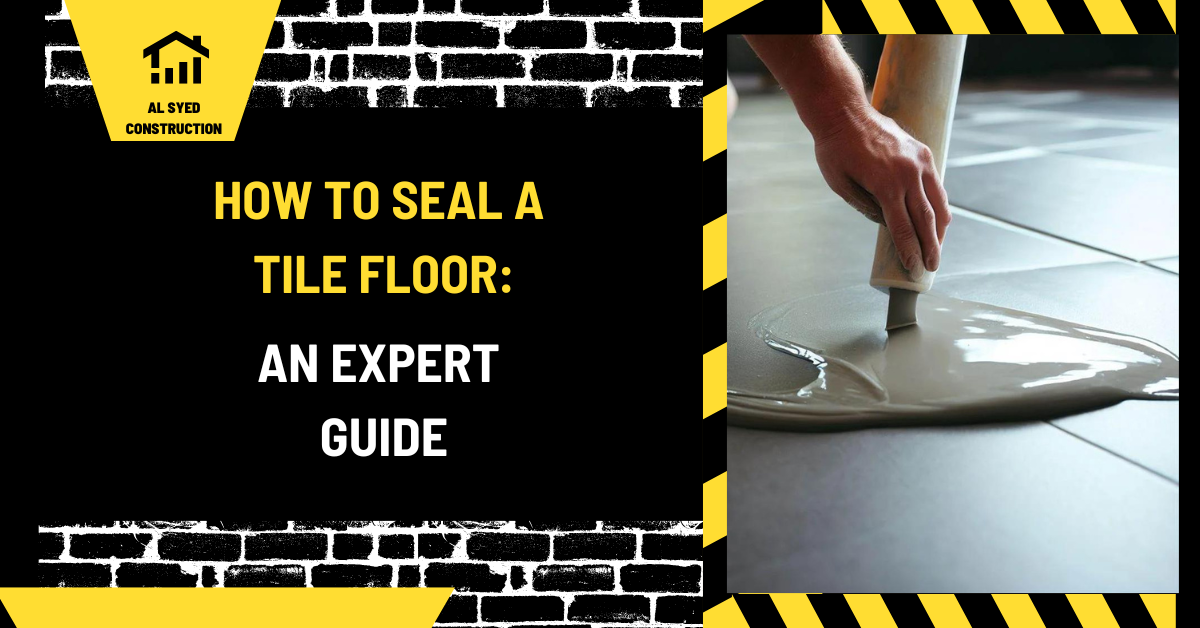
Use the applicator, cloth, brush, or pad specified by the product maker. Work in small, manageable sections and apply an even amount. Do not flood the floor unless the instructions explicitly allow it. Keep a wet edge when required and remove excess product from the tile face before it dries. Sealer left on glazed tile can cure as a haze that is difficult to remove.
For grout-only sealing, use a narrow applicator and control the amount. Work along joints and wipe the tile surface promptly. On a porous stone surface, even coverage may require a different method. Follow the first-coat and second-coat timing exactly. A second coat applied too early or after the product’s recoat window may not bond as intended.
Cure and protect the floor
Keep people and pets off the floor during the specified cure time. Protect the area from water, dust, and furniture while the product sets. Do not replace rugs until the label permits it, because a rug can trap moisture or imprint a soft coating. Ventilate the room as instructed, especially with solvent-based products. Dispose of cloths, pads, and containers according to the label and local rules.
Maintain a sealed floor
Clean with products approved for the tile, grout, and sealer. Strong acids, alkaline cleaners, solvents, or abrasive pads may degrade the sealer or alter the stone. Use a small amount of cleaner, rinse when required, and dry standing water. Wipe spills promptly, particularly oil, colored liquids, and acidic foods on sensitive stone.
Resealing frequency varies by product, traffic, cleaning method, and material. Follow the label and inspect the floor rather than applying a new coat on an automatic calendar. If the finish becomes patchy or slippery, identify the product already on the floor before adding more. Layering incompatible sealers can create a cloudy or sticky surface. The site’s grout cleaning guide covers routine joint cleaning and stain prevention.
What sealing cannot fix
Sealer does not stabilize a loose tile, rebuild crumbling grout, bridge a moving crack, flatten a floor, or stop water that is entering through a failed membrane. It also cannot restore glaze that has been etched or abrasion that has worn through a finish. If a floor has persistent dampness, recurring dark patches, musty odor, loose tile, or water below, investigate the assembly and repair the cause.
Common sealing mistakes
- Sealing a tile surface that does not absorb and leaving a cloudy film.
- Applying sealer to dirty, damp, or recently repaired grout.
- Using a stone product on ceramic or a grout-only product on tile.
- Leaving excess sealer to dry on the surface.
- Expecting sealer to waterproof a shower or stop a leak.
- Ignoring cure time, ventilation, or slip characteristics.
- Adding a new coating before identifying the old finish.
Frequently asked questions
Do I need to seal a porcelain tile floor?
Many porcelain tile faces do not need sealing, but grout and some specialty or polished products may have separate recommendations. Follow the tile and grout manufacturers’ instructions.
Should grout be sealed before or after installation?
It depends on the grout, tile, and sealer. Some products permit pre-grout treatment; others require the grout to cure first. Follow the instructions for the exact system.
How can I tell when grout needs resealing?
Use the test and maintenance guidance from the sealer manufacturer. Beading can be a clue, but it can also reflect residue or an existing coating, so interpret it alongside the product instructions.
Can I seal a shower floor?
Only use a product approved for the tile and grout, and remember that sealer is not waterproofing. A functioning membrane and drain connection protect the assembly.
Understand penetrating and topical products
A penetrating sealer enters pores and generally preserves the surface appearance, although an enhancing product may deepen color. A topical product forms a film and can change gloss, texture, slip, and maintenance needs. Read the technical sheet to understand the product rather than relying only on marketing terms. If the floor will receive a coating, confirm that it is approved for foot traffic, the tile, and the cleaning routine. Some installers use grout-release treatment before grouting porous or textured tile; this is separate from sealing cured grout. Apply pre-grout treatment only when both tile and grout manufacturers permit it, and avoid contaminating the joints.
Application conditions and cleanup
Temperature, humidity, ventilation, and substrate moisture can affect spreading and cure. Apply only within the label’s conditions. Do not pour product onto the floor unless directed, because a concentrated puddle can leave a darker patch. Keep clean cloths ready to remove excess while it is workable; a saturated rag can spread film back onto tile. If haze appears, do not immediately try a solvent or abrasive cleaner. Review the product’s remedy instructions and test a hidden area. Some residues must be removed within a short window, while cured film may require a specific stripper.
Inspect after curing
Allow the full cure period before testing or returning the room to service. Use the inspection method recommended by the sealer maker; do not place oil or dye on a visible spot as an improvised test. Watch for patchiness, sticky areas, cloudy residue, or changed slip under normal lighting. Keep a record of product name, batch, date, coats, and treated areas. For commercial floors, include this information in the building maintenance file so cleaning staff do not accidentally strip or layer incompatible products.
Conclusion
Seal a tile floor only when the tile or grout manufacturer recommends a compatible treatment. Identify the material, clean and dry it fully, test the appearance, apply an even coat, remove excess, and respect cure times. Maintain the surface with approved cleaners and inspect it for changes. Sealer supports stain resistance; the underlying tile assembly and waterproofing must still be sound.


Leave a Reply
Want to join the discussion?Feel free to contribute!