
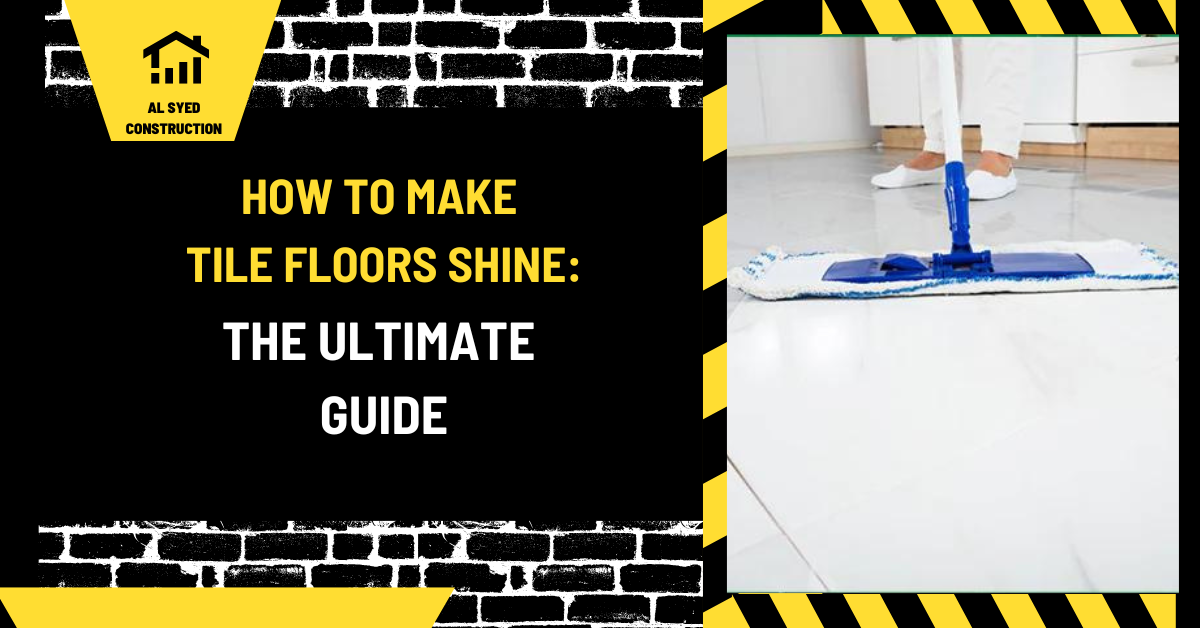
How to Make Tile Floors Shine Safely
A tile floor can look dull even when the tile itself is in good condition. Dust, soap film, cleaning residue, hard-water deposits, and soil in grout can flatten the appearance. Before applying a product that promises extra shine, identify the tile and find the cause of the dullness. Many glazed tiles are not designed to be waxed, while polished stone and unglazed products have different care needs. This guide shows how to clean and restore the appearance of tile safely, how to recognize permanent surface damage, and why a glossy coating can create new problems.
Identify the surface before trying a cleaner
Tile may be glazed ceramic, porcelain, natural stone, quarry tile, cement tile, or another material. A glossy appearance does not by itself identify the product. Check invoices, packaging, or manufacturer information when possible. If you are not sure, begin with dry dust removal and a small test using a mild cleaner approved for the likely material. Natural stone can be damaged by acidic products, and some finishes can be dulled by abrasive pads or strong chemicals.
Inspect the floor in daylight and at a low angle. Look for a uniform film, footprints, streaks, water spots, dull patches, scratches, or worn areas. A film that appears after mopping may be cleaner residue. A patch near a doorway may be worn by grit and traffic. A chalky haze after installation may be grout residue that needs a tile-specific cleaner. A permanently etched or abraded surface will not regain its original finish through routine mopping.
Remove loose dirt before wet cleaning
Sweep or vacuum the floor first. Small particles of sand and grit can scratch surfaces when moved under a mop or pad. Pay attention to corners, room edges, and areas beneath furniture. Lift mats and inspect underneath; trapped grit or moisture can affect both the tile and the underlying floor. Use a vacuum attachment suitable for the tile so it does not scratch the surface.
Choose a compatible cleaner
Use a mild cleaner approved for the tile, grout, and any sealer. Follow the label’s dilution and rinsing directions. Too much product can leave a sticky residue that attracts dirt and makes the floor appear dull again. For routine cleaning, warm water with the recommended amount of cleaner is often enough. Do not combine cleaning products, and never mix bleach with ammonia, acids, or any other cleaner.
Avoid using household wax, furniture polish, oil, or an unapproved “shine” coating on a floor. These products may leave a slippery layer, build up unevenly, or interfere with future repairs and coatings. If a commercial finish product is being considered, confirm that the tile manufacturer approves it, understand its maintenance and slip characteristics, and test it in a discreet location first. A coating can change the appearance rather than restore the original finish.
Clean the tile in an orderly sequence
Work in manageable sections. Apply the cleaning solution and allow only the contact time specified on the label. Use a soft microfiber mop or pad and avoid excessive scrubbing on a polished or delicate surface. Rinse the mop frequently, and change the bucket water when it becomes dirty. If the cleaner requires a rinse, use clean water. Remove standing moisture with a clean mop or cloth and allow airflow until the floor is dry.
For residue, repeat a small test with clean water or an approved tile cleaner rather than increasing the chemical strength immediately. A second rinse can remove soap or detergent film. If the floor remains streaky, check whether the mop, bucket, or water is dirty. Clean tools matter: a greasy mop can redeposit soil across the entire floor.
Address grout and the edges
Grout often makes a floor look tired even when the tile is clean. Dry-vacuum joints, then use a grout-safe cleaner and soft nylon brush. Work gently and rinse thoroughly. Avoid metal brushes, which can scratch tile edges or remove grout. Do not use acidic cleaners on cement-based grout unless its manufacturer approves them. Sealers, colorants, and epoxy grout may require different care.
At corners and room edges, inspect flexible sealant for gaps, peeling, or staining. Do not try to make a floor glossy by putting a coating over dirty or damaged grout. If grout is crumbling or has recurring dark areas, determine whether water, movement, or a leak is responsible before recoloring it. The site’s guide to cleaning grout between floor tiles covers grout maintenance in more detail.
Know when the finish is permanently altered
Etching can appear as dull spots on acid-sensitive stone after contact with an acidic liquid. Abrasion can leave a worn path where fine grit has repeatedly been walked. Scratches, chemical damage, and loss of a factory finish may not be removable with household cleaning. Polishing or resurfacing natural stone is a specialized trade and should be matched to the material. Glazed ceramic and porcelain generally cannot be polished like solid stone because the glaze is the surface layer.
If a floor looks unevenly glossy after a past coating, a professional may need to identify the finish and recommend a compatible stripping method. Do not use an aggressive stripper based on a guess. A wrong chemical can damage grout, stone, coatings, nearby wood, or metal trim. Keep children and pets away from treated areas and follow label ventilation requirements.
Prevent a dull appearance from returning
Use entry mats that do not trap moisture and clean them regularly. Remove grit frequently, wipe spills promptly, and use a neutral product that leaves little residue. Avoid over-wetting grout and corners. In kitchens and bathrooms, use ventilation to reduce persistent dampness. Do not drag furniture across the floor; lift it or use clean protective pads. Regular gentle care usually maintains appearance better than occasional harsh scrubbing.
Keep a note of the tile type, grout product, approved cleaner, and any sealer or finish applied. That information makes future maintenance more consistent and helps a professional choose compatible products. If a floor is under warranty, unapproved coatings or chemical treatments may affect coverage, so review the product documents before applying them.
Common reasons tile appears dull
- Cleaner build-up: too much detergent or an inadequate rinse leaves a film.
- Hard-water residue: mineral deposits may require a cleaner suited to both tile and grout.
- Dirty grout: contrast between clean tile and dark joints changes the overall look.
- Surface abrasion: grit or a rough pad can alter a polished finish.
- Etching: a chemical reaction can permanently change some natural stone.
- Improper coating: wax or shine products can yellow, streak, or become slippery.
- Lighting: oblique light makes streaks and unevenness more visible than overhead light.
Frequently asked questions
Can I use vinegar to make tile shine?
Do not use vinegar unless the manufacturer approves it for the specific tile and grout. Acids can damage natural stone and some cementitious materials. Use a compatible neutral cleaner as the starting point.
Can I use wax on ceramic tile?
Most glazed tile does not need wax, and an unapproved wax can create build-up or a slippery surface. Use only a finish product the tile manufacturer permits.
Why does my tile look dull after mopping?
Common causes include too much cleaner, dirty rinse water, soap film, or a mop that redeposits soil. Rinse with clean water if appropriate and reduce product to the labeled amount.
Can I restore scratched tile?
Light soil may be removable, but scratches or worn glaze may be permanent. Natural stone may be professionally refinished; glazed ceramic usually cannot be polished back to its original factory surface.
Clean according to tile type
For glazed ceramic, remove soil and film from the face and joints with a neutral product and a soft pad. Textured porcelain may hold dirt in its relief, so use a soft brush before increasing cleaner strength. Avoid rough pads on polished surfaces because scratches can make light reflect unevenly. Natural stone needs its own care routine: marble, limestone, and travertine can be altered by acidic cleaners, even if the cleaner seems mild. Use a stone-safe product, blot spills, and ask a stone-care specialist about etching or honing. A penetrating sealer may reduce absorption on some stone, but it does not prevent acid etching.
Improve the cleaning process
Use a clean mop head and rinse it often. A dirty mop transfers soil, while an overly wet mop can push dirty water into grout and corners. For a large area, divide the floor into sections and finish each before the solution dries. Keep the exit path clear so no one steps on a slick surface. If streaks persist, check the cleaner dilution and water quality. Hard water can leave mineral marks as it evaporates, and over-concentrated detergent can create haze. Try a controlled rinse on a small section and compare it after drying. Do not use a descaler until its compatibility with both tile and grout is confirmed.
When to call a tile-care specialist
Get professional advice when the material is high-value natural stone, the floor has an unknown coating, or a stain remains after a safe test. A specialist can distinguish residue from etching, worn glaze, or a damaged finish. Keep product names and maintenance history available because an earlier sealer or polish can change the correct remedy. Record which cleaner and dilution worked so future cleaning remains consistent.
Conclusion
To make tile floors look their best, remove grit, identify the surface, and clean with a product that is compatible with the tile and grout. Rinse away residue and dry the floor instead of adding an unapproved shine coating. If dullness comes from etching, abrasion, or a past finish, cleaning may not restore it; identify the material and seek appropriate repair. A regular gentle routine protects appearance and avoids slippery build-up.





Leave a Reply
Want to join the discussion?Feel free to contribute!