
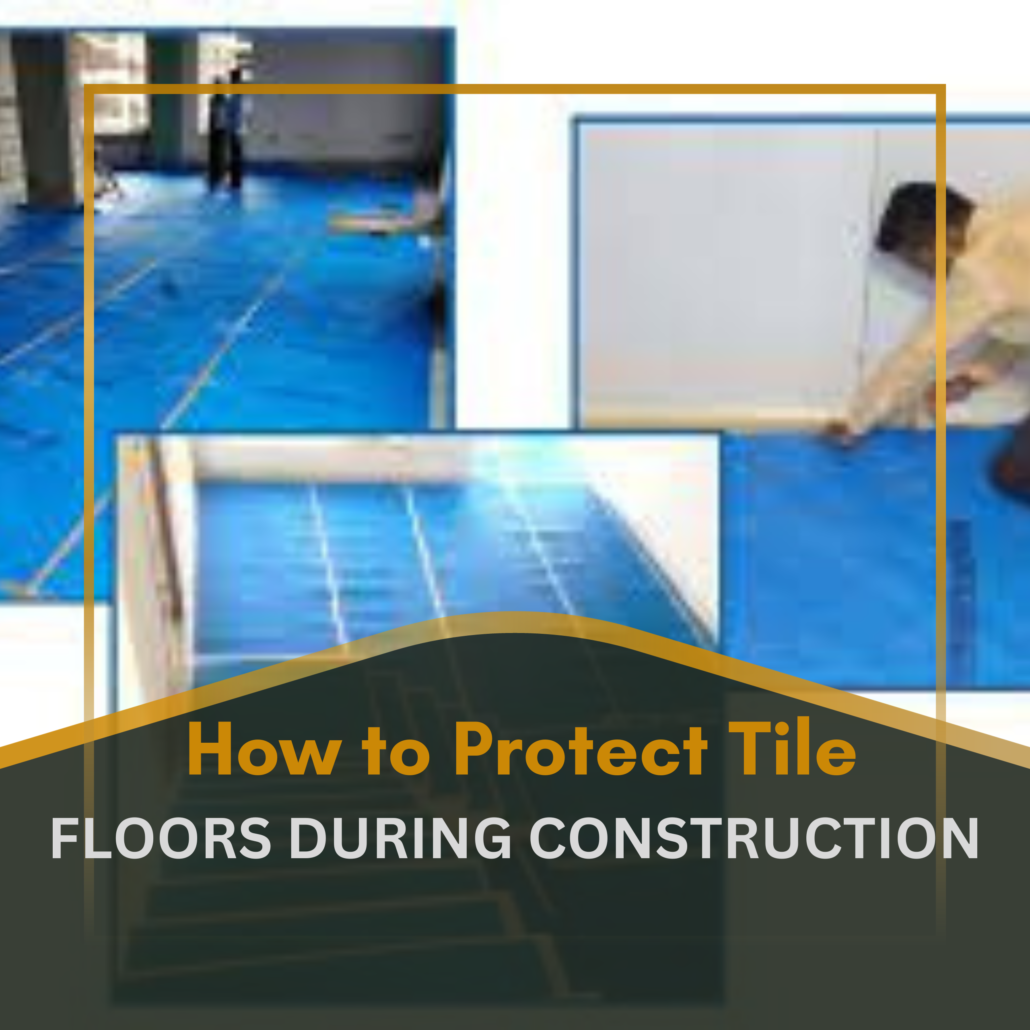
How to Protect Tile Floors During Construction
Inspect and document the tile first
Before installing protection, inspect the tile, grout, movement joints, and exposed edges. Photograph existing chips, scratches, open joints, or residue so new damage can be identified fairly. Confirm the mortar and grout have reached the cure stage required before covering or placing loads on the floor. Protection installed too early can trap moisture or shift tile that has not bonded. Record the tile type and cleaning instructions. This baseline gives the general contractor and trades a shared reference for the floor’s condition.
Choose a covering suited to the work
Protection should resist the expected traffic and impact without scratching, staining, or trapping moisture against the finish. Clean, breathable floor protection may suit pedestrian access; rigid panels may be needed for carts or equipment. The material should be compatible with the tile, grout, and any sealer. Avoid dirty cardboard, abrasive underlayment, or plastic film that can hold moisture unless approved. A covering that looks heavy-duty can still transfer adhesive or grit. Check the manufacturer’s guidance and test in a discreet location before covering a large area.
Clean before covering
Dust, mortar crumbs, and grit beneath a floor covering can act like sandpaper when workers walk over it. Sweep or vacuum with equipment suitable for the floor, then let any damp cleaning dry completely. Remove loose debris from grout joints and corners. Do not cover wet tile or recently applied sealer. If construction residue remains, use an approved cleaner before protection is placed. The site’s tile floor cleaning guide provides general care context, but product-specific instructions control the actual cleaning method.
Define traffic routes and work zones
Limit access to the tiled area and post clear signs. Route heavy deliveries and ladders through designated paths. Use temporary barriers to keep workers from cutting or mixing mortar over a finished floor. If the tile is only partially installed, identify the zones that are ready for traffic and those that need more cure time. Keep exits and accessible routes clear while protecting the surface. A floor covering can reduce damage risk but cannot support every load or stop a dropped tool from breaking tile.
Secure seams without damaging finishes
Overlap or tape protection according to the covering instructions, and avoid placing adhesive directly on sensitive tile or grout unless approved. Keep edges flat to reduce trip risk. At doorways, transitions, and stairs, secure the cover so it does not slide or catch a cart wheel. Do not cover drains or expansion joints in a way that traps water or prevents movement. Inspect seams daily and repair gaps promptly. A clean, continuous covering works better than several loose pieces that shift during traffic.
Use rigid protection for heavy loads
When carts, toolboxes, or equipment may cross the floor, use rigid protection that distributes load and protects against impact. Verify that the panels themselves are clean and have no rough edges. Do not assume a sheet of plywood can safely span a void or support a point load on tile; check the substrate and the path. Avoid storing heavy materials in one spot. If a lift or scaffold must operate on tile, obtain approval for wheel loading and use the manufacturer’s recommended protection.
Keep protection clean and dry
Dust and moisture can accumulate under coverings. Lift and inspect sections periodically, especially after wet work or a spill. Replace material that becomes saturated, dirty, torn, or contaminated with mortar. If the floor has underfloor heating or a sensitive sealer, follow the product guidance for coverings and temperature. A sealed room can still trap water vapor beneath an impermeable sheet. The protection plan should state who checks it and how often.
Coordinate other trades and final cleanup
Inform painters, cabinet installers, appliance crews, and electricians about the protection limits and approved routes. Require tools and equipment to be moved carefully. When removing protection, roll it inward so grit does not fall onto the floor. Clean with products approved for the tile and grout, then inspect under normal lighting. Record damage promptly and determine whether it occurred before or after the covering was in place. The site’s hardwood floor protection guide covers similar planning concepts for a different finish.
Common protection mistakes
Common errors include covering before grout cures, leaving grit underneath, using aggressive tape, allowing wet protection to remain in place, and assuming tile cannot be scratched. Another mistake is using rigid panels without checking whether their edges can chip a tile or whether the floor can carry the load. Do not let protection become a storage surface for mortar, paint, or chemicals. Plan daily checks and clear responsibility. A small investment in cleaning and controlled traffic usually prevents expensive repair and schedule delays.
Frequently asked questions
Can I use plastic to cover tile? Only if the tile system and protection plan allow it; plastic can trap moisture or leave residue.
When can I cover tile? After the setting and grout products reach the required cure stage.
Does plywood protect against every impact? No. It can distribute some loads, but dropped tools and concentrated loads can still crack tile.
Should protection stay down until handover? Keep it until heavy work is complete, then remove and inspect it carefully.
A tile protection checklist
Confirm cure, clean the surface, choose compatible material, establish routes, secure seams, protect transitions, inspect for moisture, and record the floor condition. Assign one person to maintain the covering and remove it only after dusty and heavy work is finished. Protection is most effective when it is clean, correctly installed, and paired with access control.
Protection for different tile finishes
Polished stone, glazed ceramic, textured porcelain, and cement tile can respond differently to tape, moisture, and grit. Check the finish maker’s care instructions before choosing a cover or cleaning method. A protection material can transfer color or adhesive under heat, moisture, or pressure. Test the exact covering in a hidden area and inspect it after a short period. If a sealer is new, wait for its cure time. In high-value or specialty installations, ask the supplier for a written protection recommendation.
Protect edges, stairs, and adjacent rooms
Tile edges at stairs, counters, and open transitions are vulnerable to chips. Use corner protection and secure temporary ramps or threshold covers where people and carts pass. Keep stair treads visible enough for safe use and avoid creating a raised edge. Protect adjacent wood, carpet, and wall finishes as well. A continuous route helps workers avoid stepping across loose coverings or bare tile. The protection plan should account for the whole path, not only the center of the tiled room.
Damage reporting and repair responsibility
Set a simple process for reporting damage: record the location, photograph the condition, identify the responsible trade, and note the repair plan. Do not conceal a chip with grout or sealant before it is documented. The contractor should retain spare tile and grout from the same batch when available. If a tile cracks under a load, determine whether the protection, substrate, or load path failed. Repair should follow the tile and setting-system requirements so the replacement remains bonded and the surrounding joints remain intact.
Estimate the coverage material
Measure the area that needs covering and identify traffic paths that need heavier panels. Plan overlaps, door transitions, and areas where protection will be lifted for inspection. The tile calculator estimates tile quantity, not temporary protection, but the same measured area can help you estimate rolls or sheets. Add allowance for cuts and seams, and keep replacement material available. A measured plan is easier to maintain than bringing random coverings to the site as damage appears.
Closeout and protection removal
Remove protection only after dusty, wet, and heavy work is complete and the project manager authorizes the area. Roll coverings inward, collect debris, and inspect the floor in sections. Clean residue with an approved method and allow the surface to dry. Compare the final condition with the initial photographs. Report any issue before furniture is installed. Retain spare tile and product data with the closeout package so future maintenance can use compatible materials.
Protect wet areas and tile edges
In bathrooms and kitchens, protection must not block floor drains or trap water around the tile. Keep drain access visible and remove temporary coverings after any spill. At exposed thresholds and stair edges, use rigid corner guards that do not put pressure on a weak tile edge. Protect wall tile and backsplashes separately so tools or sheets cannot strike them. If other trades need to drill or cut, mark the protected boundary and require a dust-control plan.
Temporary panel seams and trip hazards
Rigid sheets should be laid flat with seams that will not catch a cart or shoe. Tape seams only with a product approved for the floor and covering. Stagger joints where practical and avoid small loose scraps at doorways. If a panel rocks or slides, remove it and correct the base rather than piling additional material on top. The protection should keep workers safe as well as keep the tile clean.
Manage construction traffic records
Keep a simple access log for deliveries and heavy equipment crossing protected tile. Record what was moved, who approved the route, and which panels were used. This is especially useful when the project includes polished stone or large-format tile. If a defect is found later, the log can help identify whether the load exceeded the protection plan. The goal is not paperwork for its own sake; it is to make responsibility and repair decisions clear.


Leave a Reply
Want to join the discussion?Feel free to contribute!